
Lessons Learned & Maintenance
The honest debrief — what worked, what fought back, and how to keep this table looking right for decades. Plus the final beauty shots.
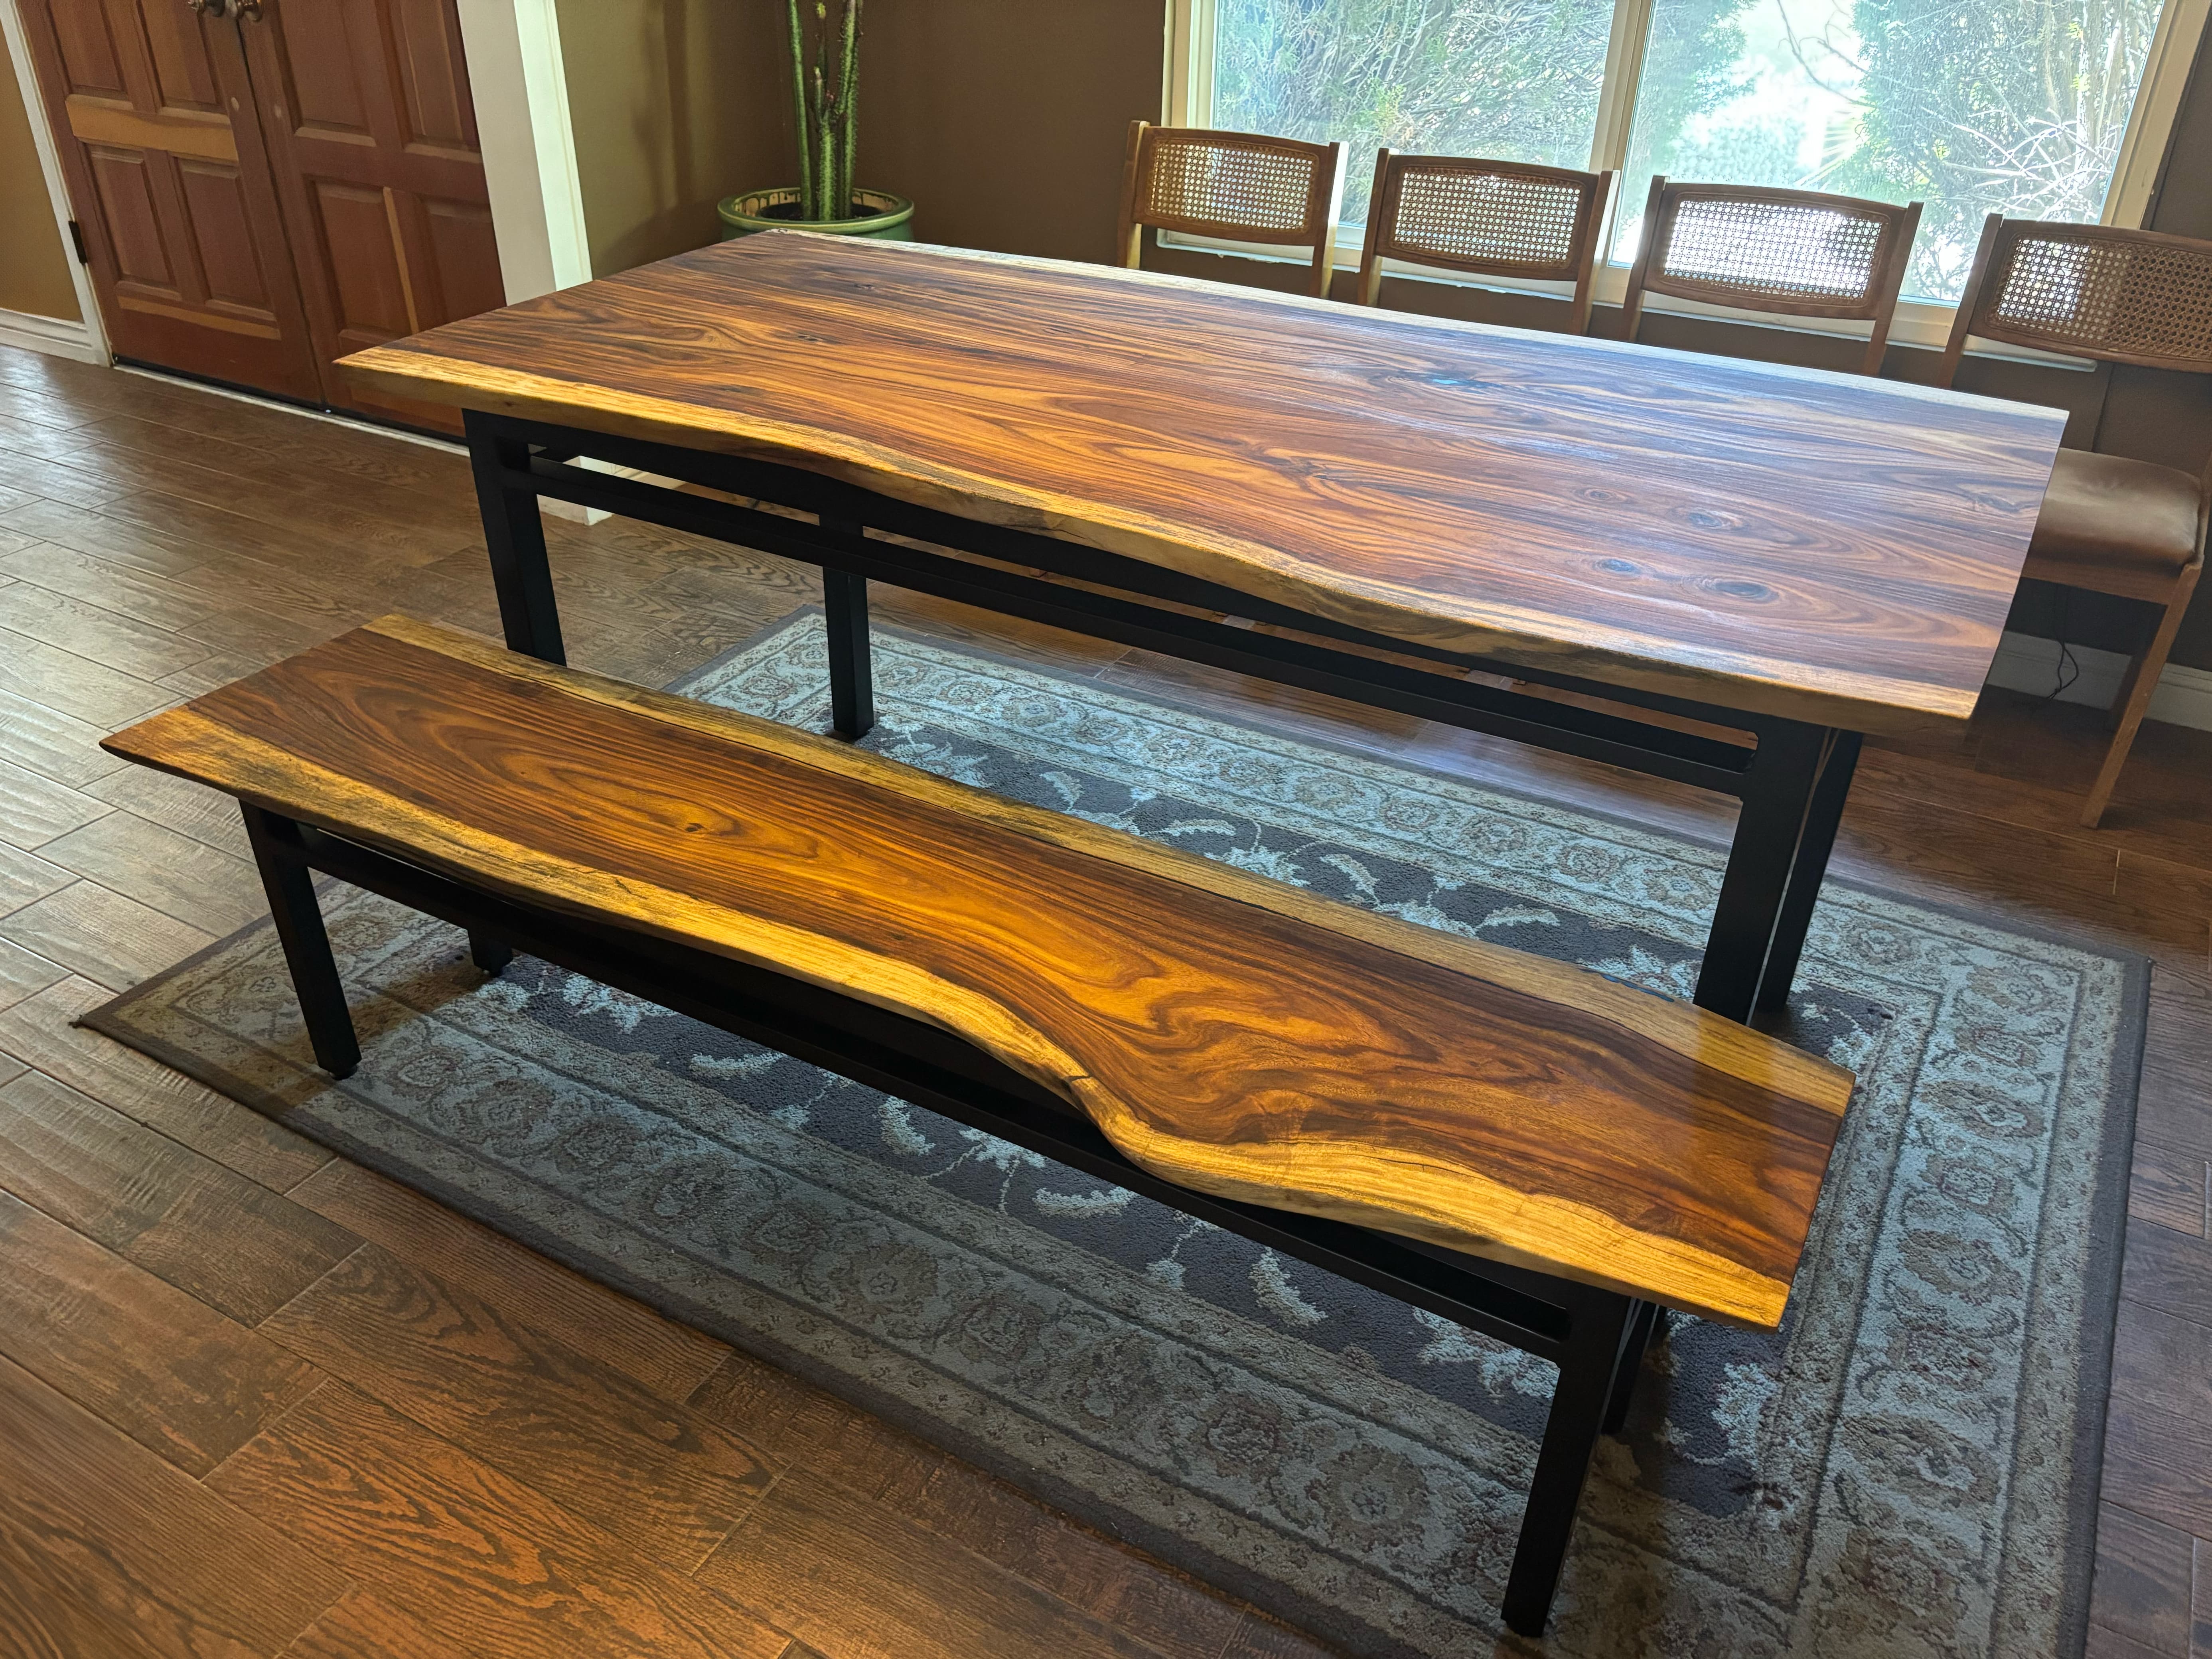
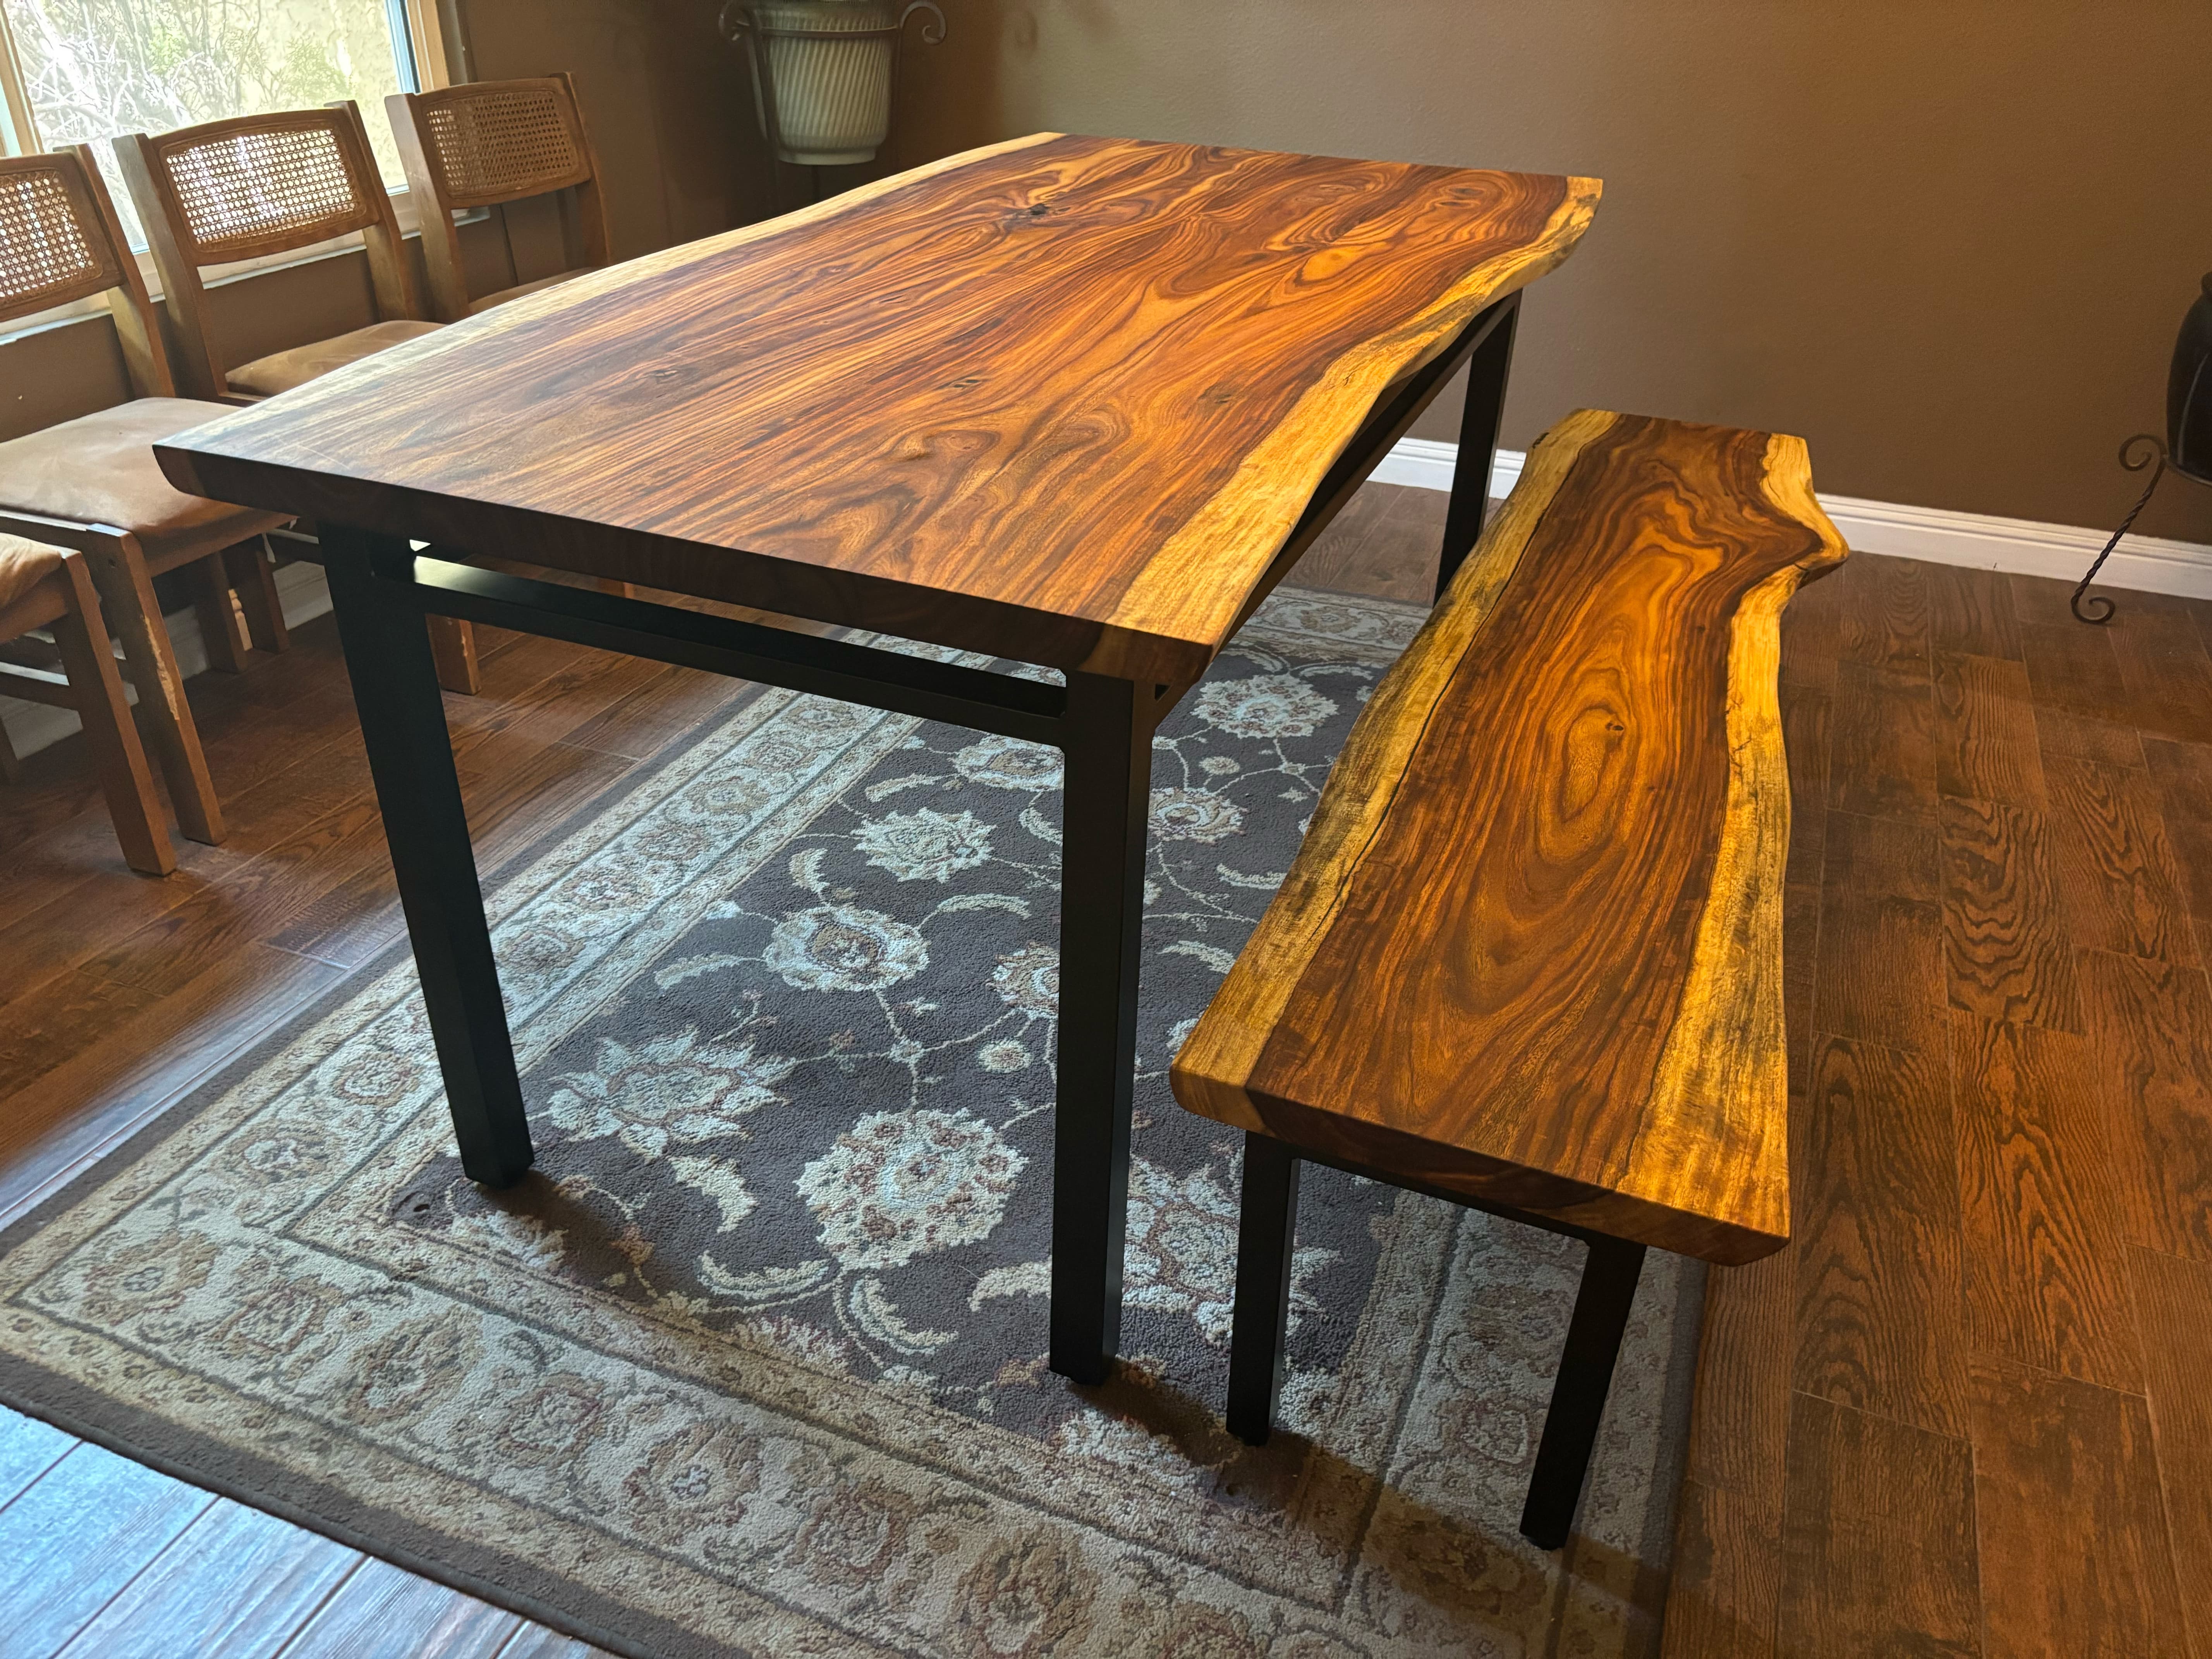
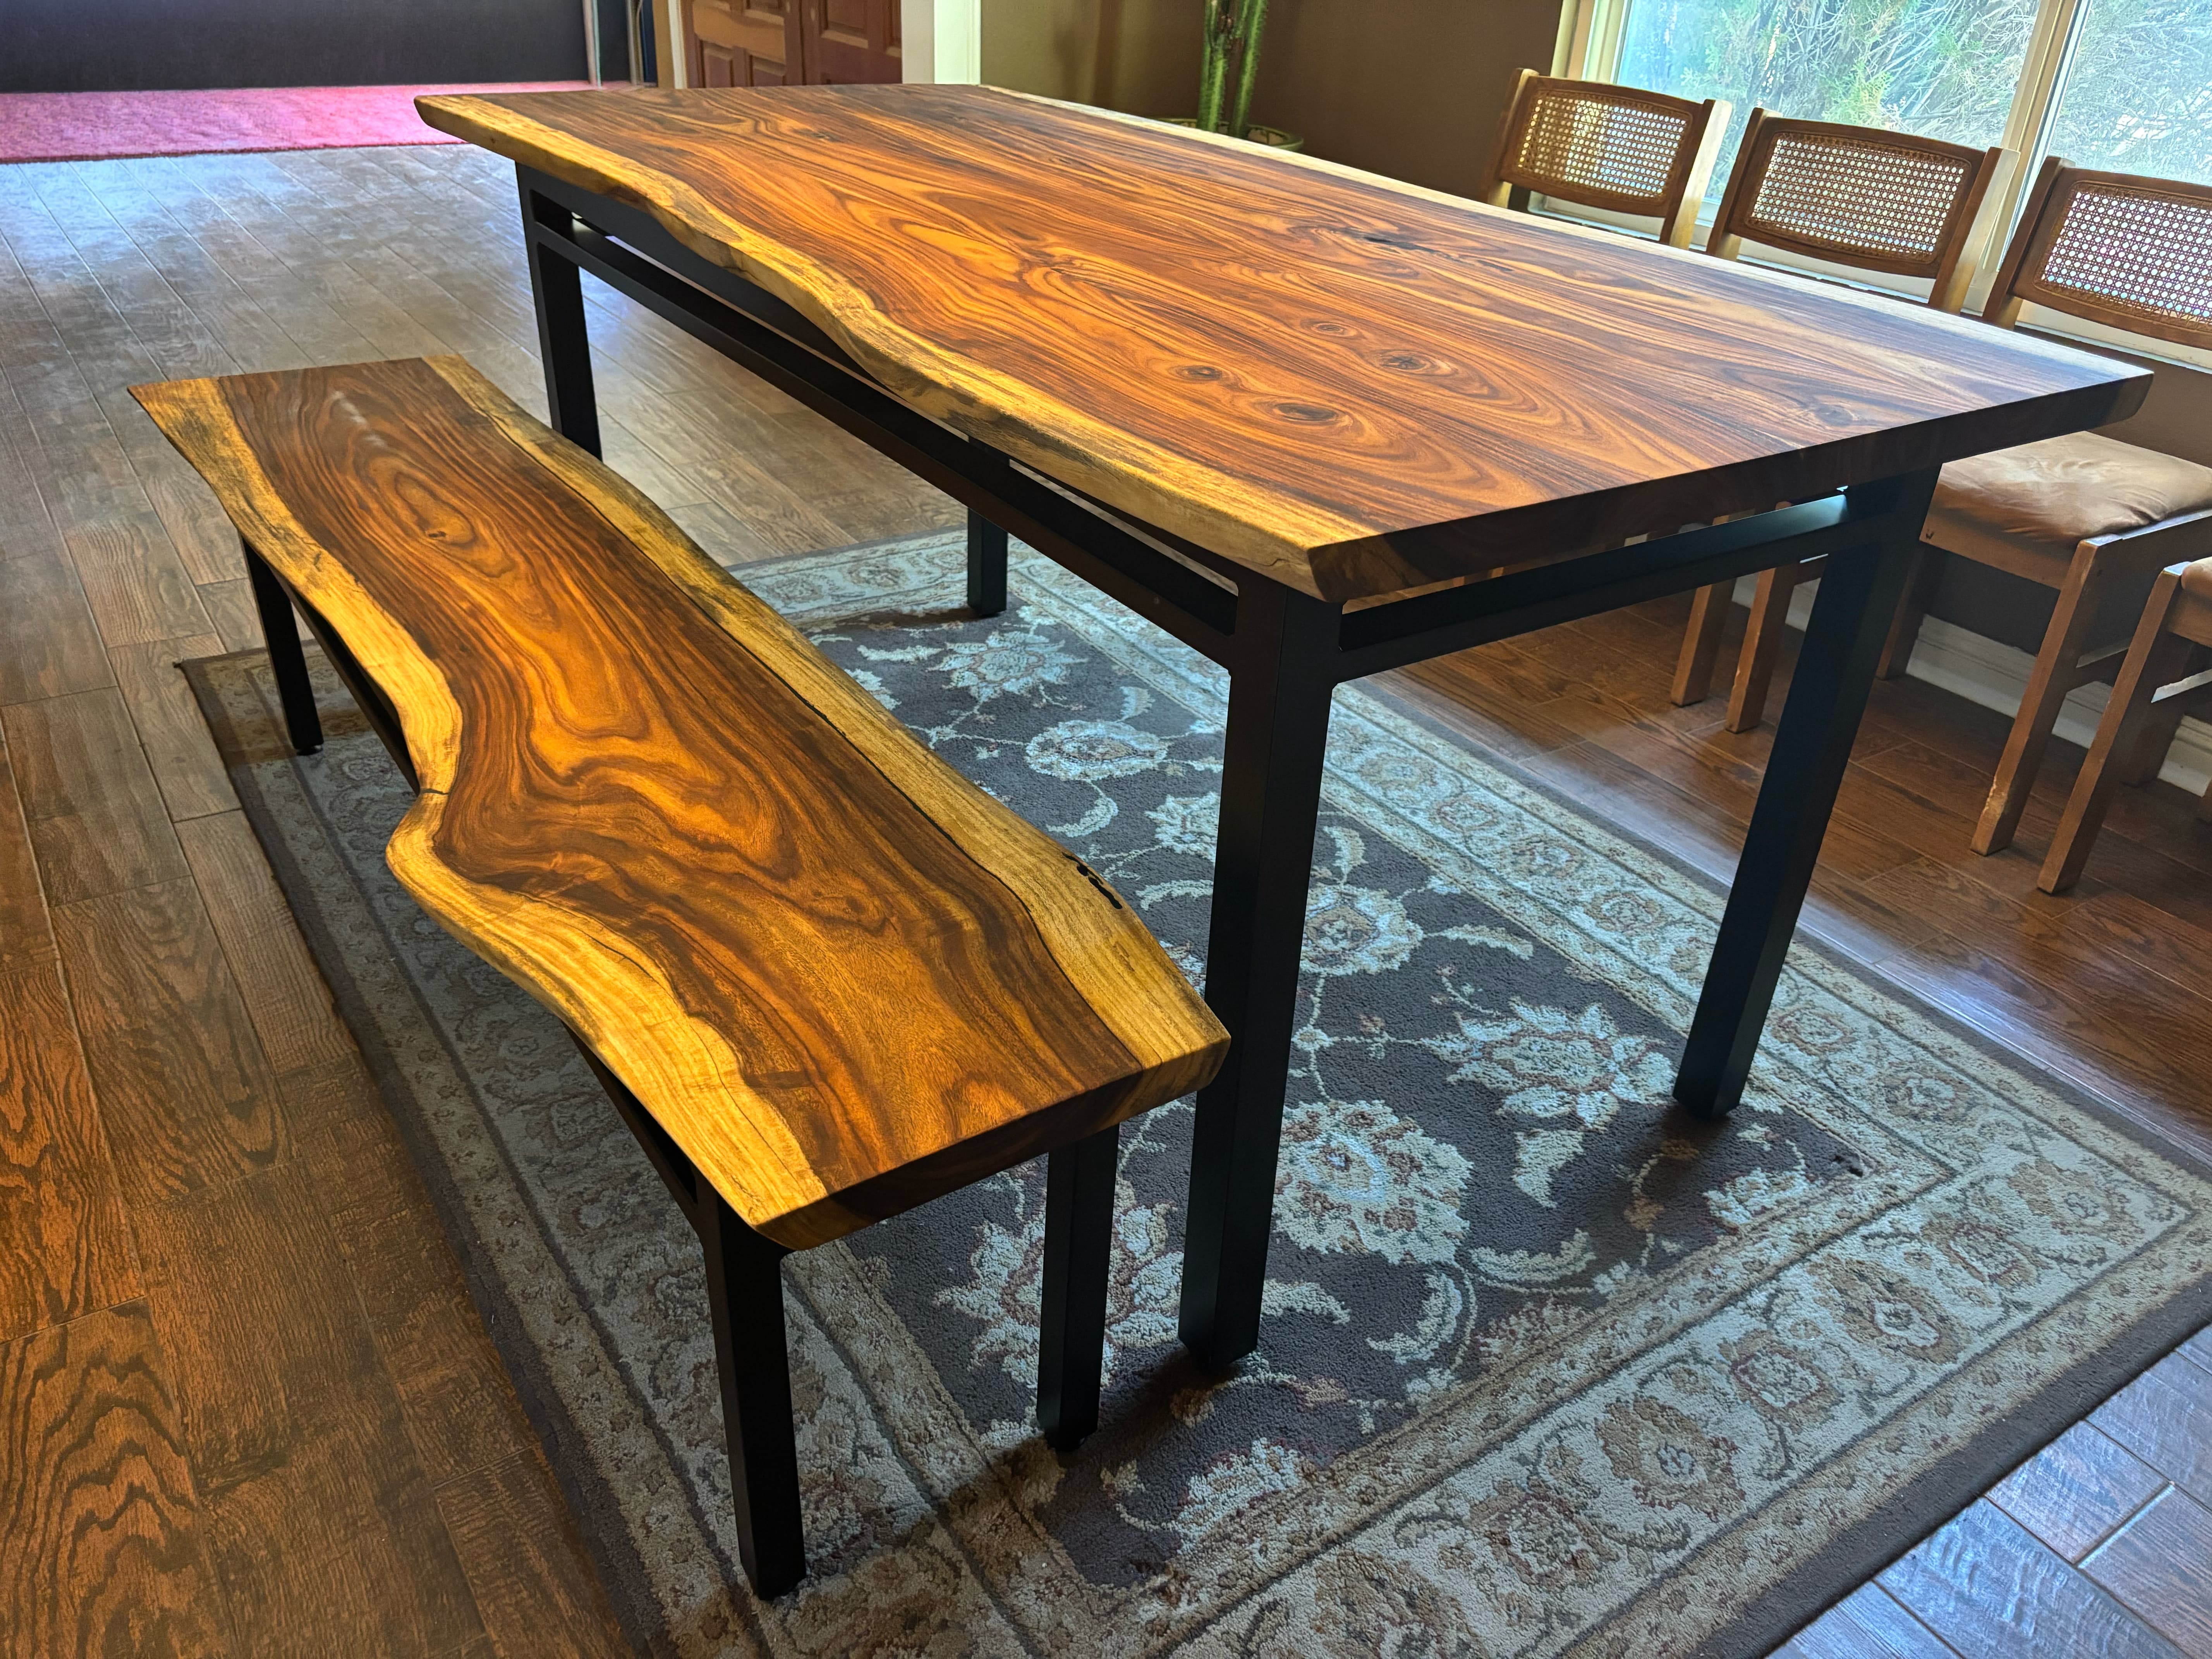
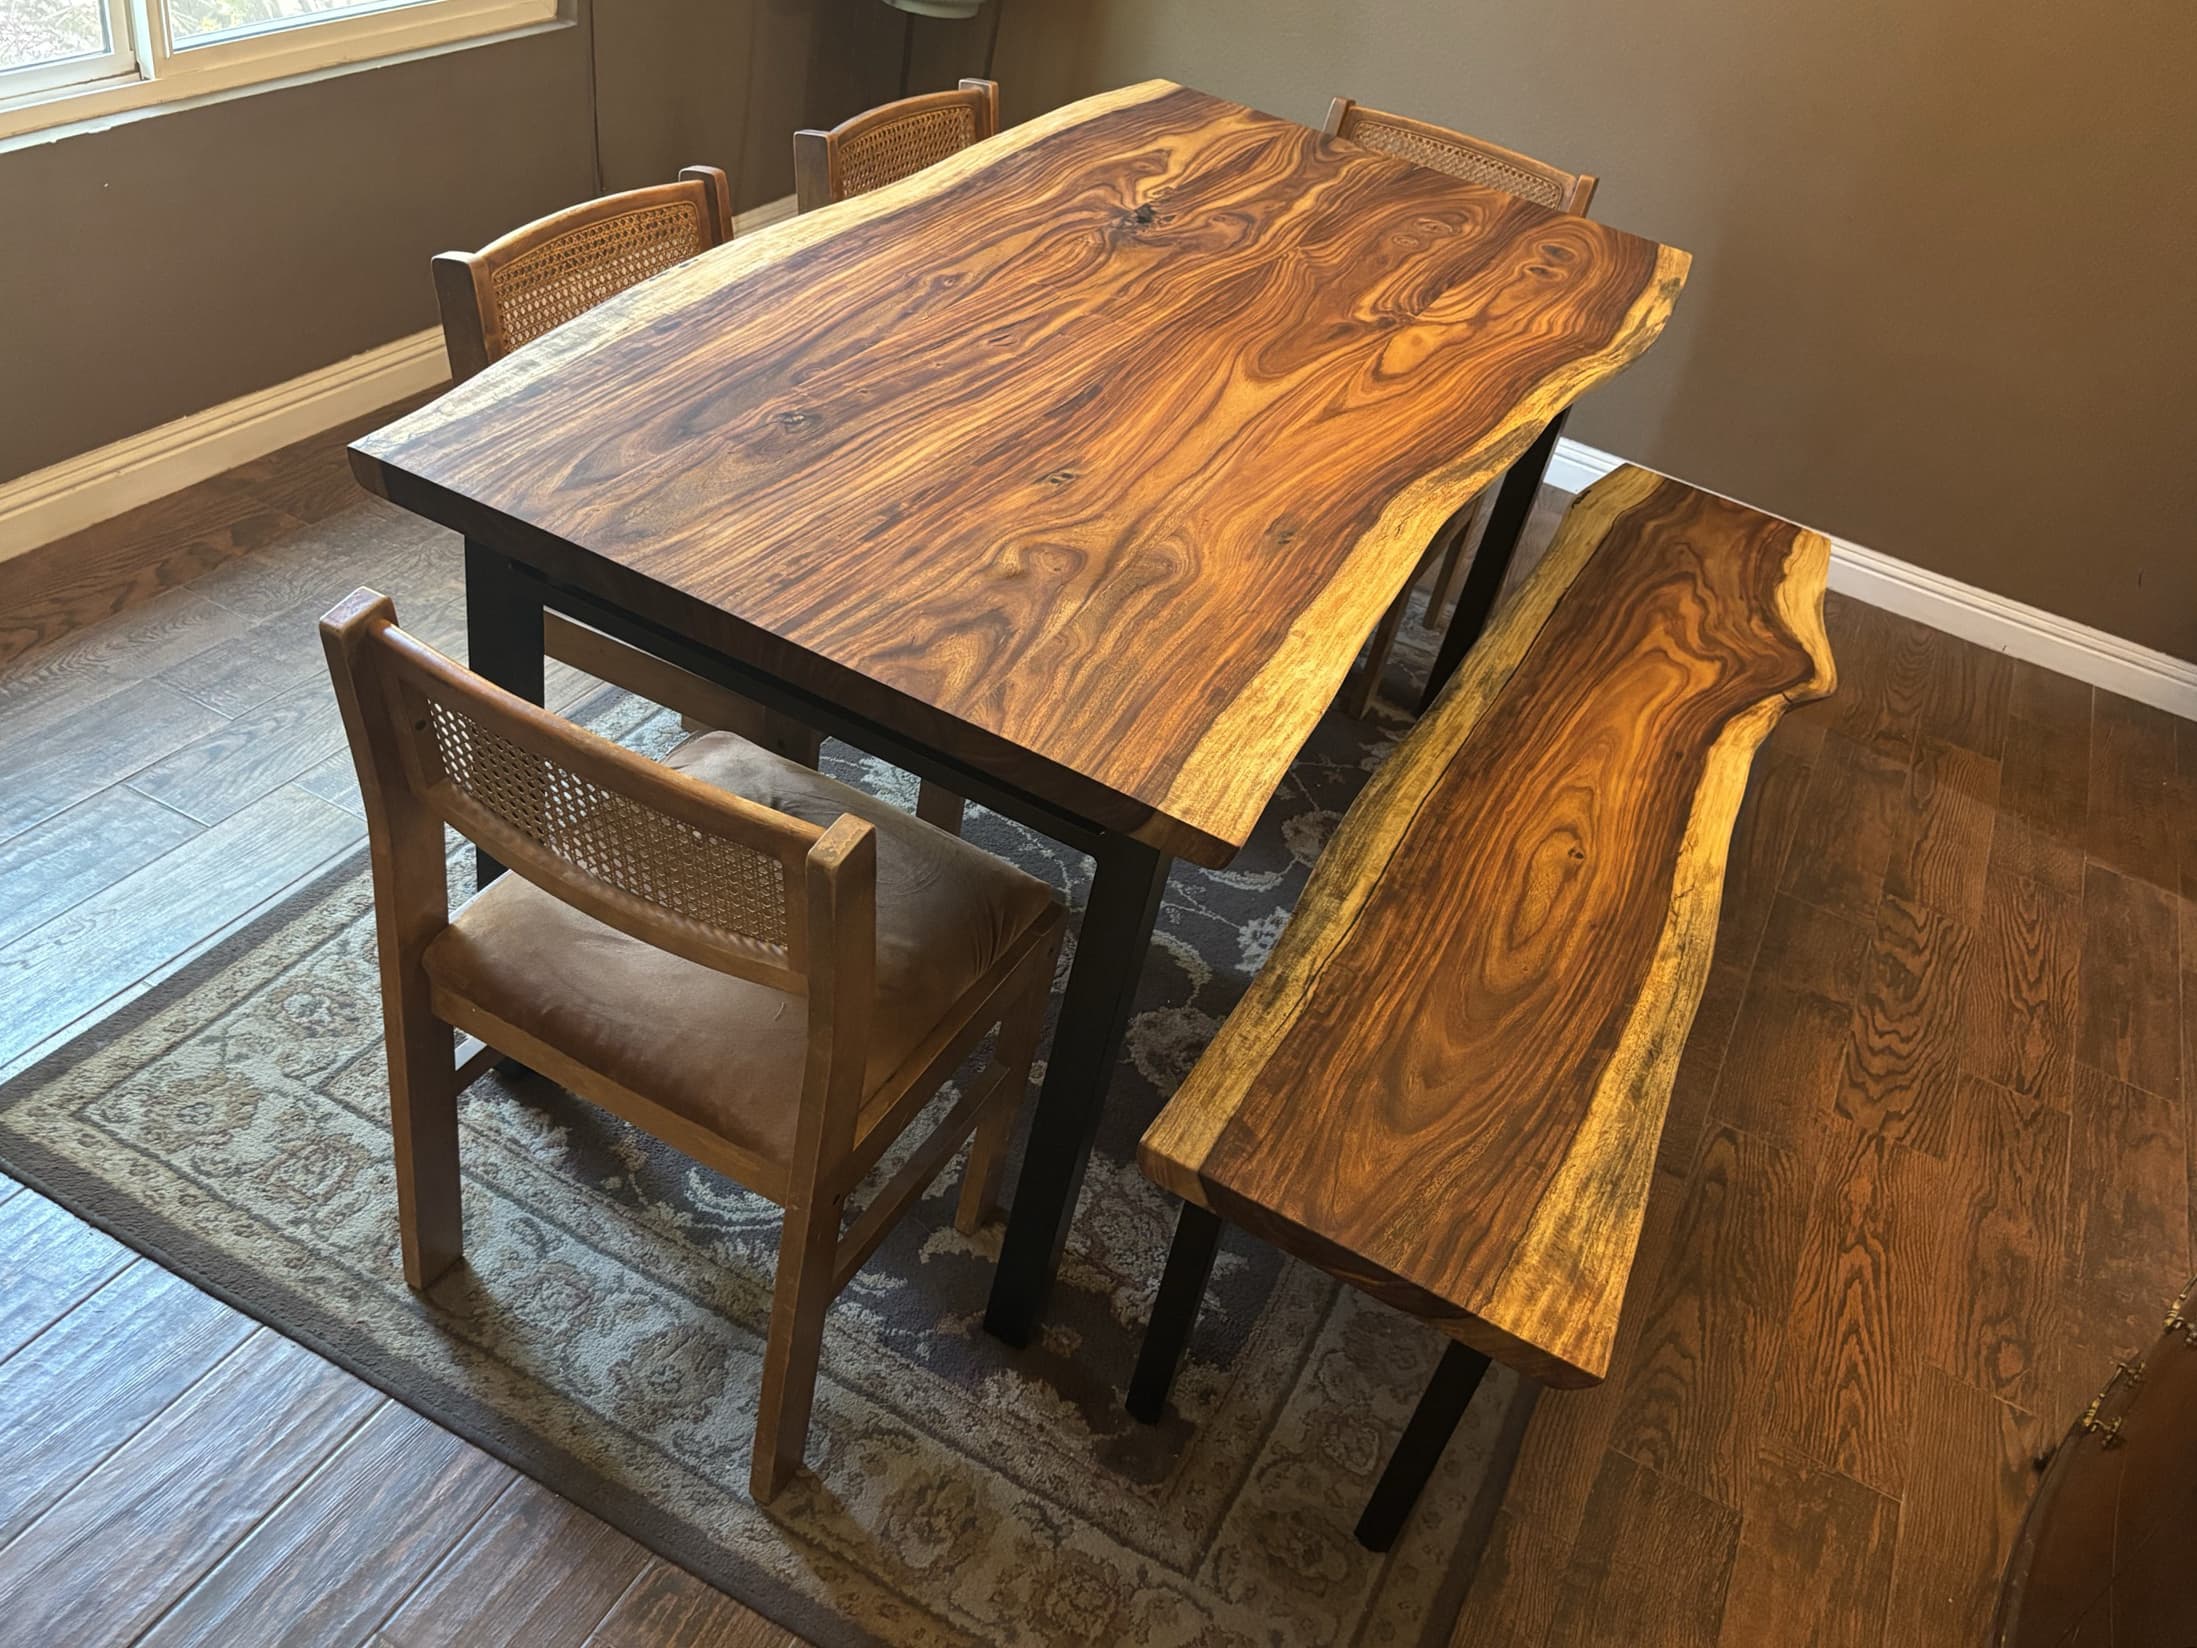
What worked well
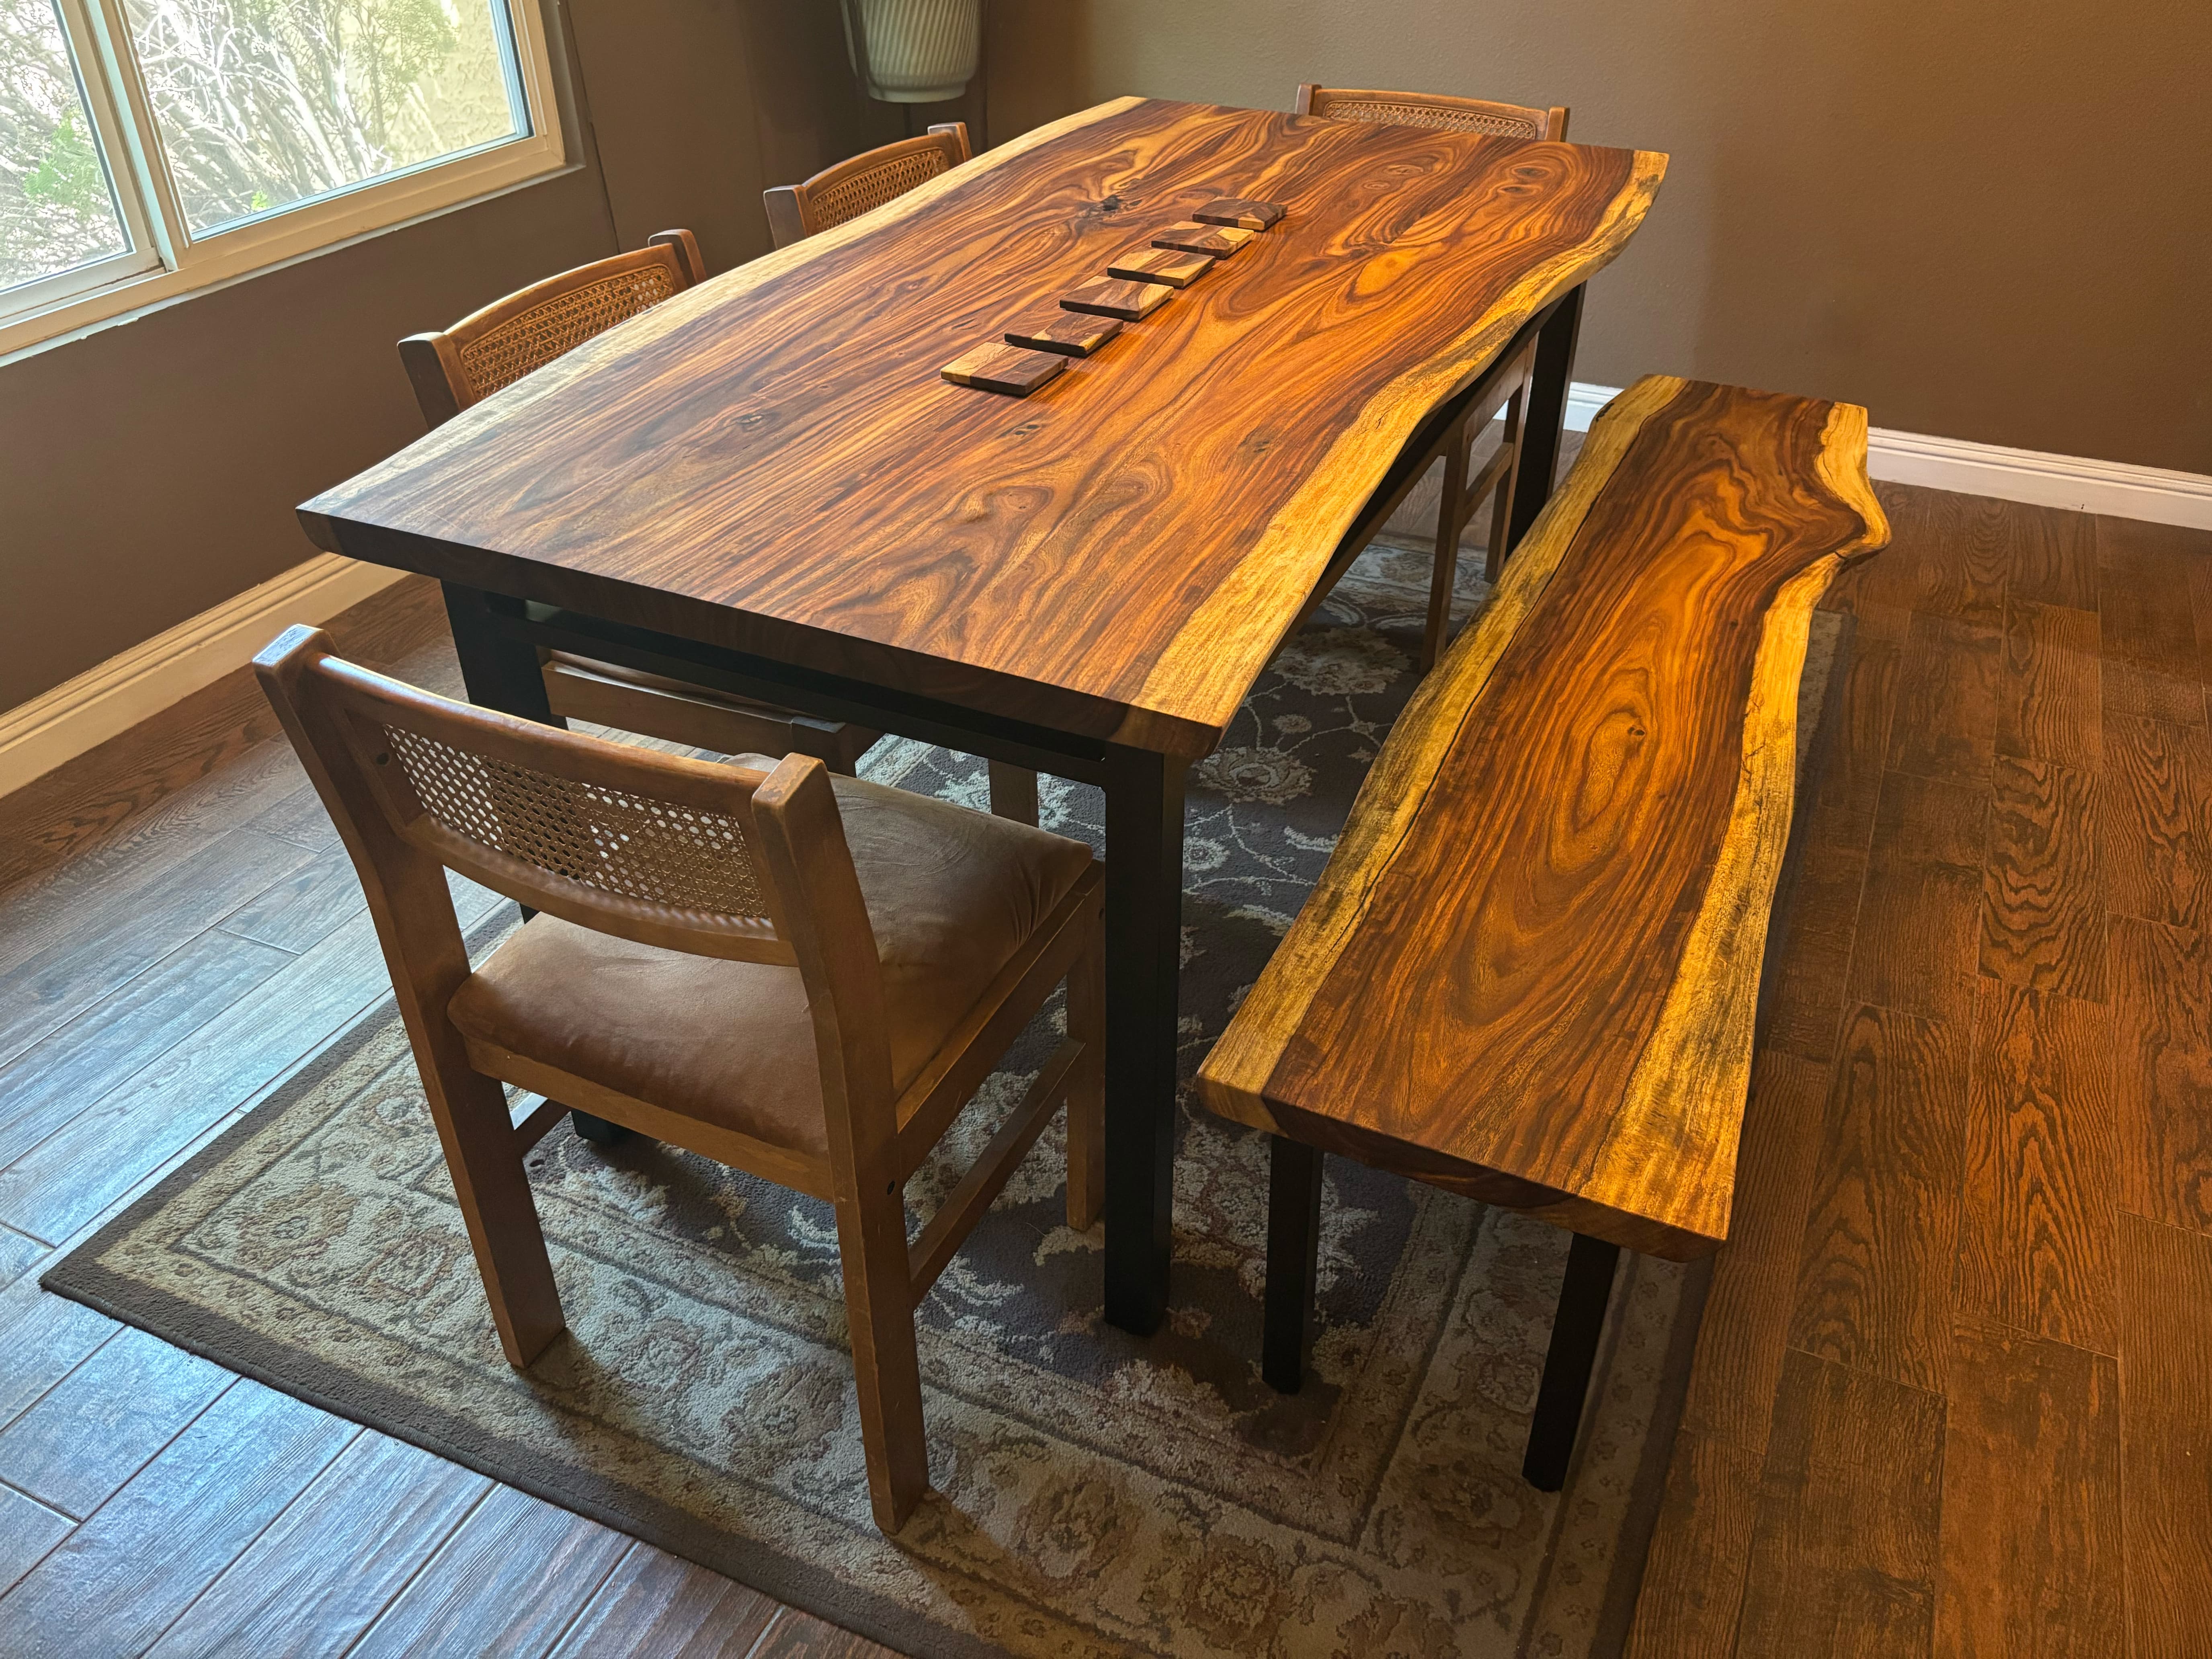
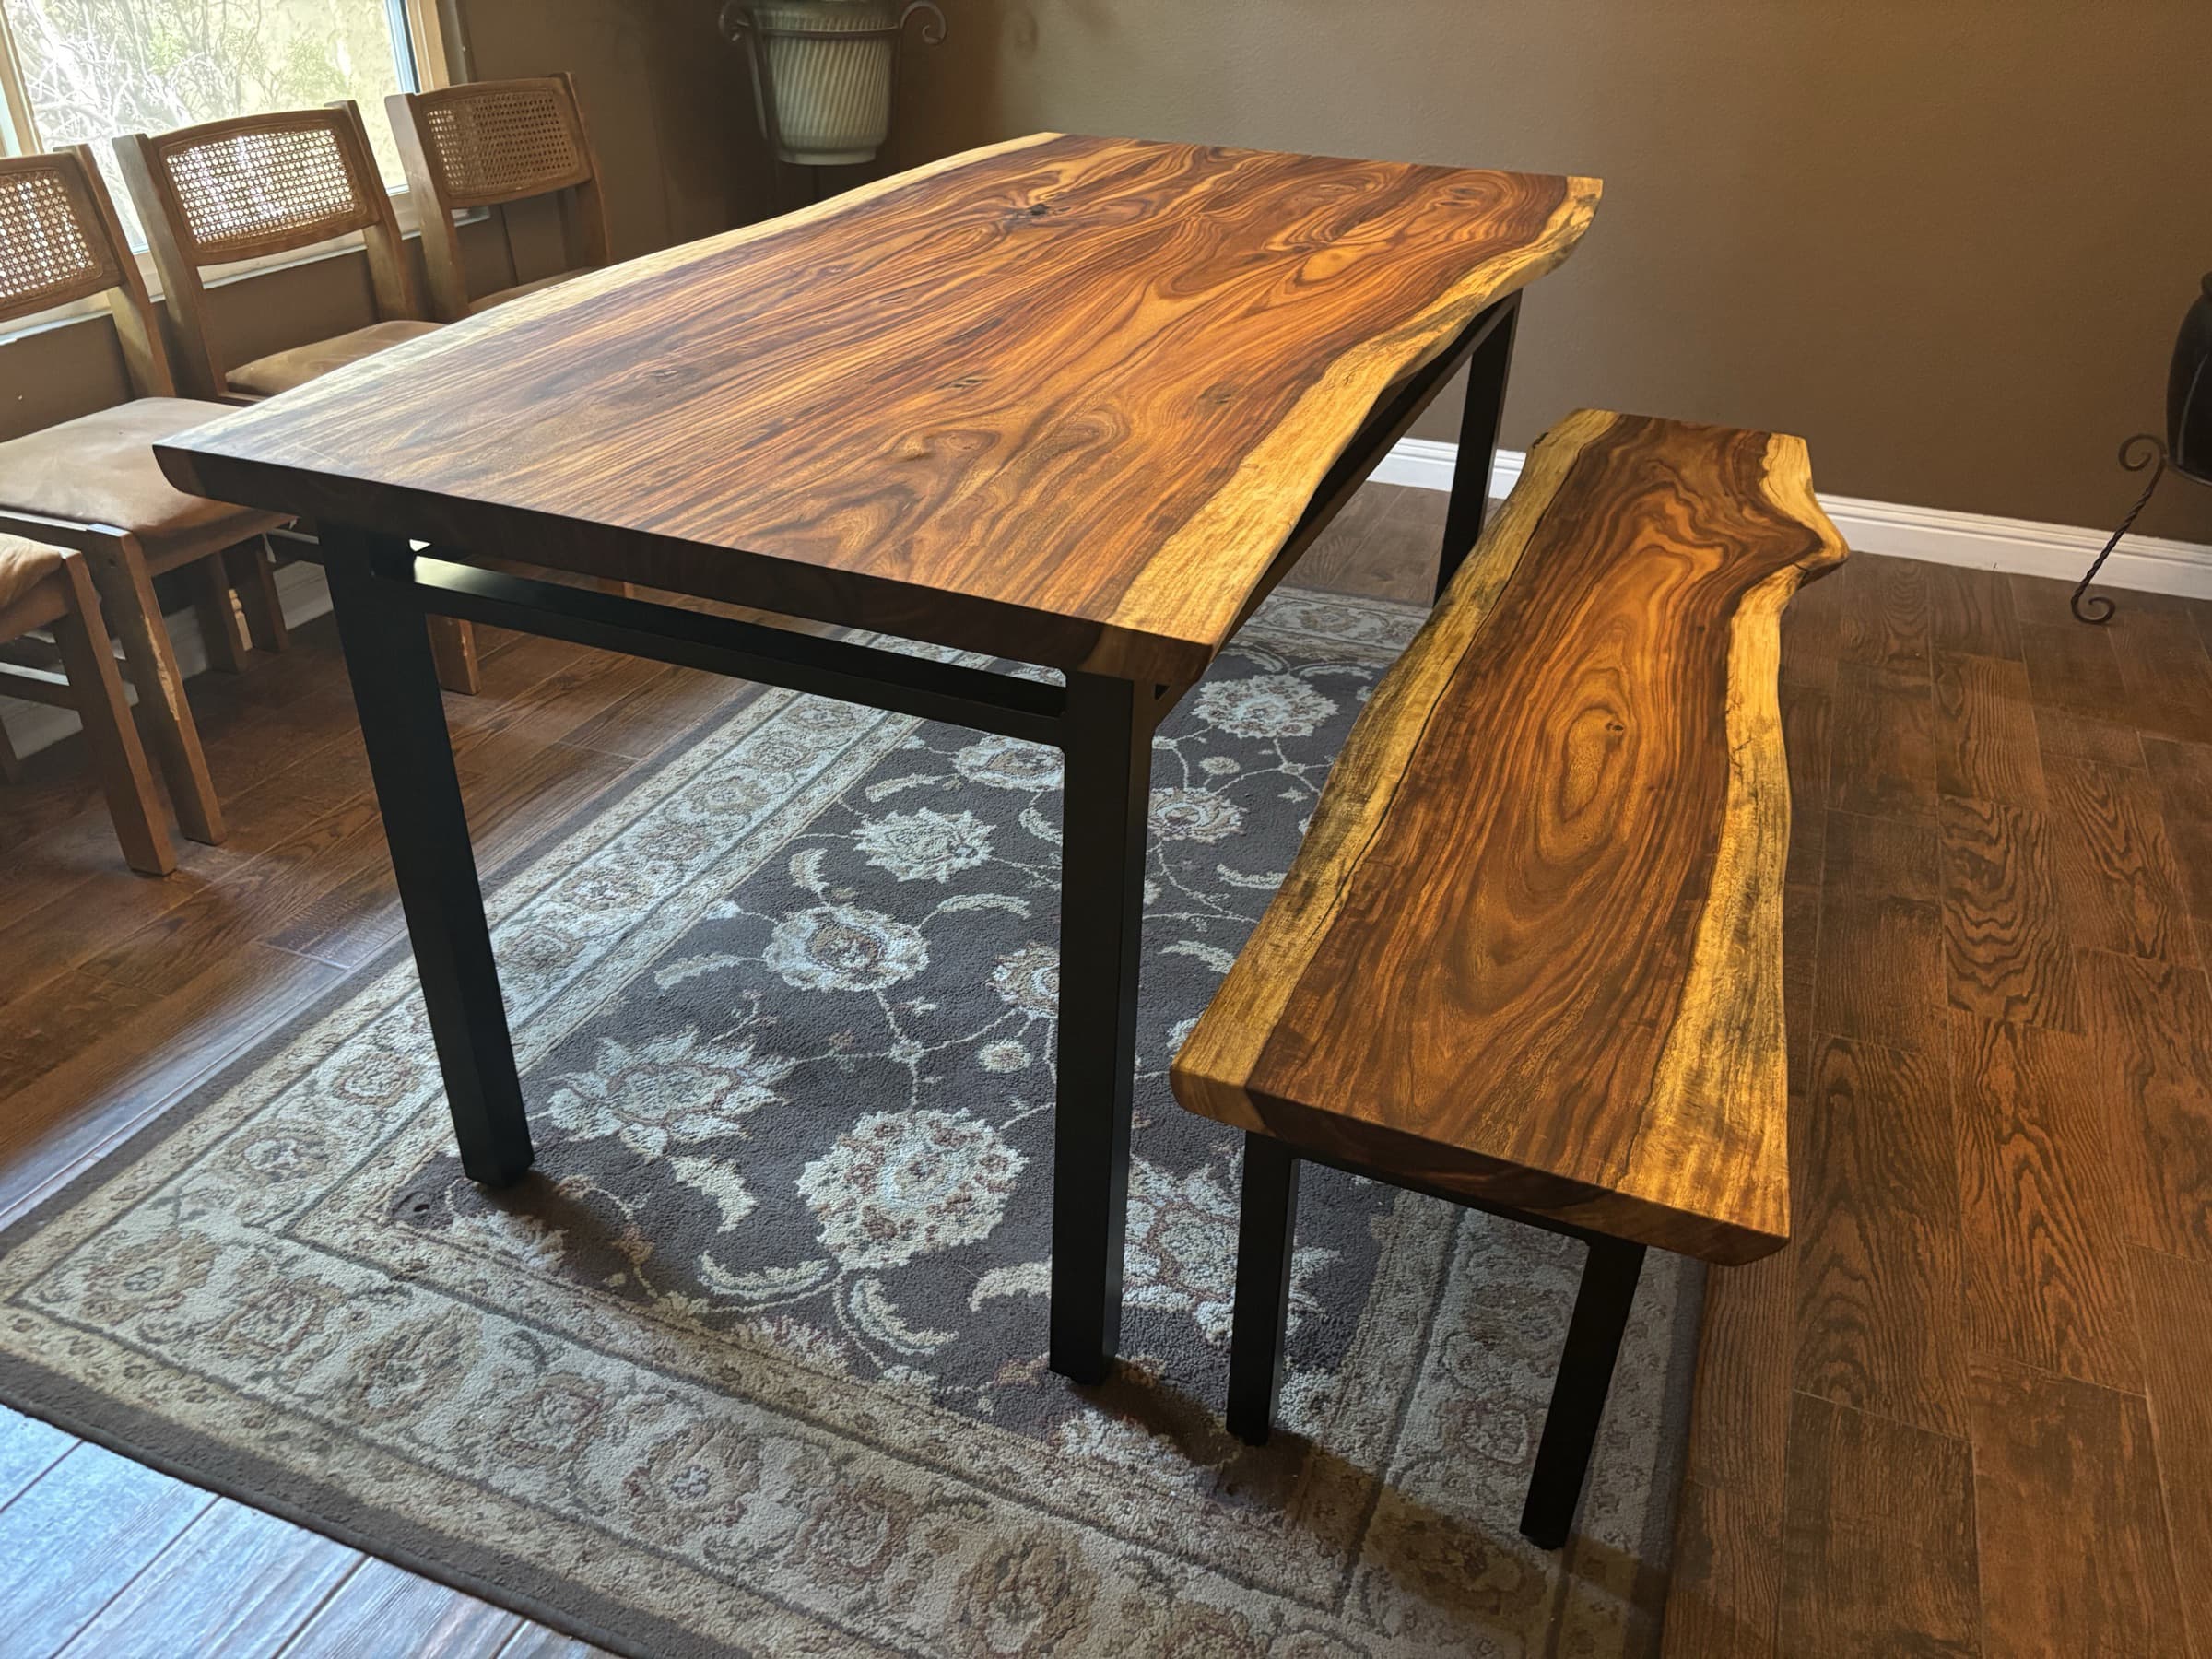
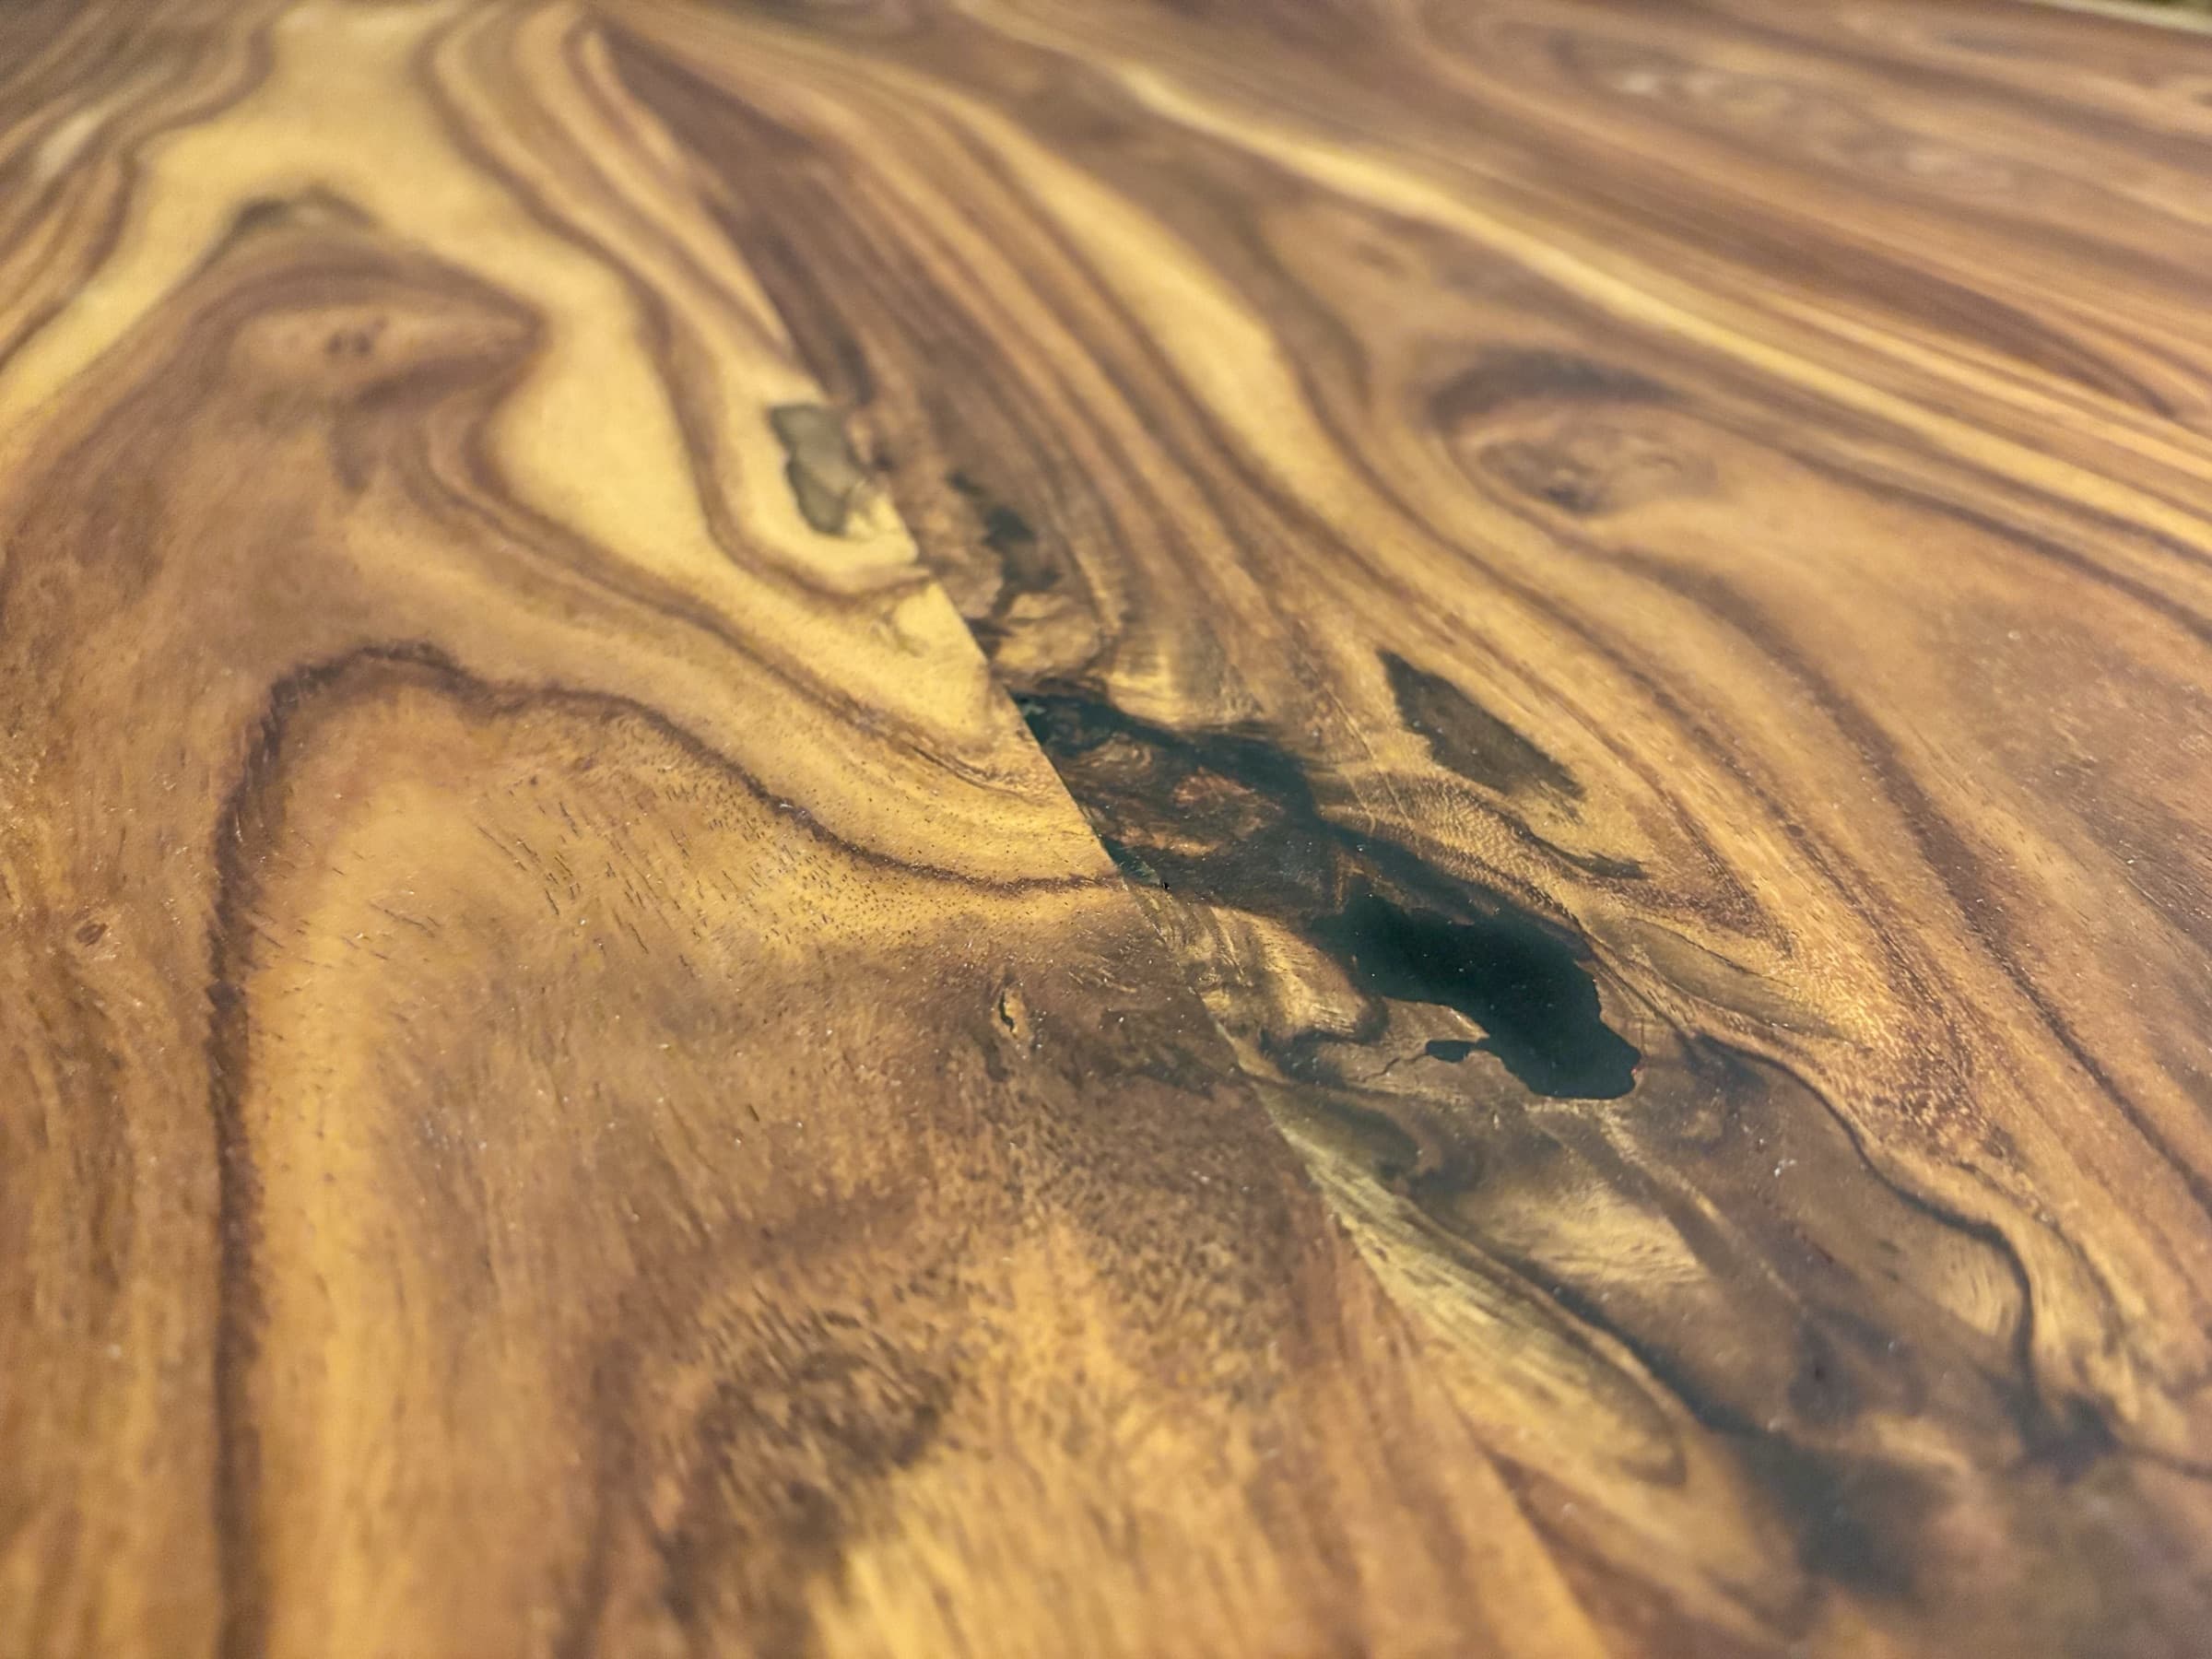
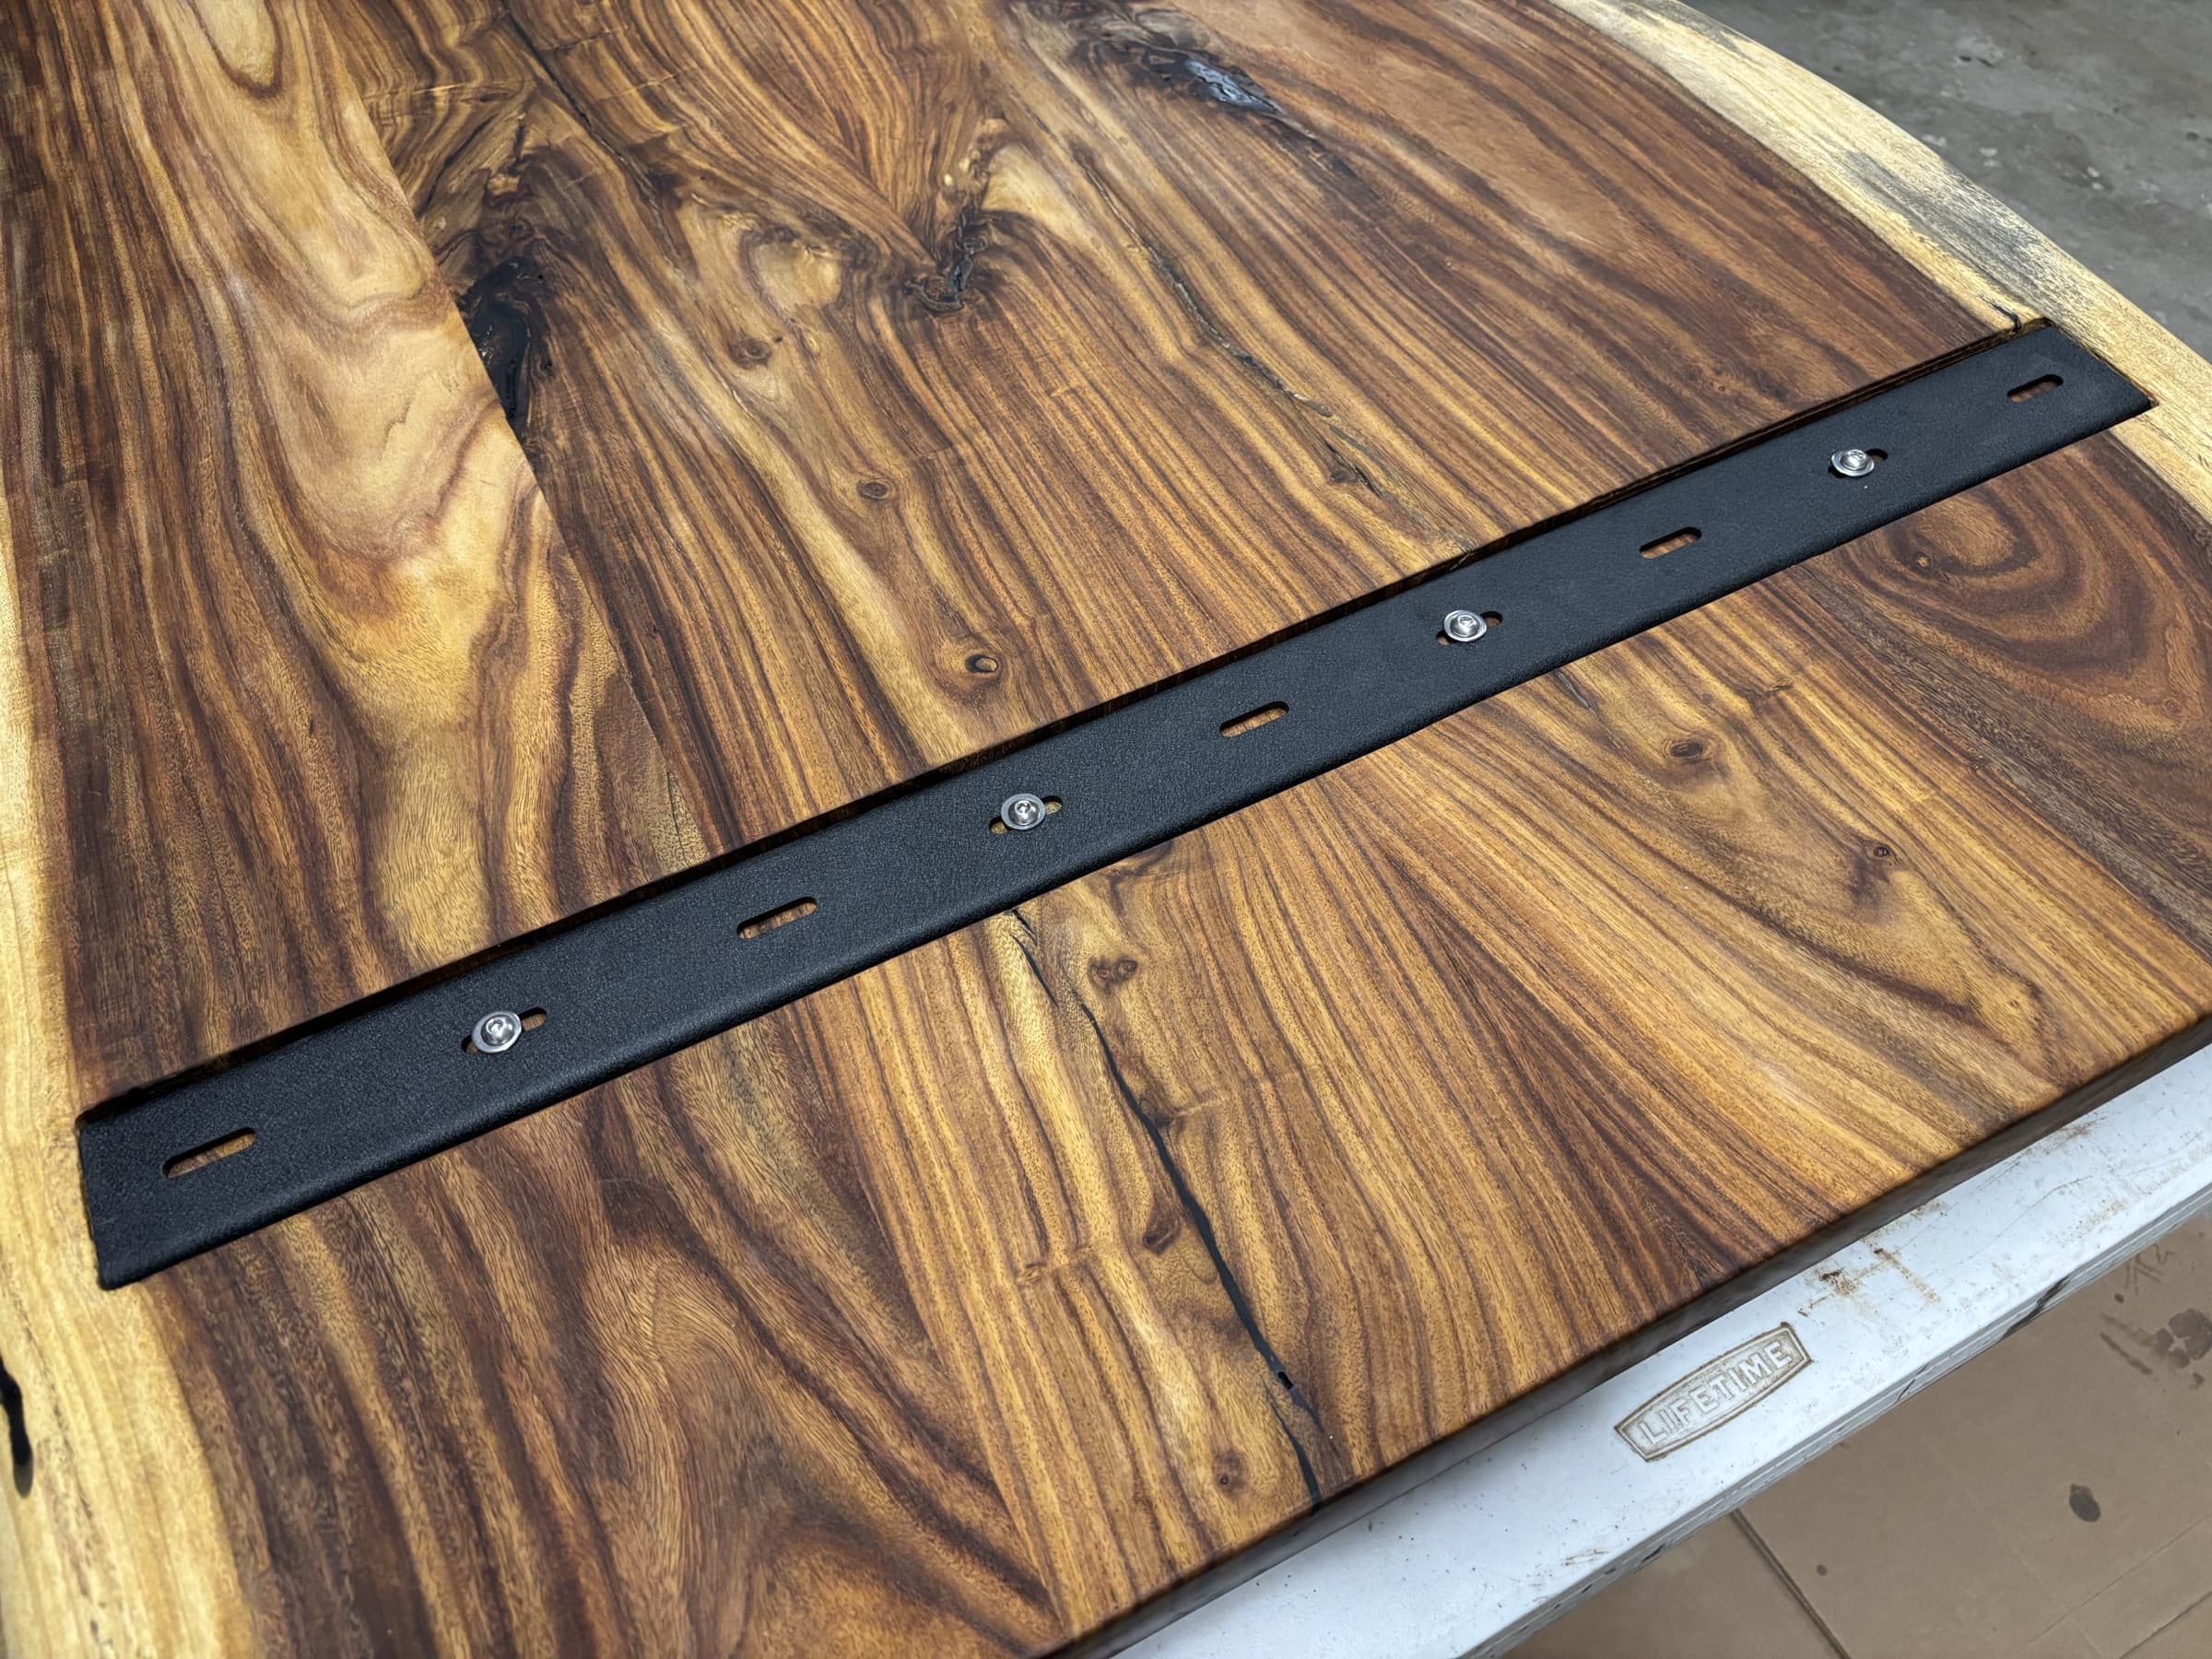
- Arizona Rosewood + black epoxy + matte-black steel reads exactly as intended — warm, modern, organic.
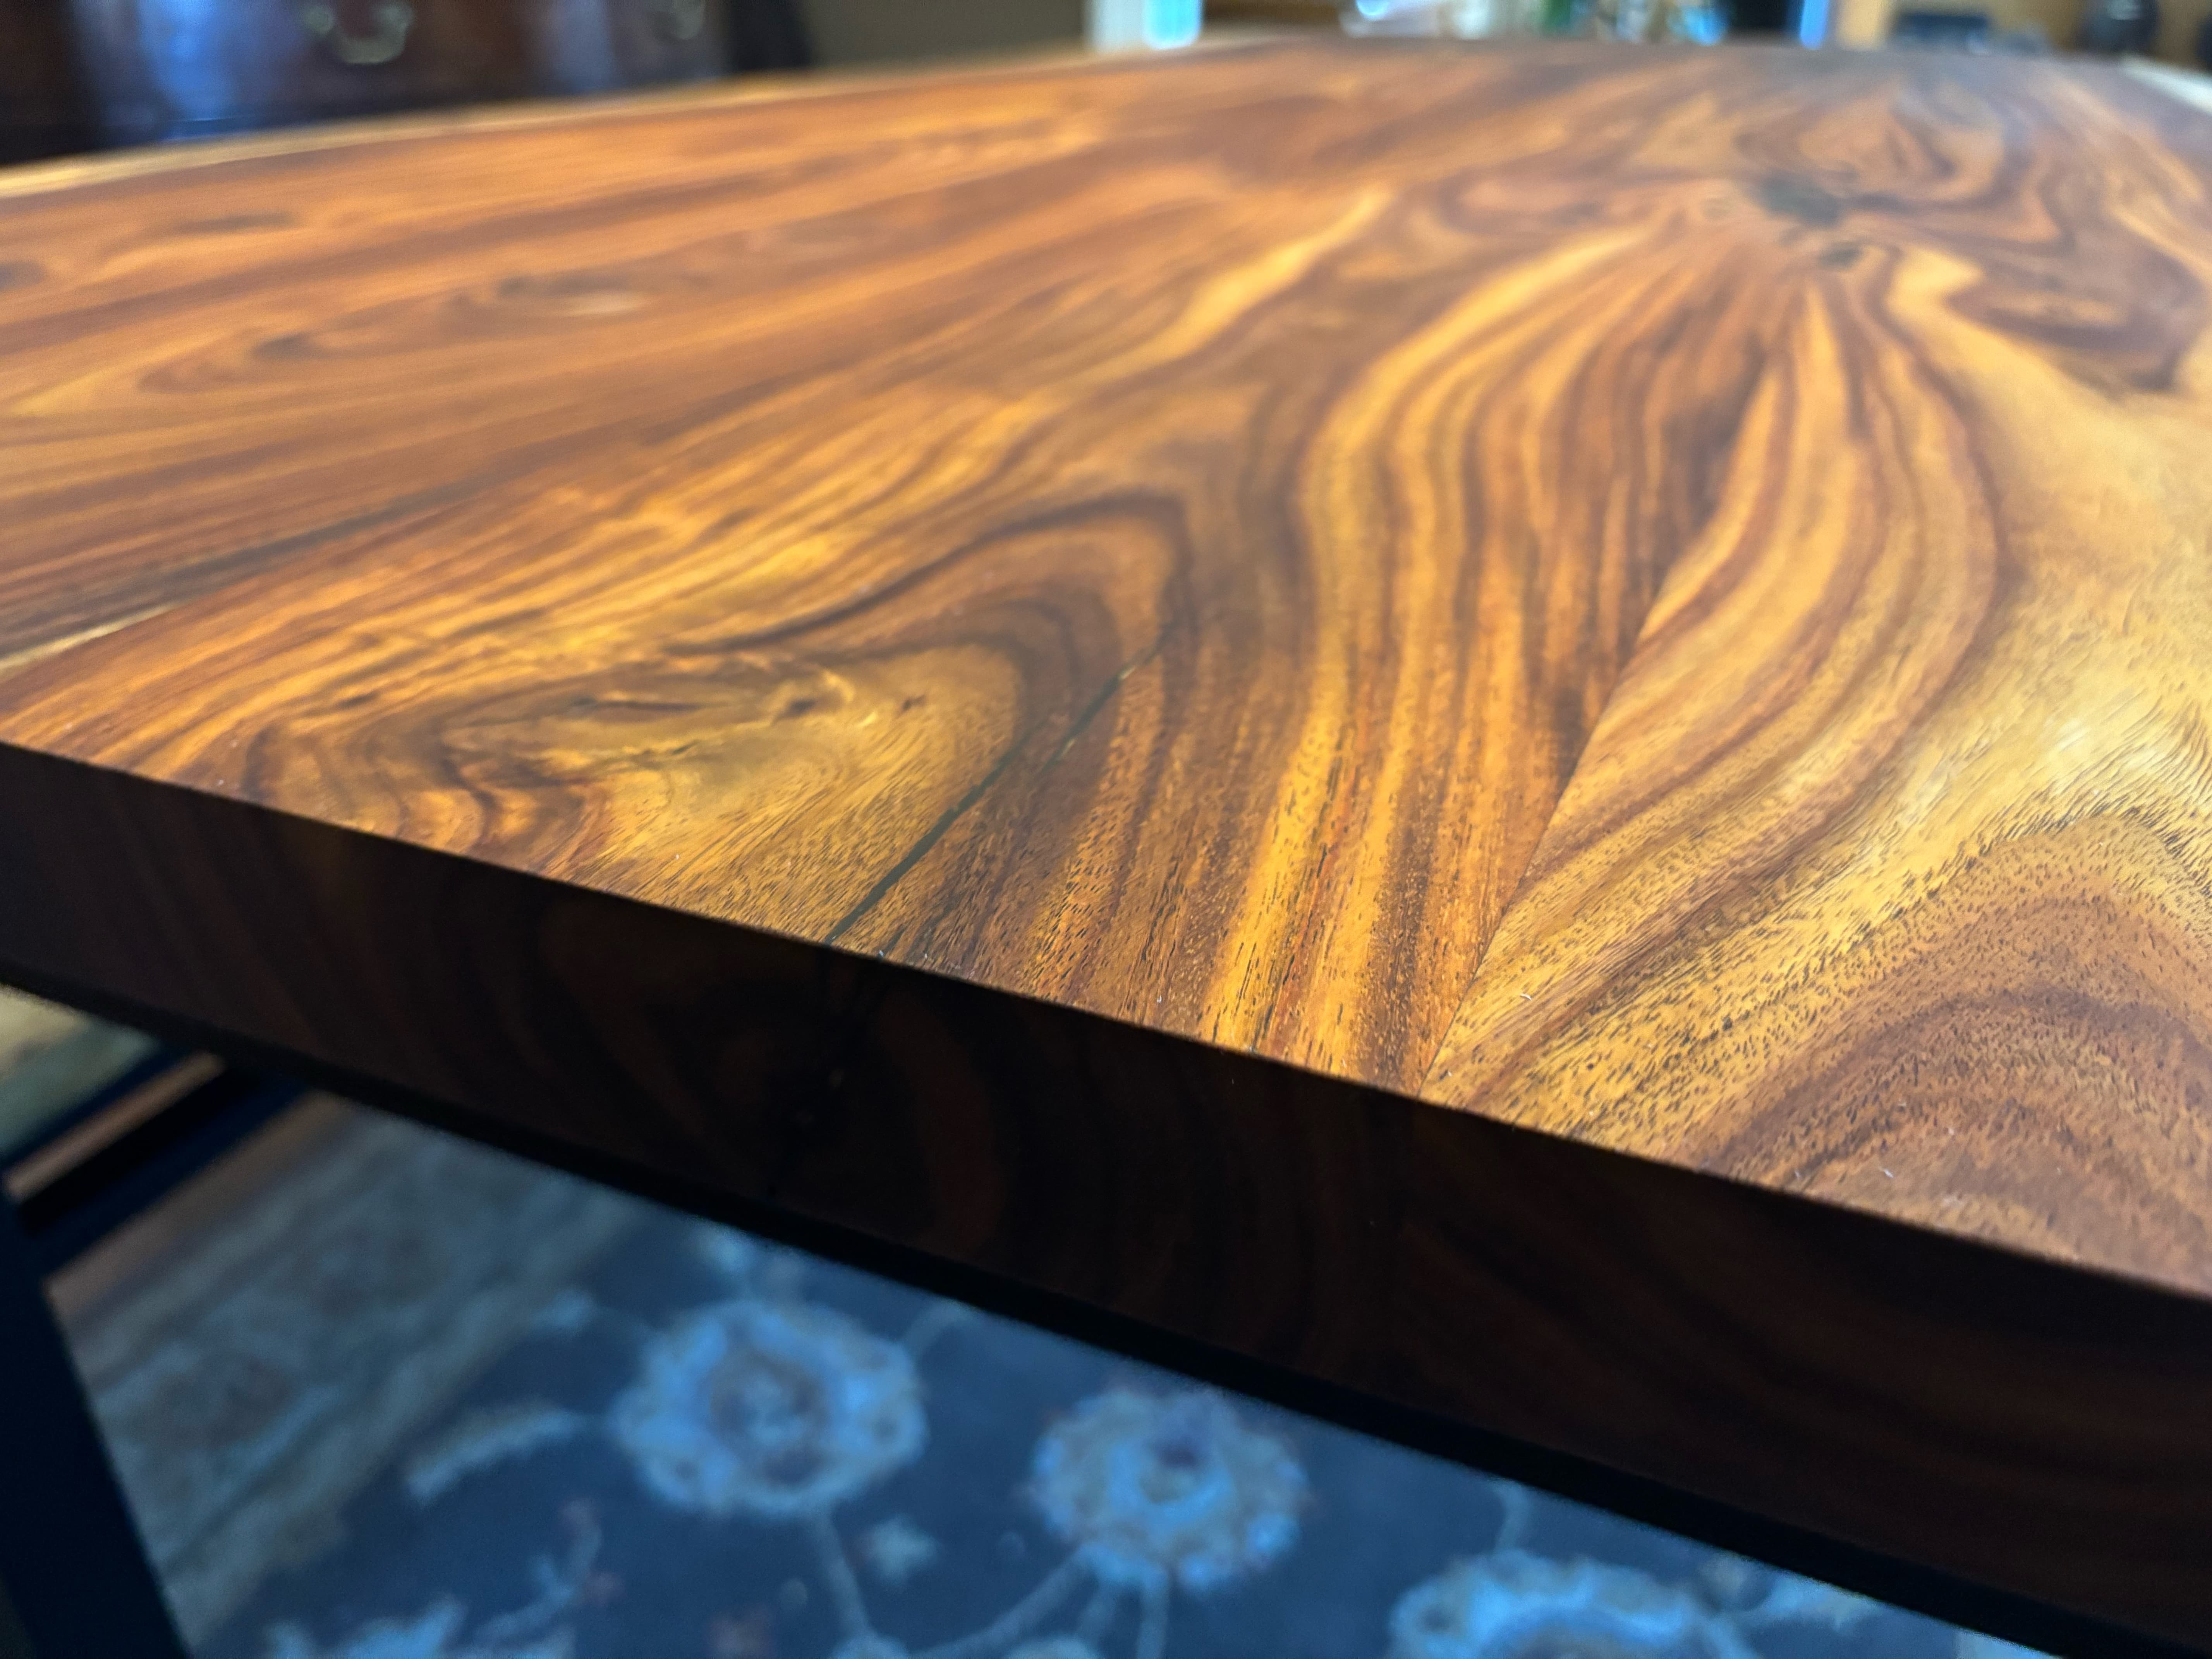
- Dominos for alignment and Titebond III for strength gave a clean, solid 4-board top.
- Rubio Monocoat delivered the natural matte feel and grain pop without any plastic film.
More than anything: I learned an enormous amount, and this project pushed my skills up a level. Sourcing a whole tree was a joy in itself — and it left me with enough rosewood for a whole run of future projects, which I hope to add to this site in a later release.
What was harder than expected
- Epoxy sink-back. Porous areas drank the first pour and sank deeply — thin successive pours were the answer, not one big flood.
- Drips & ridges. Hardened epoxy ridges meant aggressive leveling (40/60 belt or card scraper) before the normal grit progression. Annoying — but manageable, and genuinely satisfying to watch it resolve into a perfect surface in the end.
⚠ Lesson — The one piece of bad advice: the tape
The biggest misstep of the whole build came from a single bad recommendation: the Ecopoxy tape I was told to use for damming the pours. Its residue was a nightmare — it needed gentle heat (a SEEKONE 1800W heat gun) plus isopropyl and mineral spirits to clean up — and you absolutely must not sand that sticky residue into the wood. It made me question my sanity more than once.
The saving grace was where that tape went: only the underside and the dams around the through-cracks — never the presentation face. That's the rule I'd tattoo on the back of my hand: you skim-coat and pour from the show face, but you never tape it. Fighting this residue off a bare underside was miserable enough; on the finished top it would have been catastrophic.
Fix: two changes. I researched alternatives and switched to a much better tape on later projects — a complete relief to work with — and I keep every scrap of it off the show face, taping the underside to dam the pours instead. If there's one thing I'd change from day one, it's the tape.
⚓ Lesson — Black CA glue is the hero of small fixes
For tiny failed-epoxy spots and hairlines, black CA (Titebond Instant Bond Medium Jet Black + 6319 accelerator) was a clean, fast repair. Apply into the void only, let it cure, then scrape/sand flush — never wipe it wet across the surface.
Maintenance & care
- Clean with a damp microfiber cloth or Rubio Surface Care Spray.
- No Pledge. No wax. No silicone sprays — they permanently break the Rubio bond.
- Use trivets and placemats; Rubio isn't as heat-resistant as a thick film finish.
- Let the finish reach full cure (5–7 days) before heavy use.
- Rubio spot-repairs easily — refresh worn areas with a tiny fresh batch rather than refinishing the whole top.
Rubio finish takeaways
A little goes a long way: mix small (only what you'll use in 15–20 minutes), keep the coat thin, and wipe off all excess. The reward is a surface that feels like wood, not plastic — and that you can repair locally for the life of the table.