
Live Edge Cleanup
Cleaning the live edges so they're sound and splinter-free — while keeping their natural character. The goal is refined and clean, not over-machined.
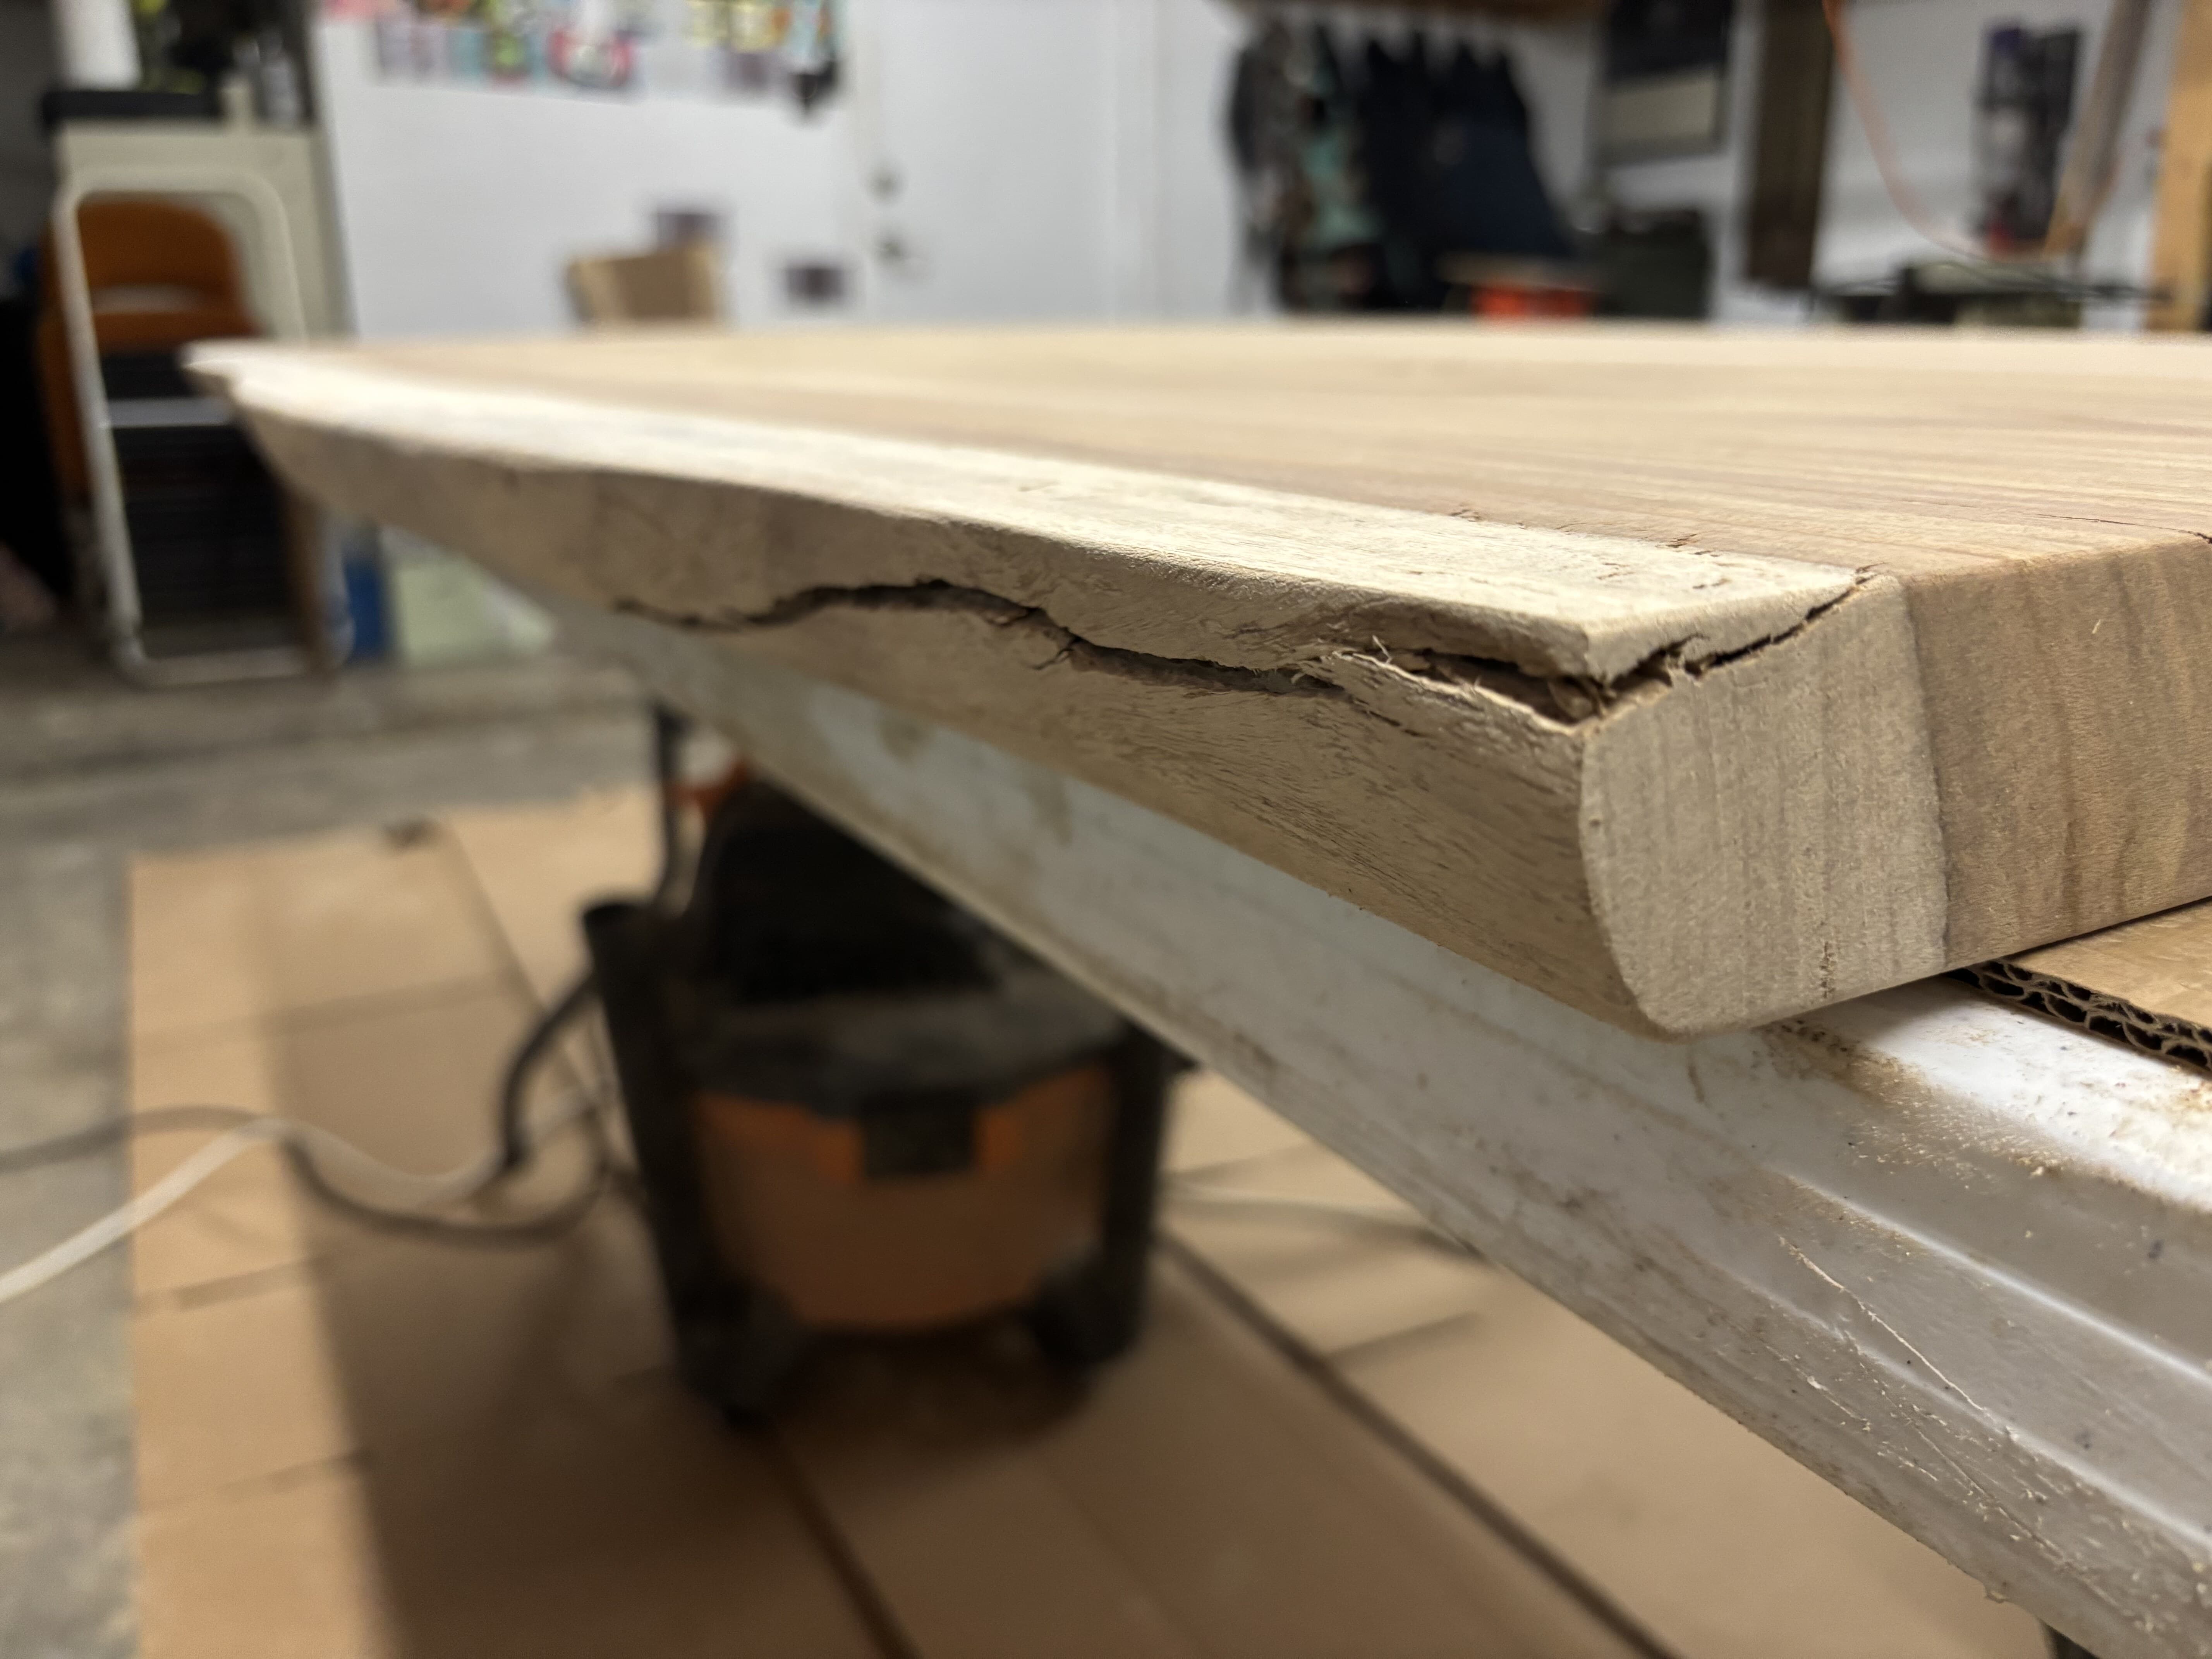
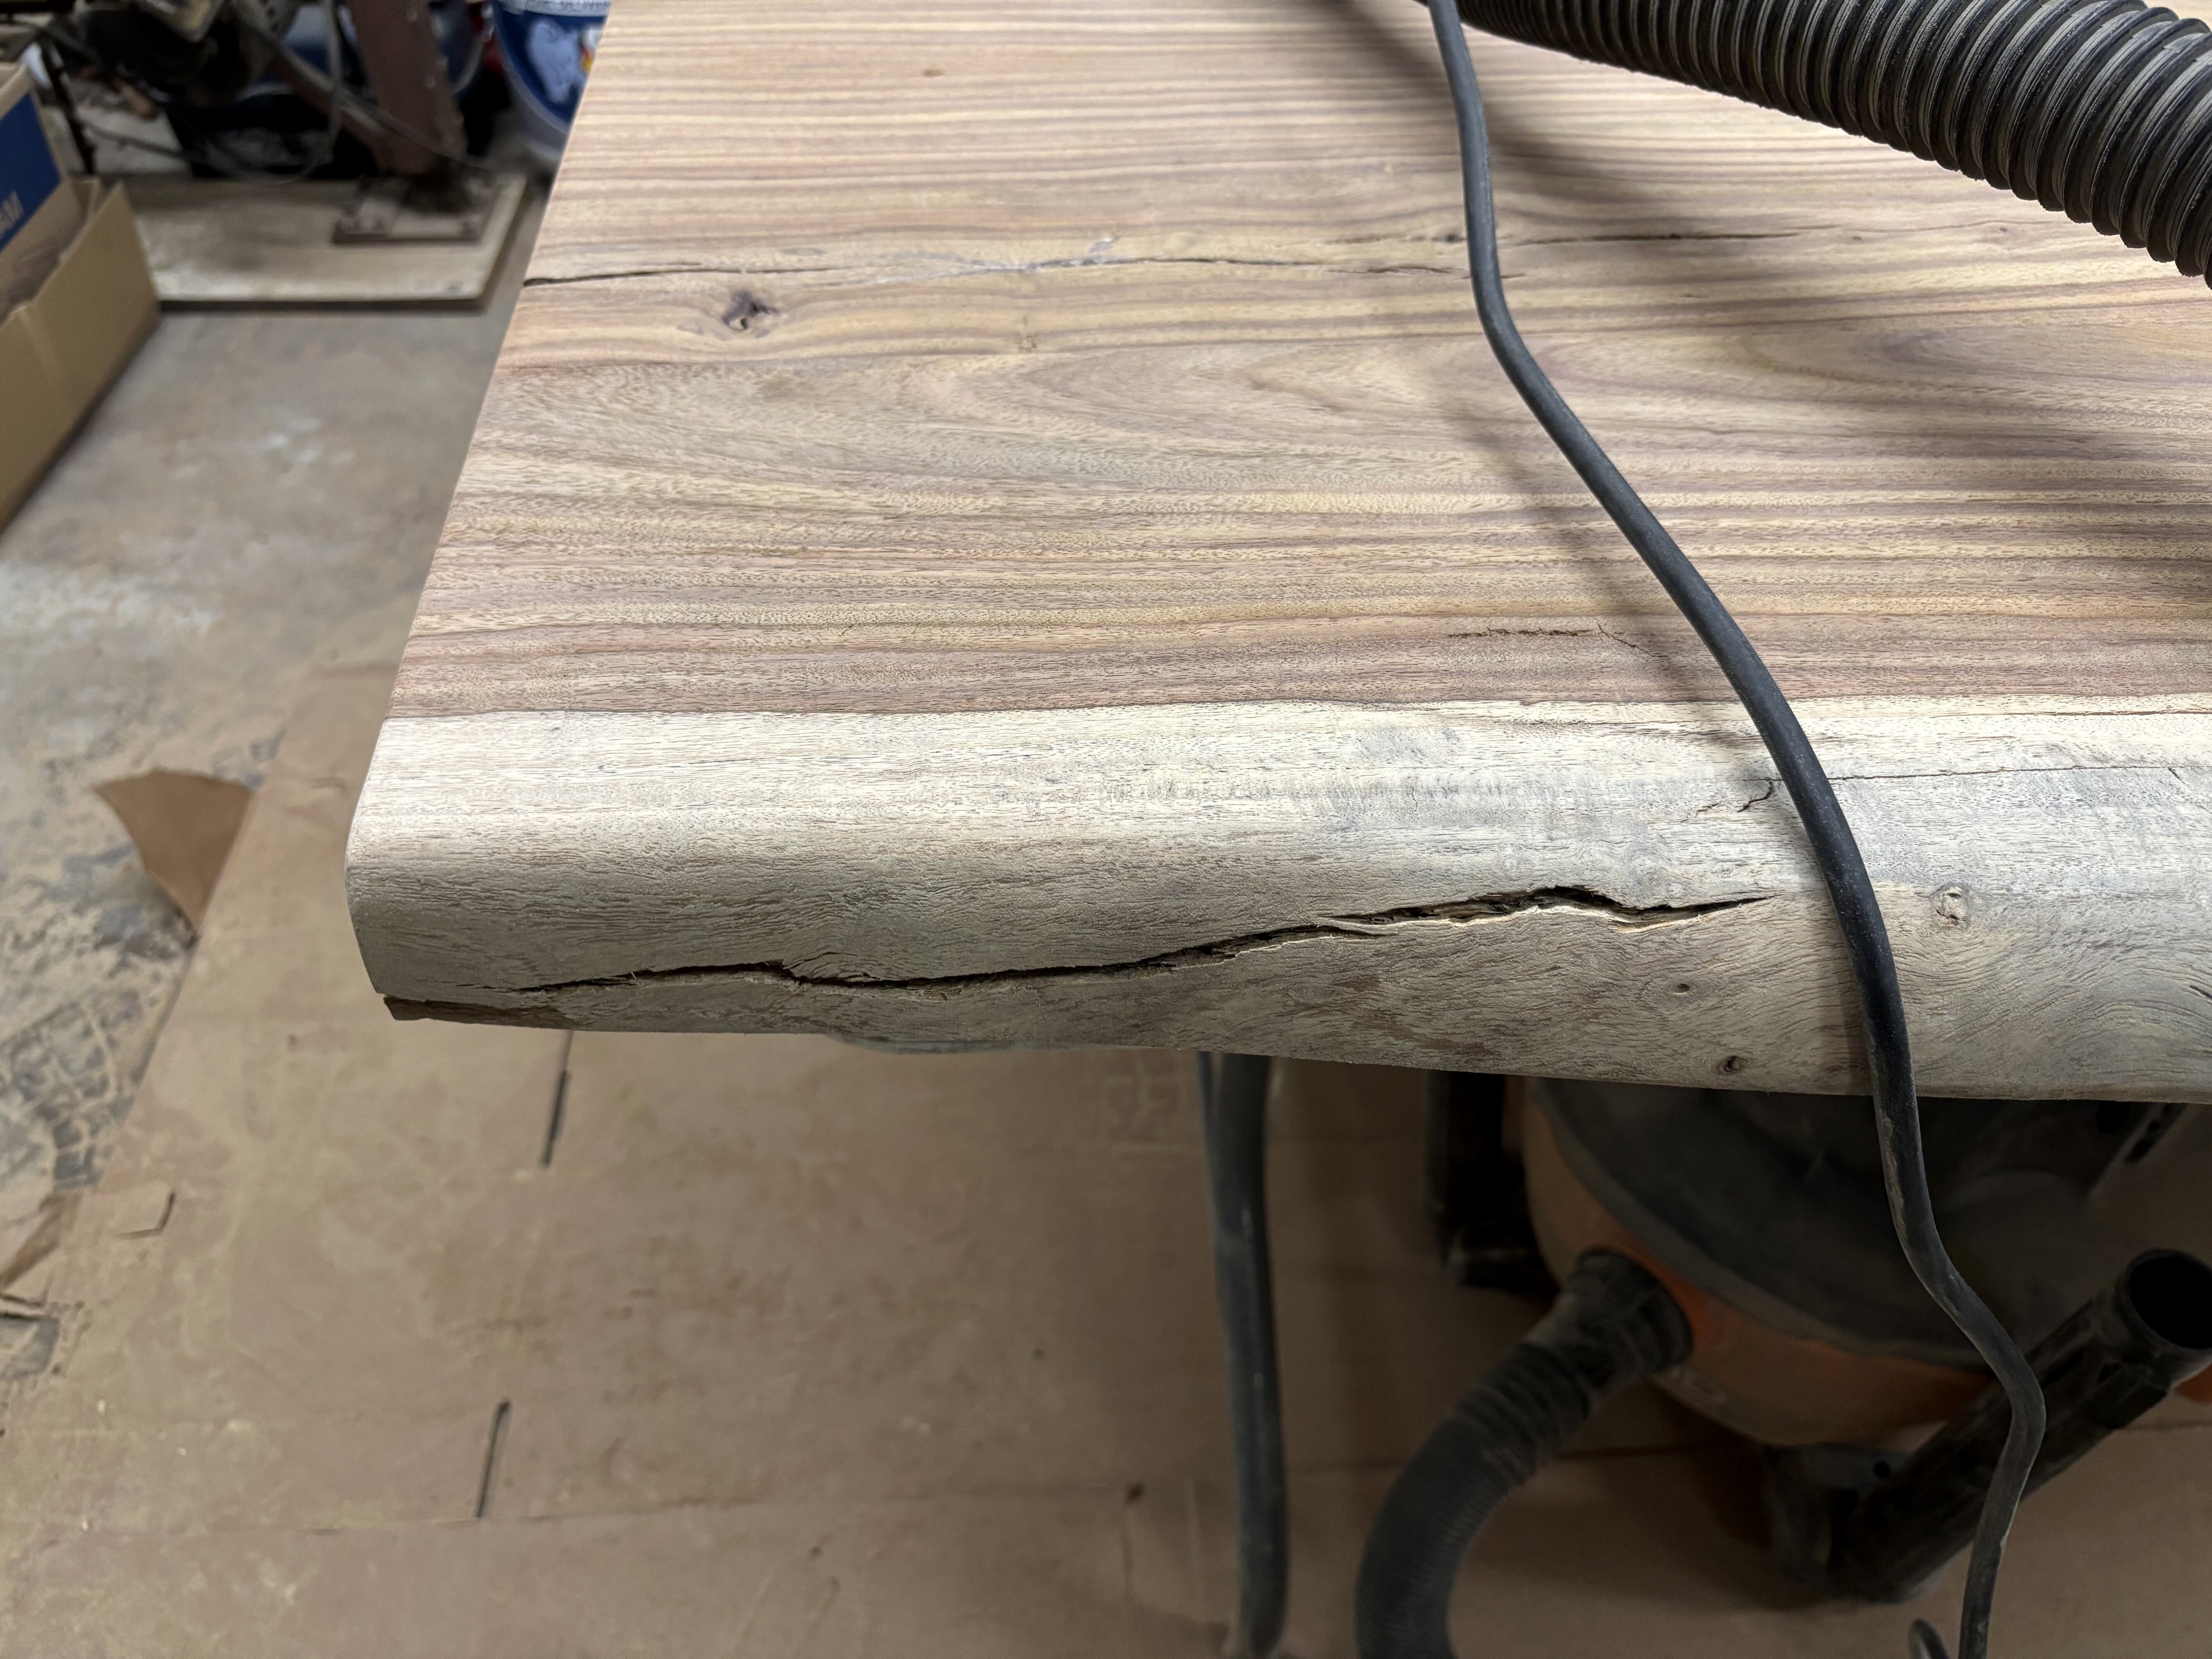
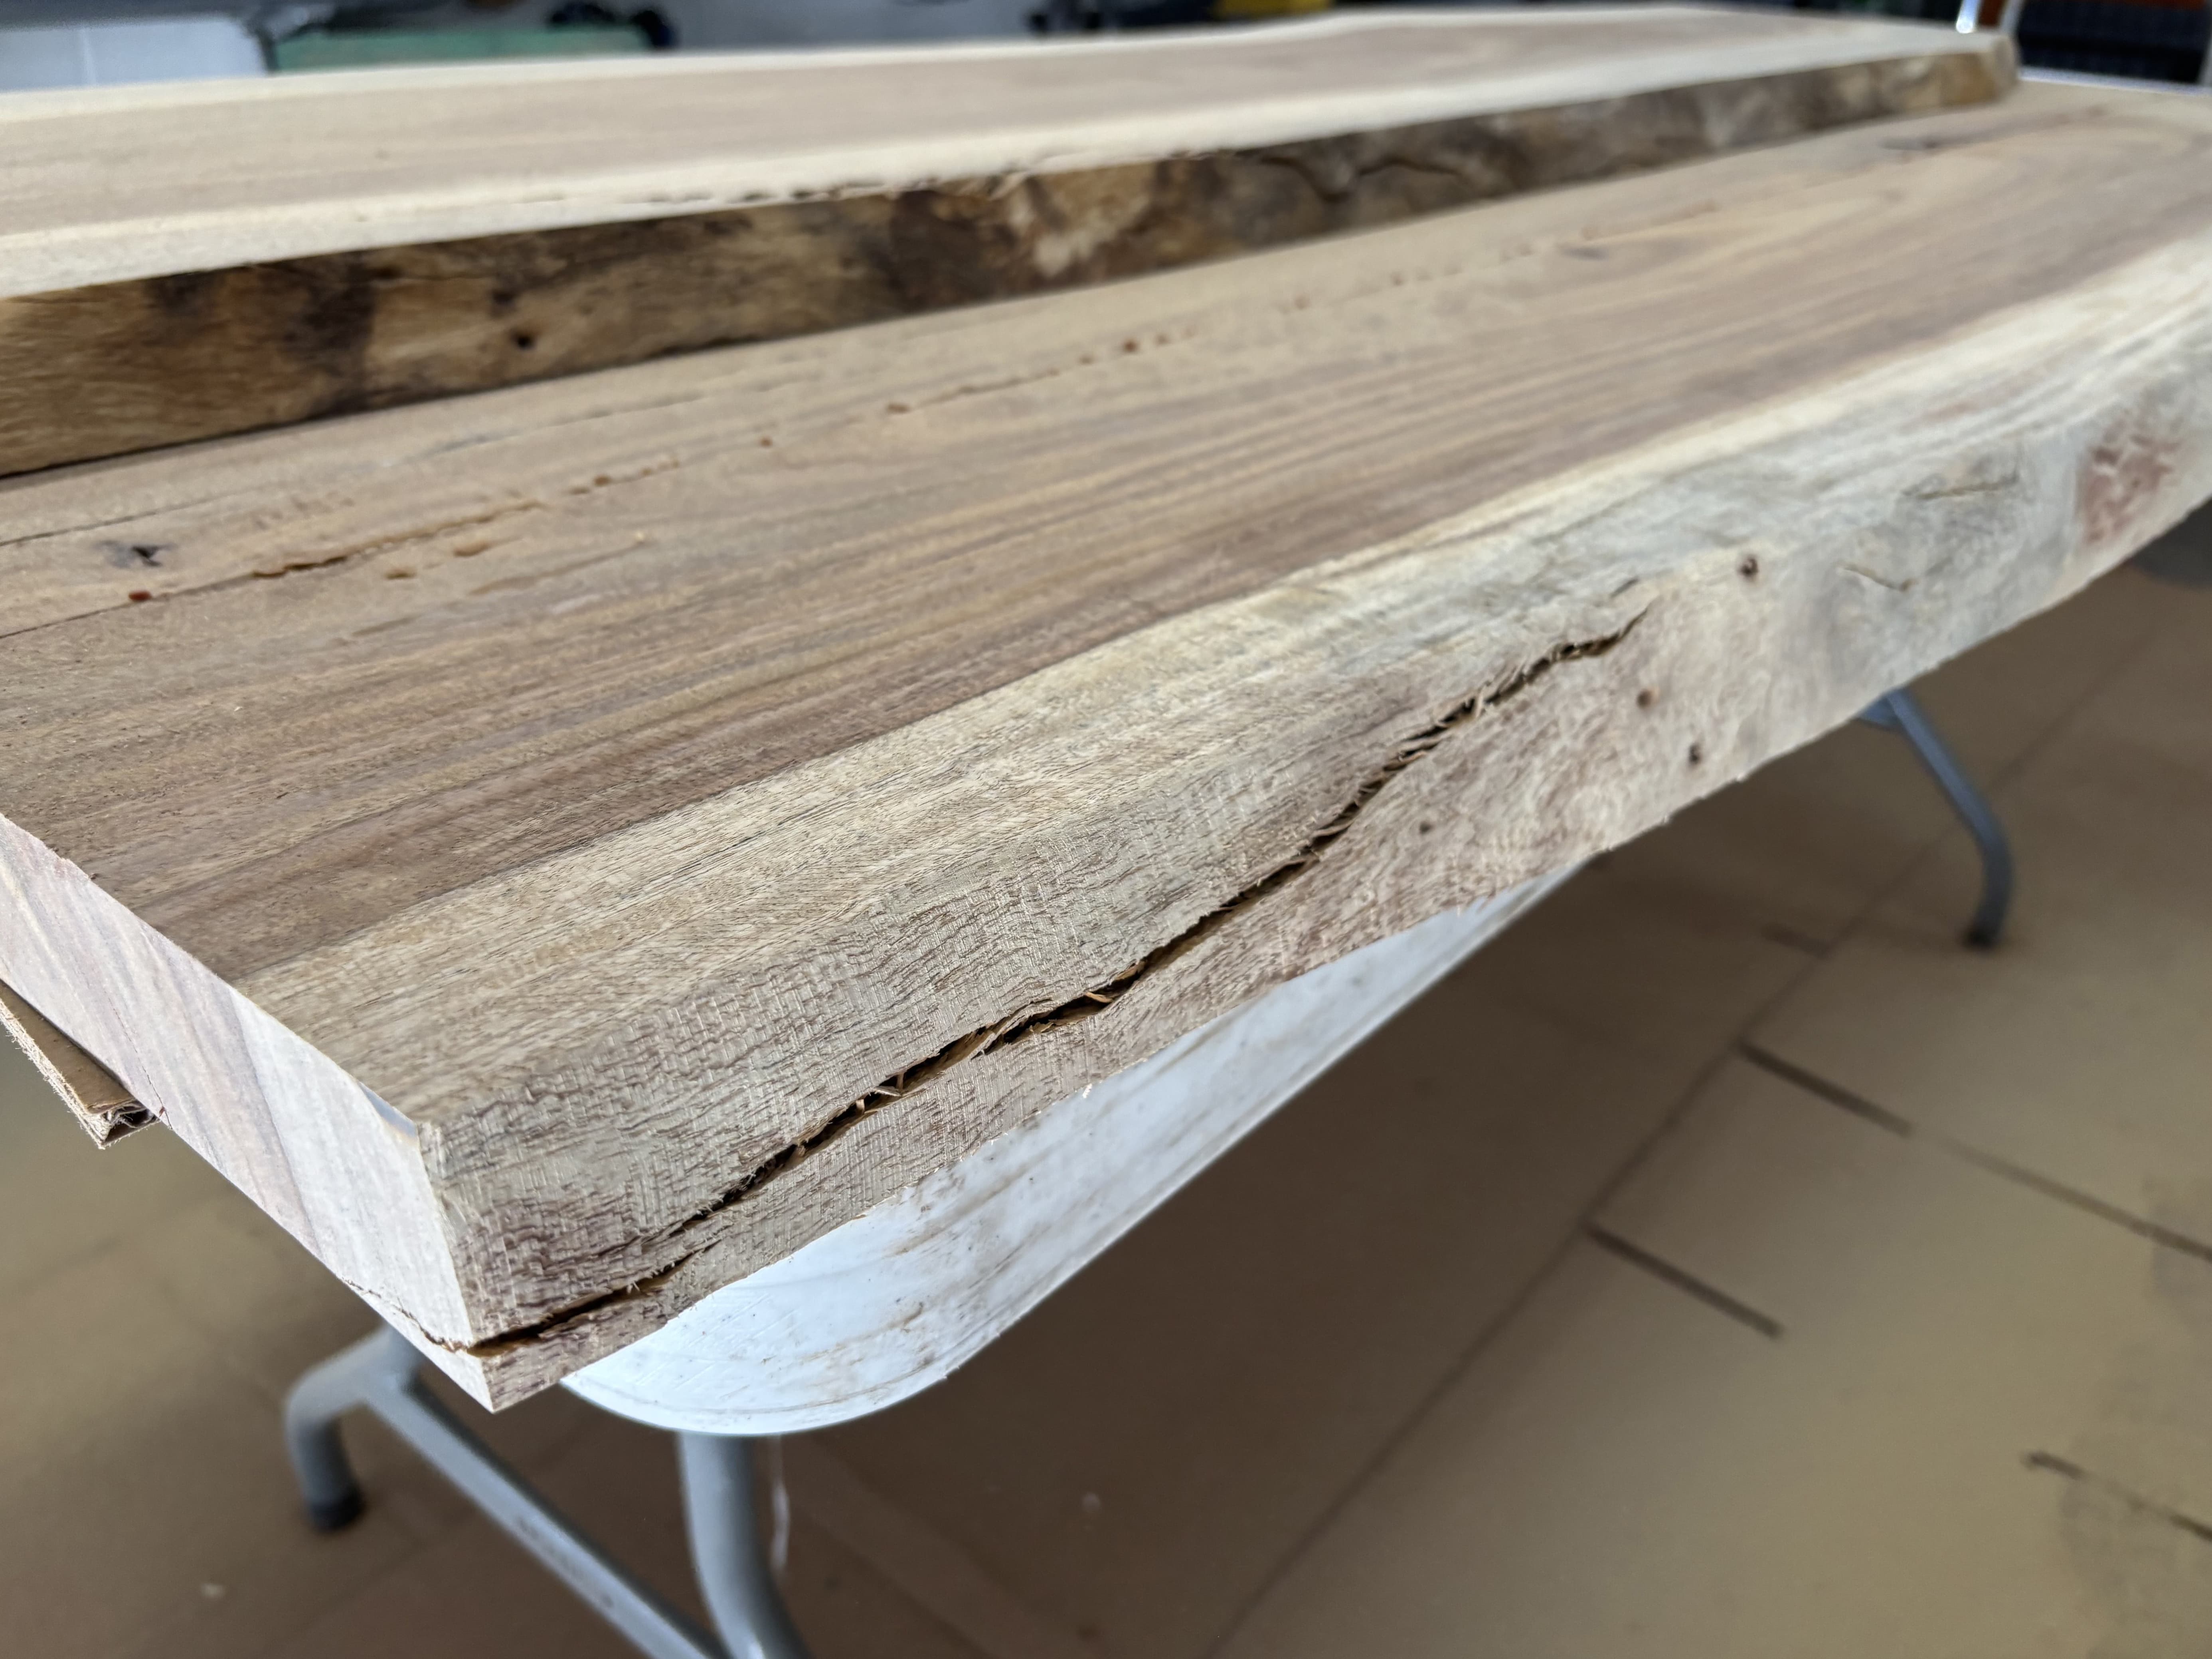
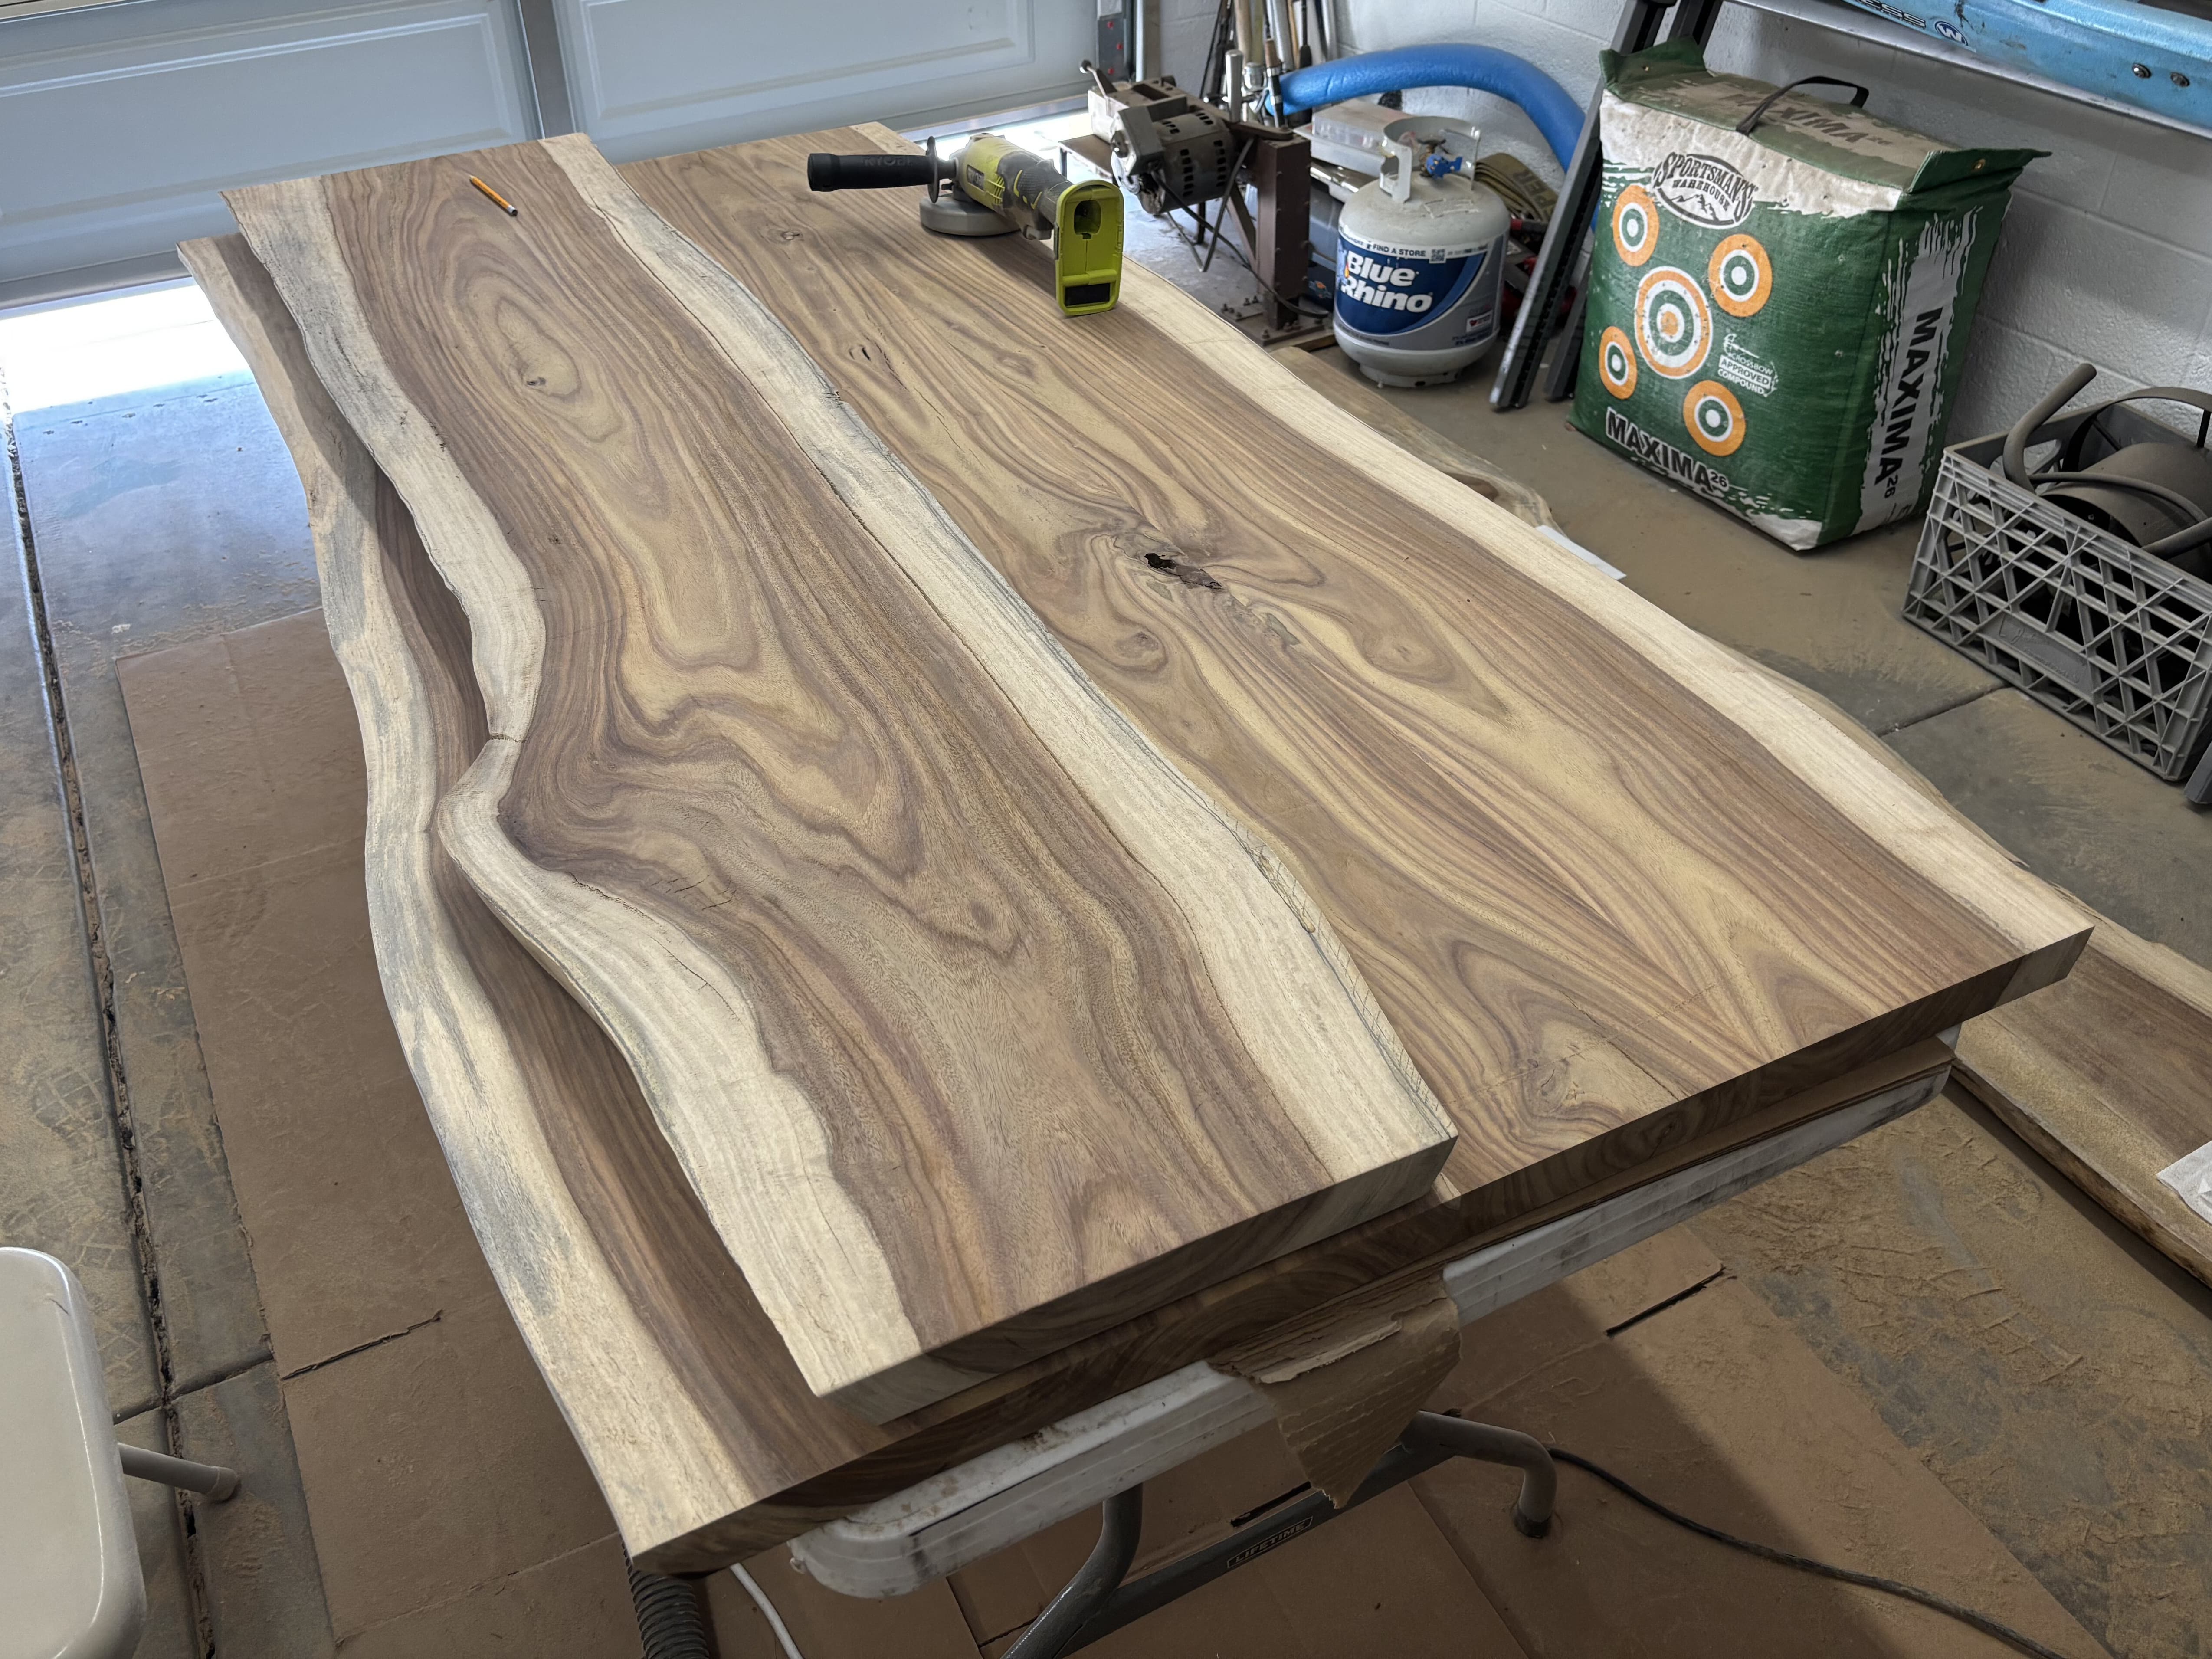
The main tool: an angle grinder with a carving disc
On this build the workhorse for the live edges was an angle grinder fitted with a carving/cutting disc. It tore through the loose bark, the soft cambium beneath it, and the clamp-damaged sapwood left over from glue-up — quickly, and with real control over the final shape. It's an aggressive tool, so a light touch and good dust protection matter, but nothing else refined this edge as fast.
Following the grain like a topographic map
Here's what made this step a genuine joy. Instead of grinding to a pre-drawn line, I followed the natural grain lines in the sapwood and let the wood tell me where to go. I ended up removing more than I first planned — on purpose — to bring the sapwood to a more uniform width along the whole edge. Then I sanded the lines back until the same grain line ran continuously across the full width of the edge.
It felt like carving down through layers of sediment, or tracing the contour lines on a topographic map — slow, absorbing, and hugely rewarding. This is the part of a live edge most people are unsure how to approach; the secret is simply to read the grain and remove only what breaks the flow.
Remove what's loose — then preserve the shape
Bark and the soft cambium just under it will flake off in time and won't hold finish, so remove anything loose, soft, or unsound as you work the edge. But the whole appeal of a live edge is that it's organic — so once it's sound, stop. Refine just enough to be clean and safe; don't grind it into a smooth, generic curve.
Tools for the job
- Angle grinder with a carving / cutting disc — the main tool here; fast, controllable shaping.
- Chisel & drawknife — remove bark and loose cambium in tight spots.
- Wire brush — clean out crevices and add texture.
- Cabinet scraper / spokeshave — fine-tune the shape.
- Sandpaper / foam pads — smooth splinters and knock the edge back to about 80 grit.
The finer detail work — picking punky spots out of checks, cleaning tight voids with a Dremel — belongs with the crack work in Step 7, once you shift from shaping the edge to prepping it for epoxy.
How far to sand — and where to stop
Knock down the splinters and refine the surface, but don't chase a polish here. On this build the edge was taken only to about 80 grit before moving into epoxy. That's deliberate: the resin work comes next, epoxy needs tooth to grip, and going finer now just means redoing it. Save the higher grits for after the fills are in and leveled. Your real test isn't a grit number — it's running a bare hand along the whole edge and feeling for any catch.
🛠 Tips
- Let the grain lines guide the cut — follow them, don't fight them.
- An angle grinder with a carving disc is the fast, controllable way to refine a live edge.
- Removing a little extra to even out sapwood width is fine — just stay intentional.
- Stop around 80 grit before epoxy; the edge needs tooth, and finer sanding comes later.
- Run your hand along the edge often — it should feel natural, never sharp or splintery.