
Crack Prep
Before any epoxy goes down, walk the whole top and take stock of every crack, check, and void — then clean each one out so it's ready to take a fill cleanly.
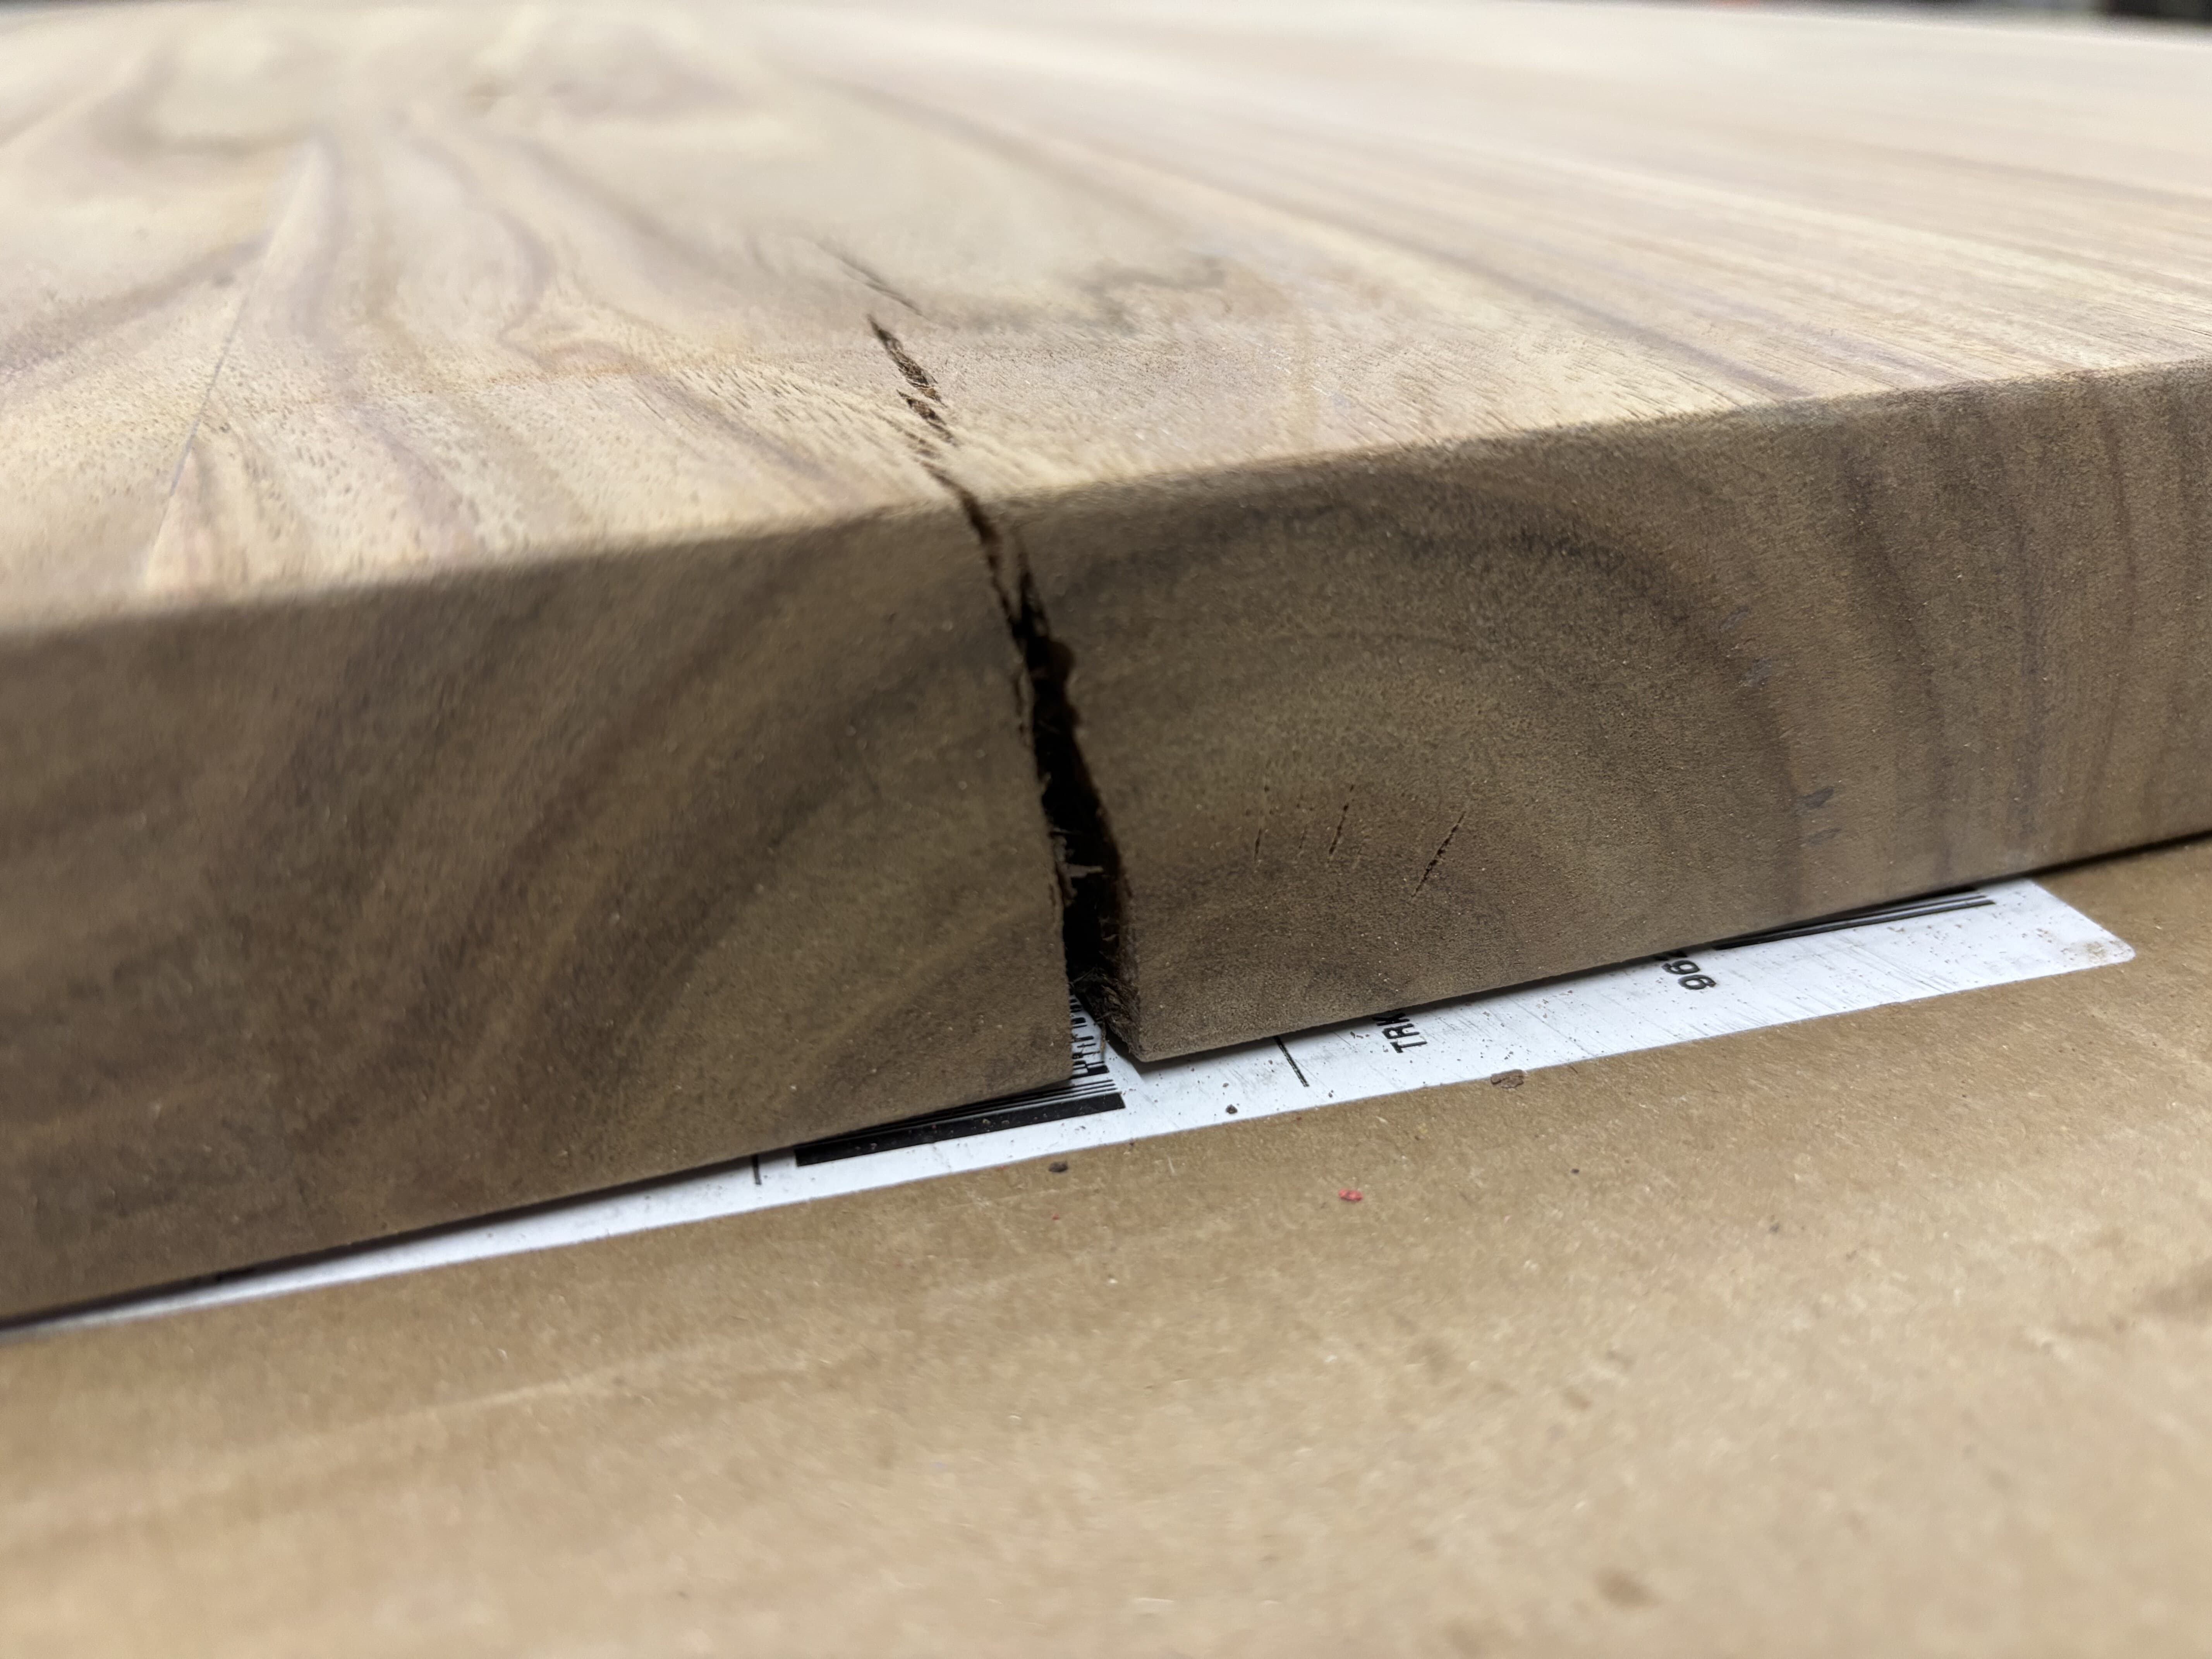
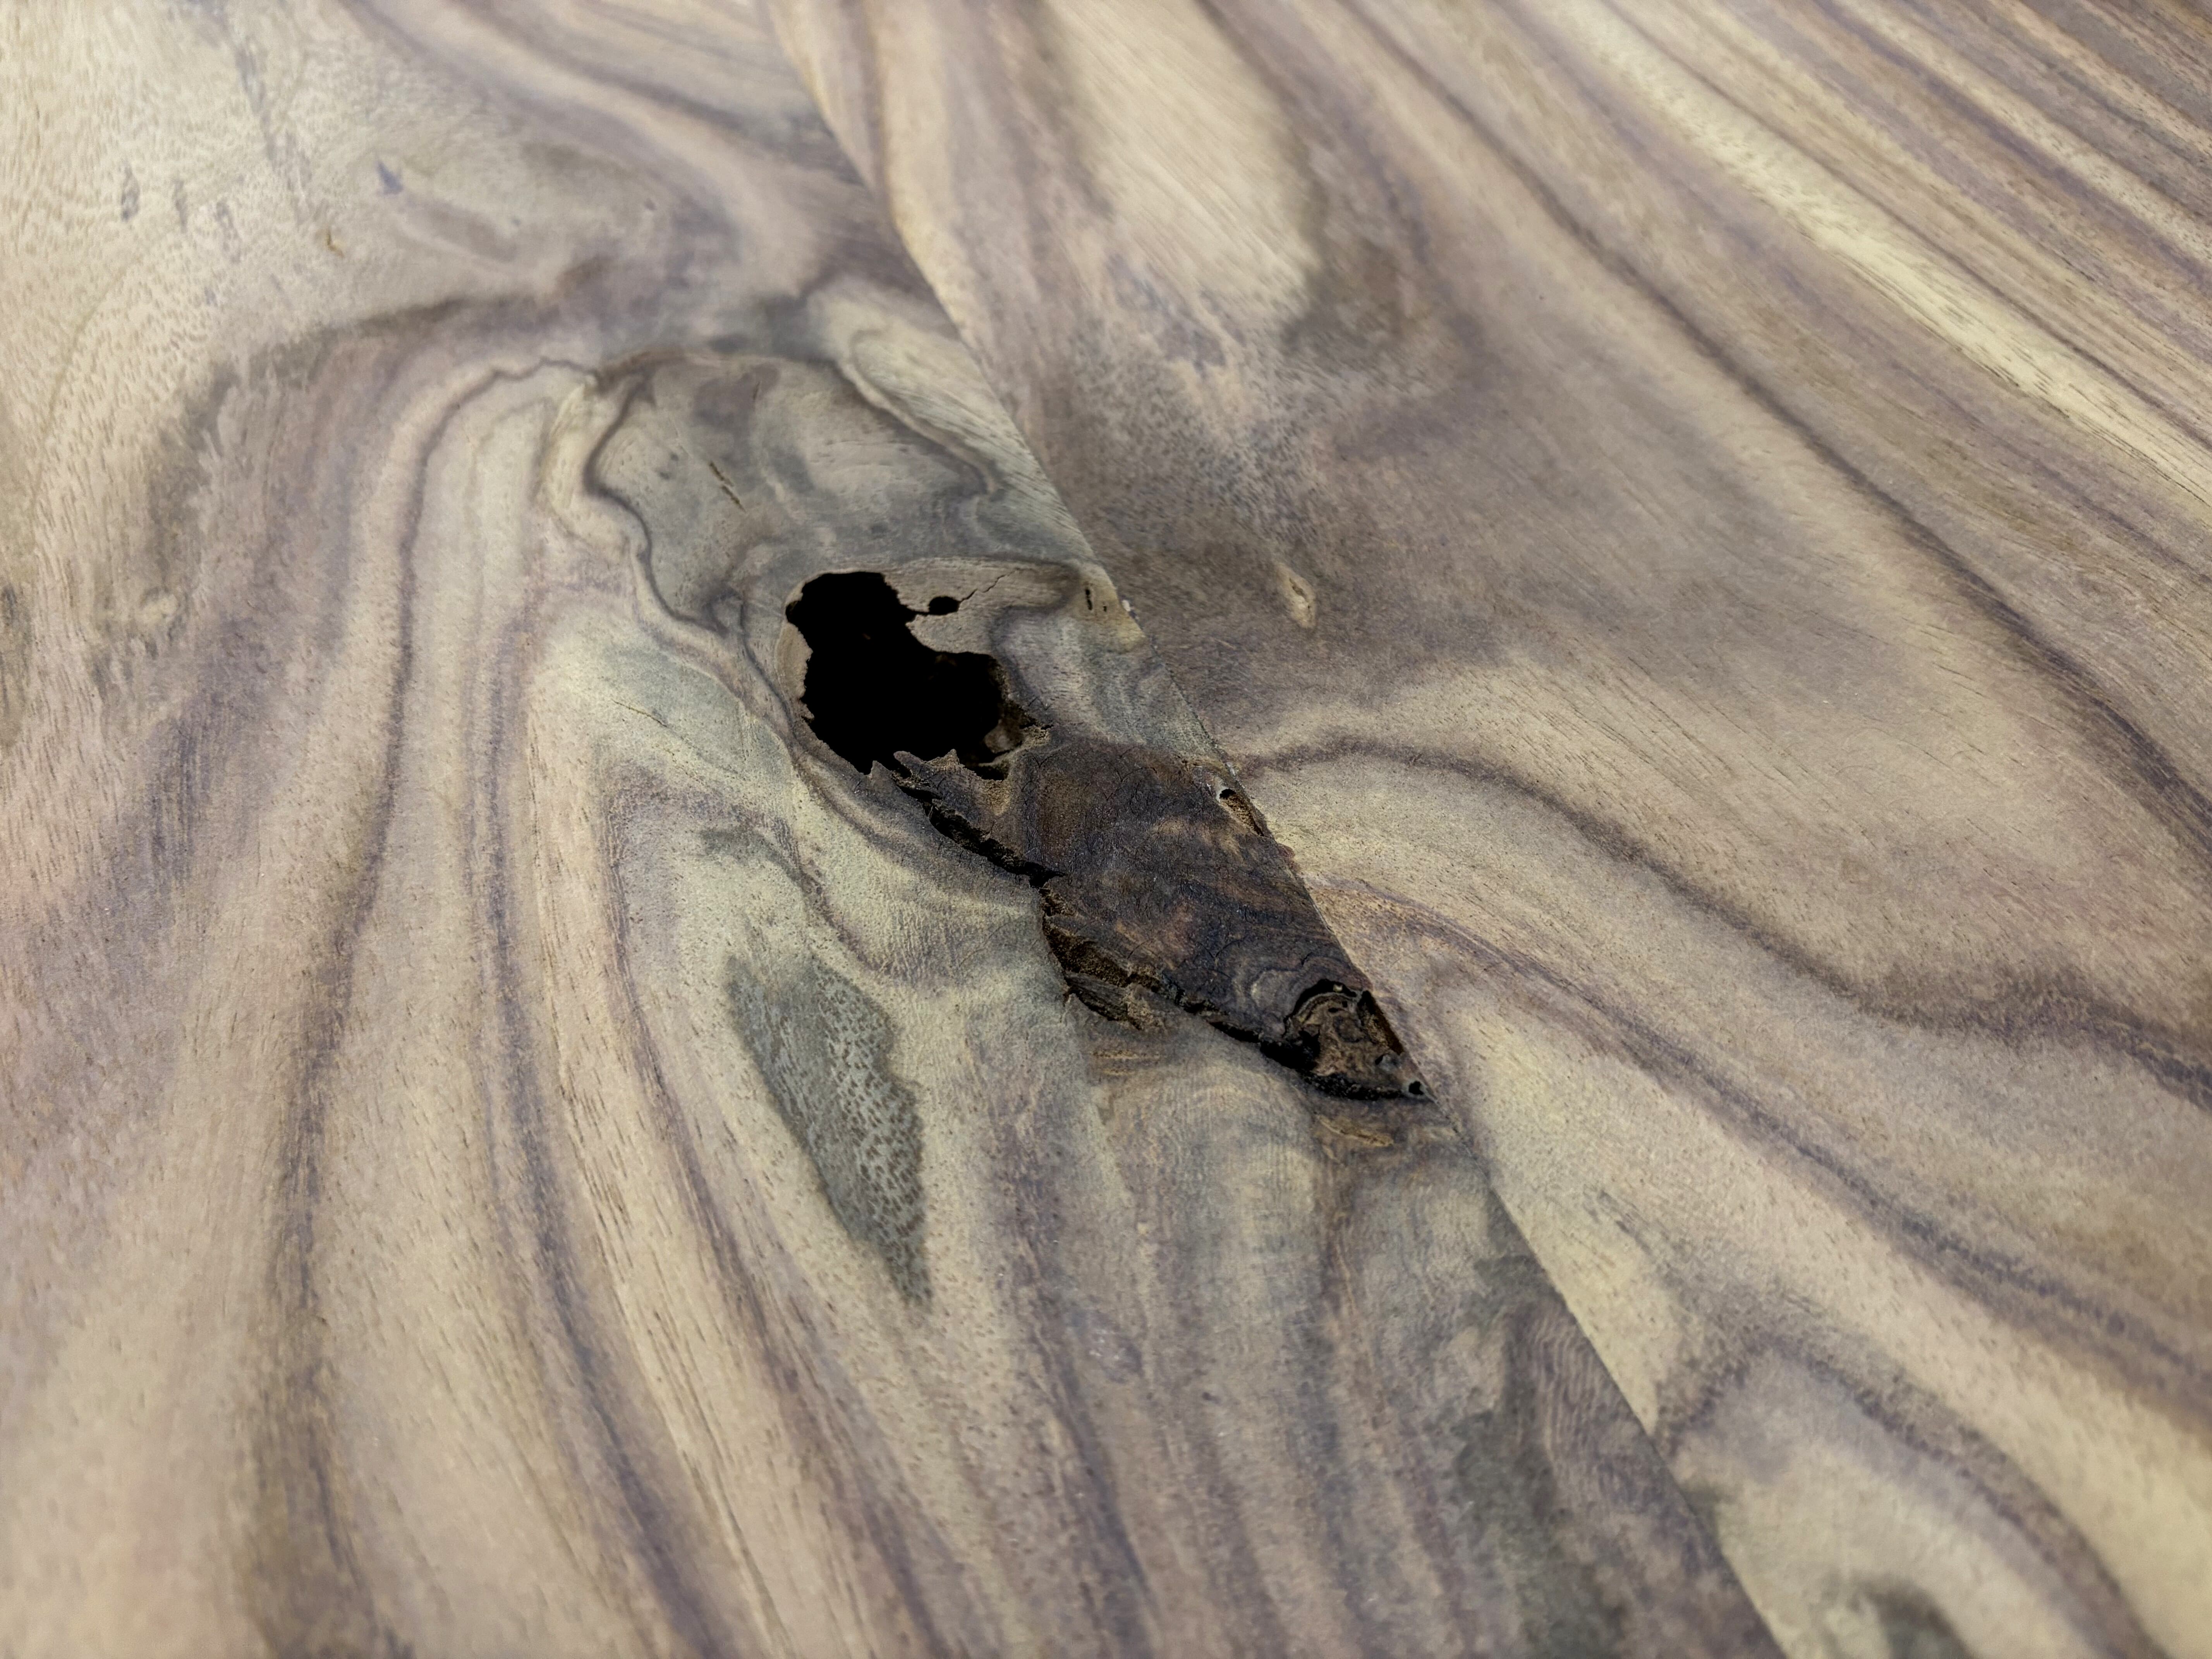
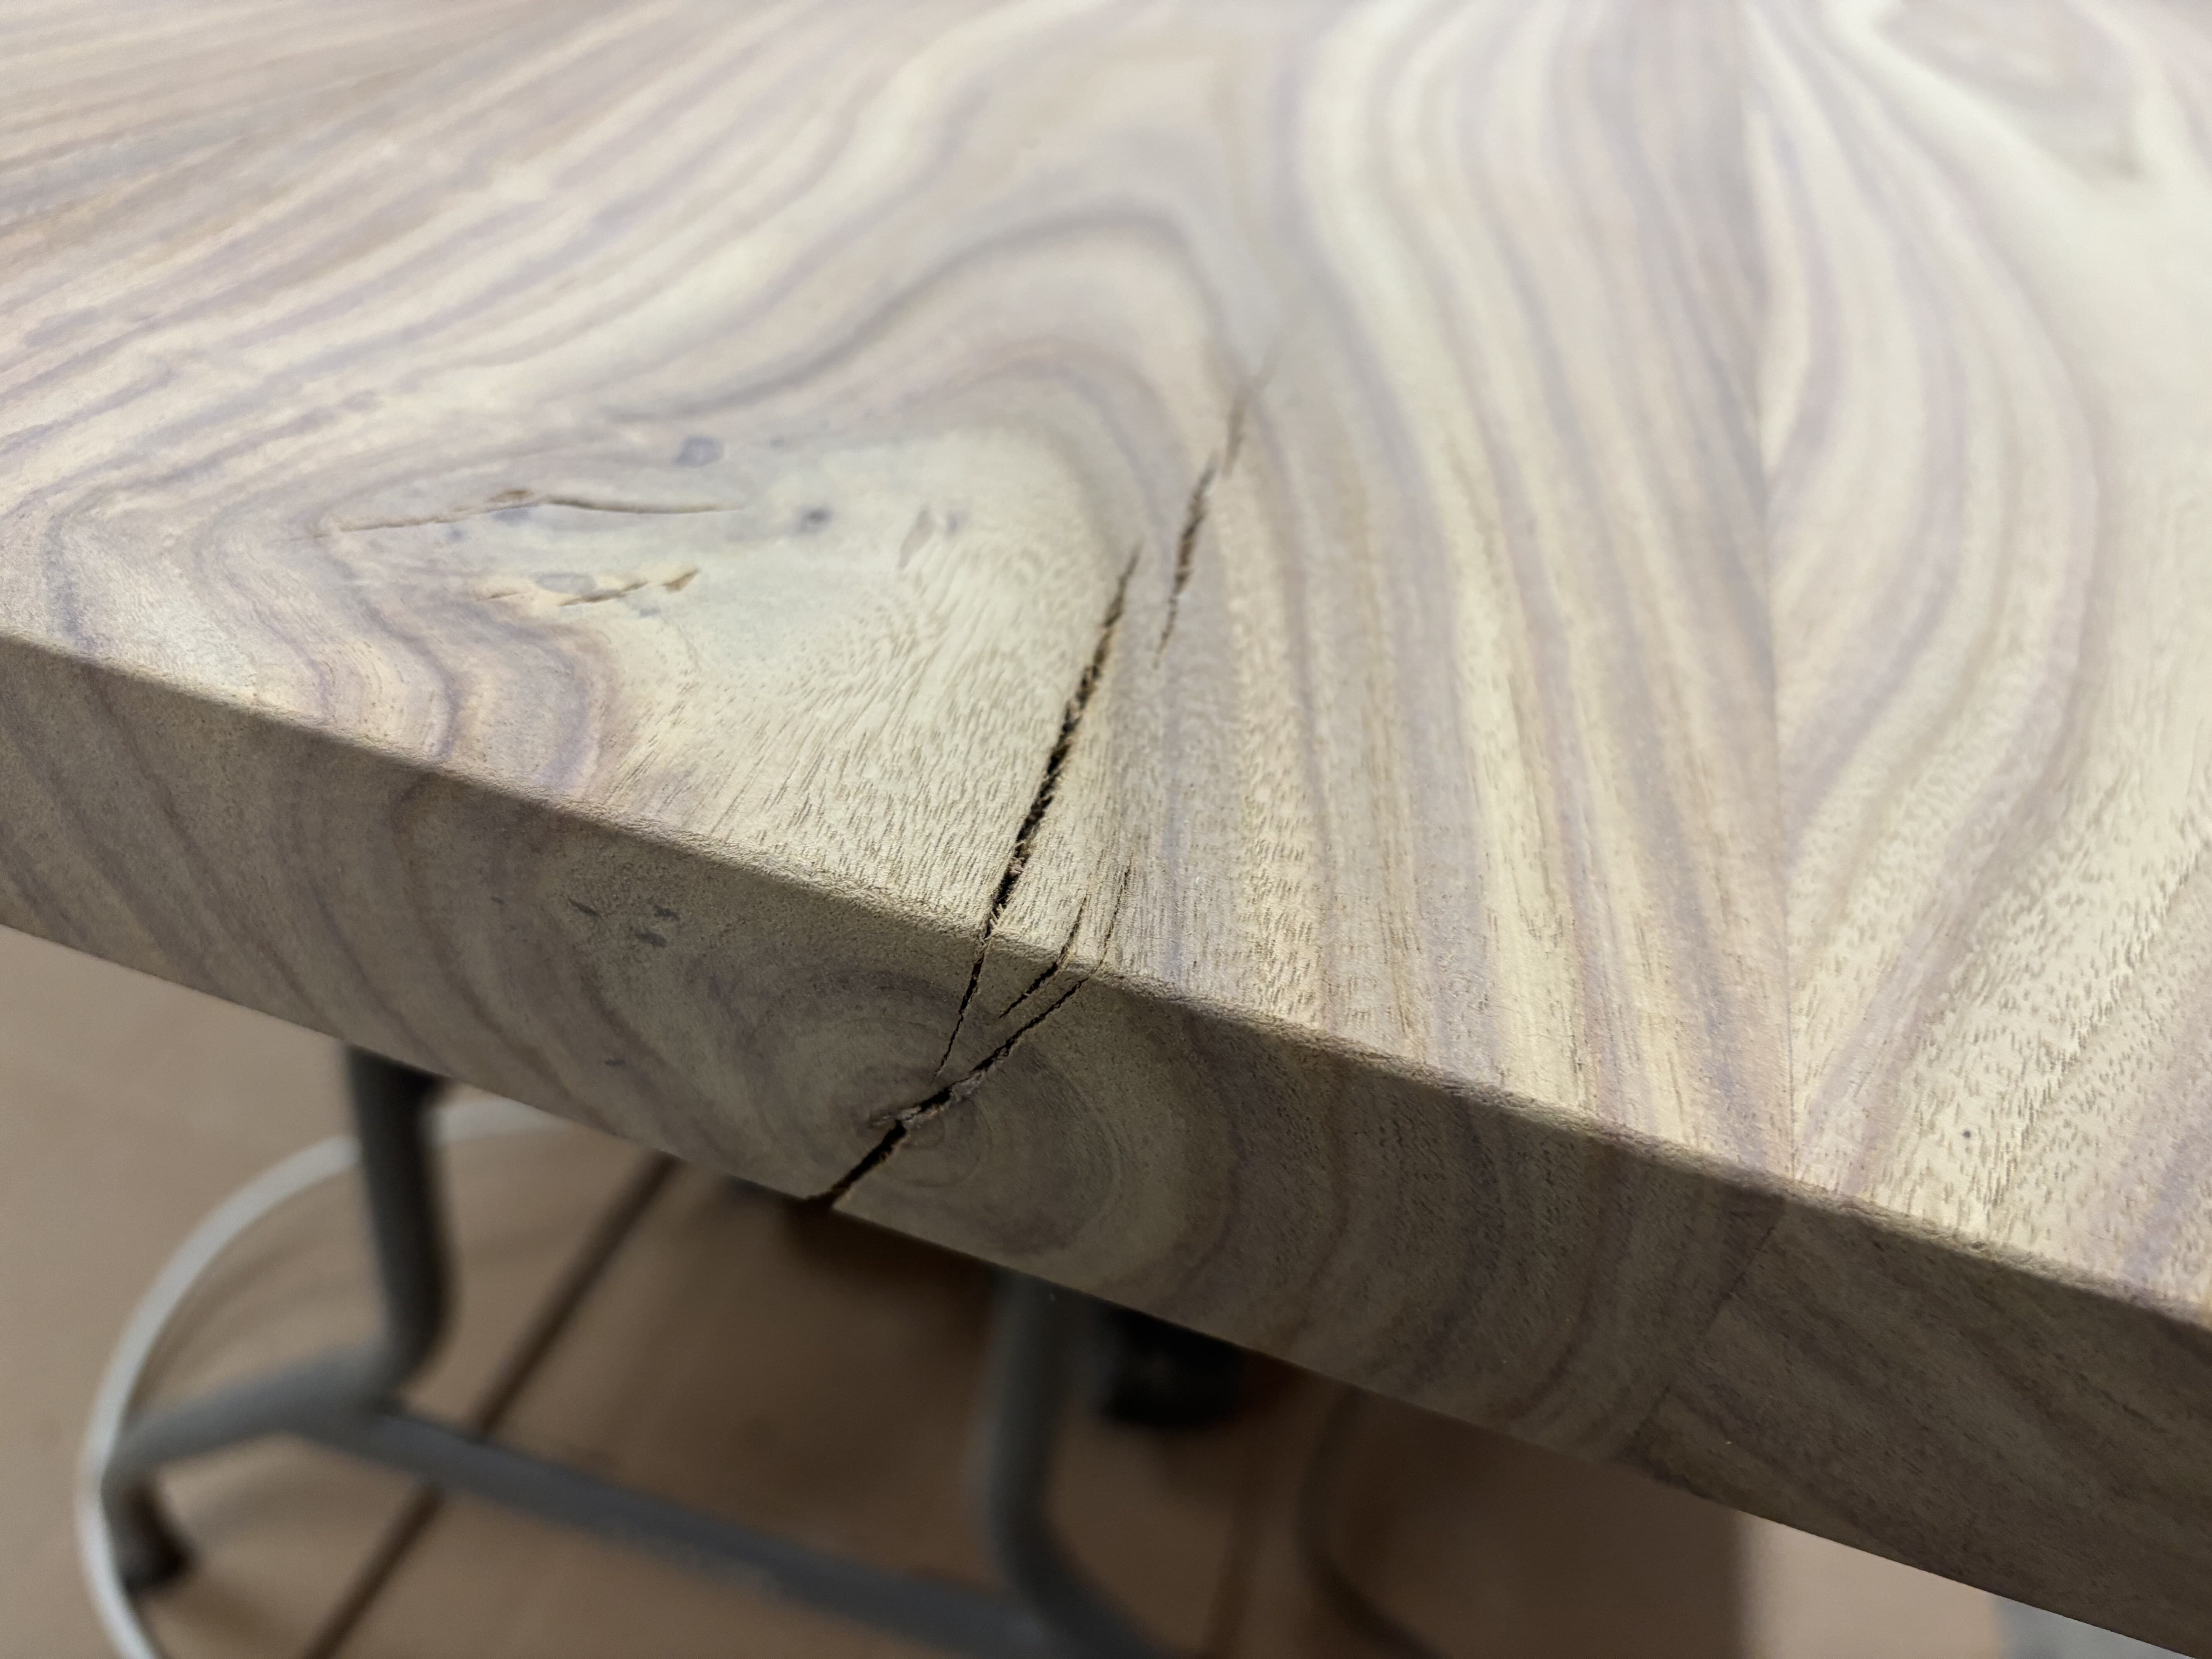
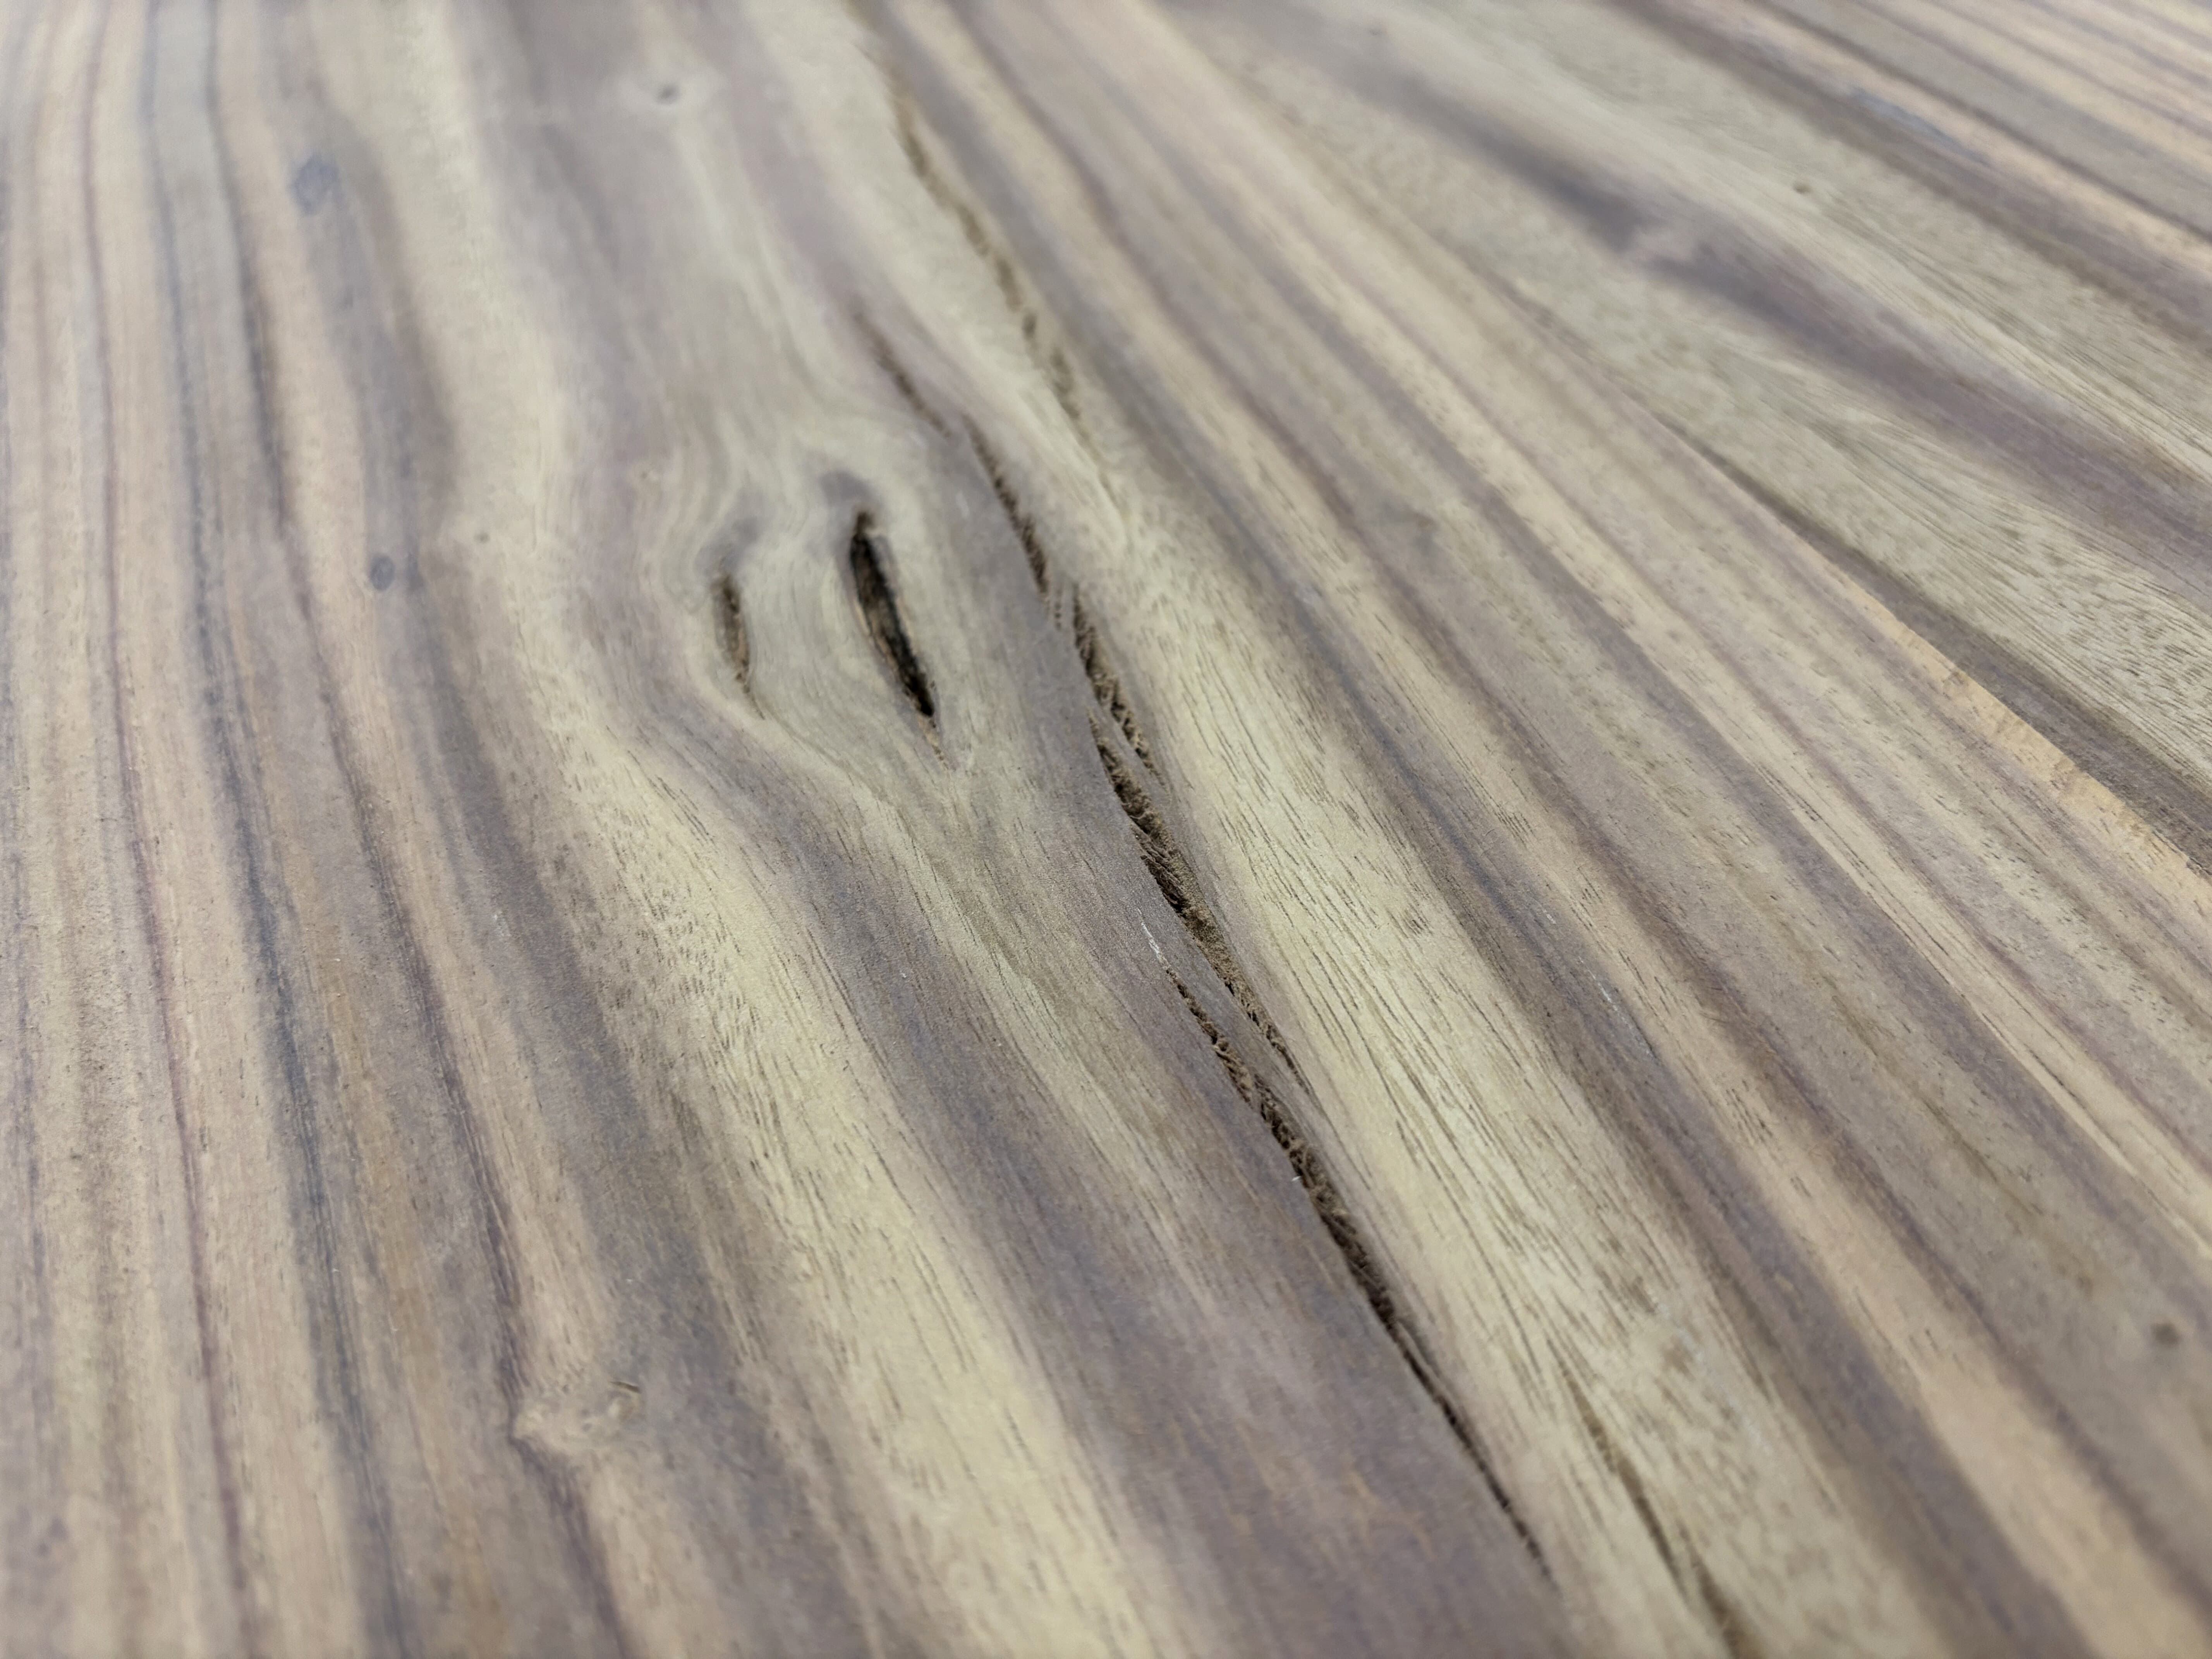
Identify cracks, checks & voids
Walk the whole top and mark every crack, check, and void you intend to fill. Decide which are purely cosmetic and which are structural. A badly split slab sometimes calls for a butterfly/bowtie inlay set across the crack to lock it — worth knowing about, but I didn't use any inlays on this table. Every crack here was sound enough to clean, stabilize, and fill with black epoxy; the epoxy (and later a little black CA glue) did all the structural work.
Cleaning the cracks
Clean loose material out of each crack with a Dremel and a pick, then blow it out. Remove loose material only — don't widen a tight crack just to make filling easier. The cleaner the cavity, the better the epoxy bonds and the fewer surprises later.
Two tools earned their keep here: compressed air was excellent for firing the fine debris out of deep checks and voids, and a strong shop-vac caught what the air kicked up. Alternate the two — blow, then vacuum — until a crack blows clean with nothing left to rattle loose.
What's next
Once every crack and void is identified and cleaned, the top is ready for the clear skim coat and taping strategy in Step 8 — the prep work that keeps the black pour crisp and contained.
🛠 Tips
- Walk the whole top methodically — it's easy to miss a hairline check in flat light.
- Remove loose material only — don't widen cracks unnecessarily.
- Note which cracks run all the way through; they'll need damming later.
- A raking light (held low across the surface) makes hairlines much easier to spot.