
Epoxy Prep
The strategy that makes a clean black pour possible: sealing the show face with a clear skim coat, taping the underside to dam every through-crack, and pouring the black epoxy into the voids from the top.
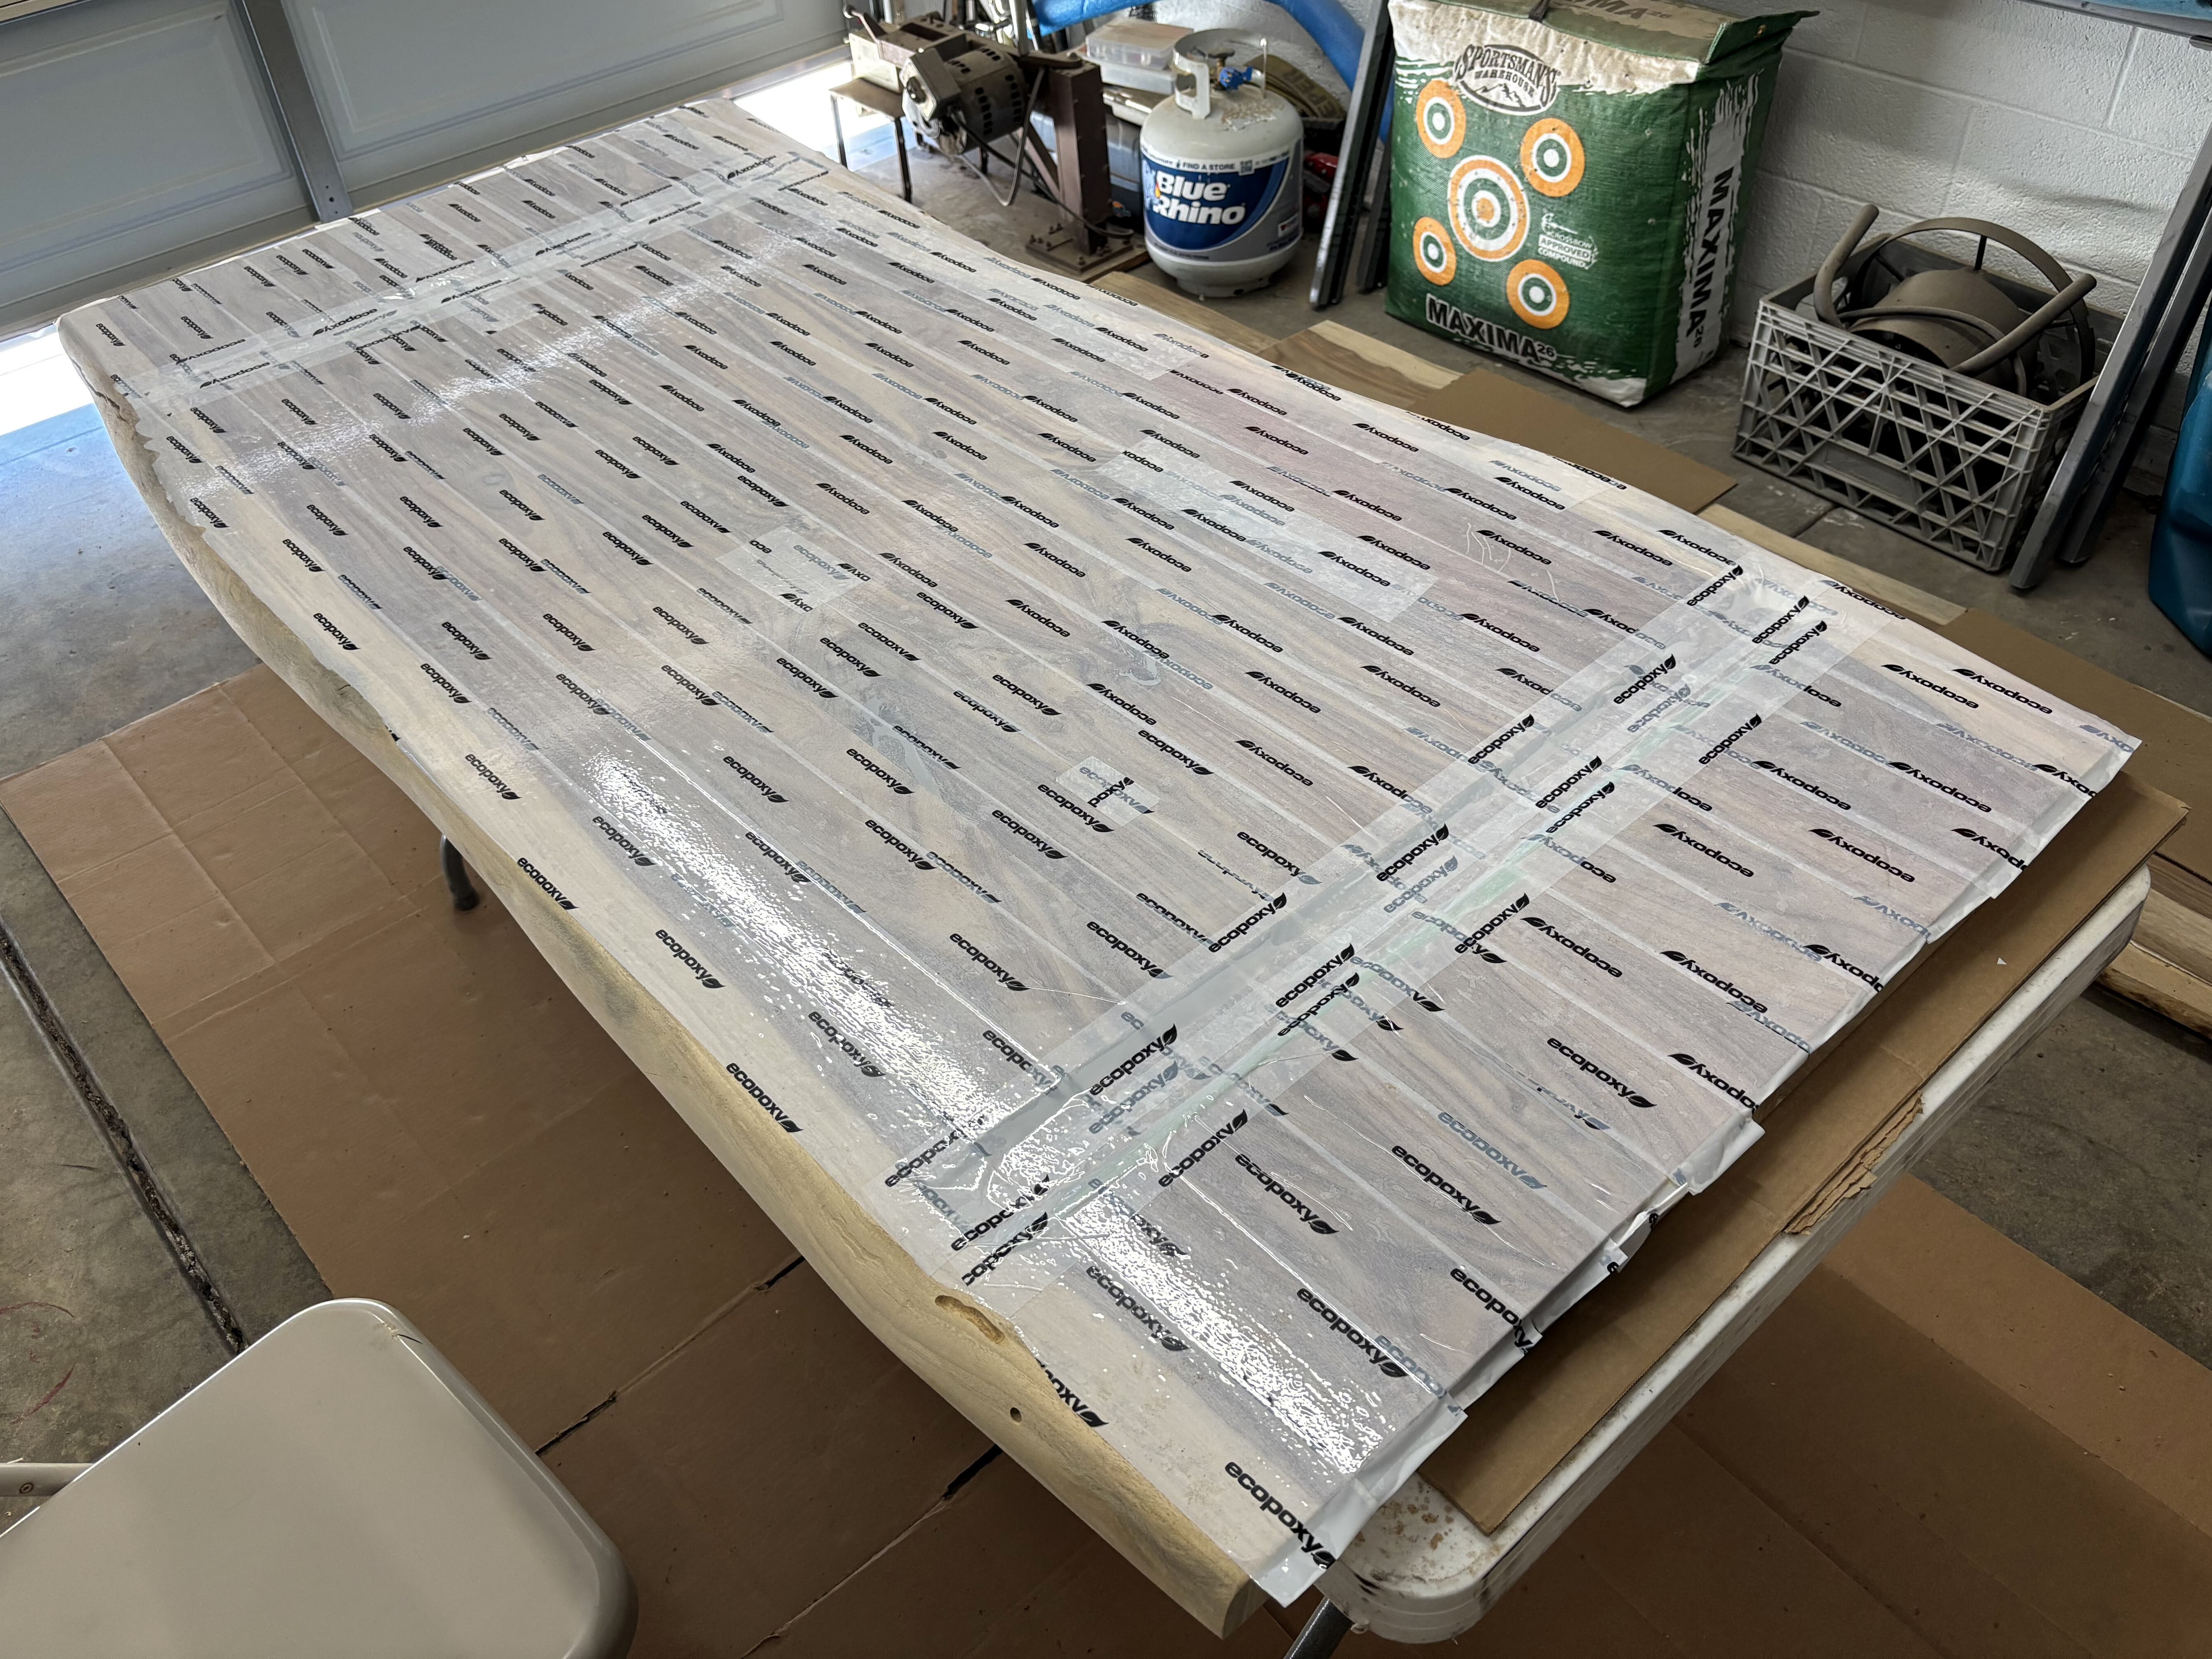
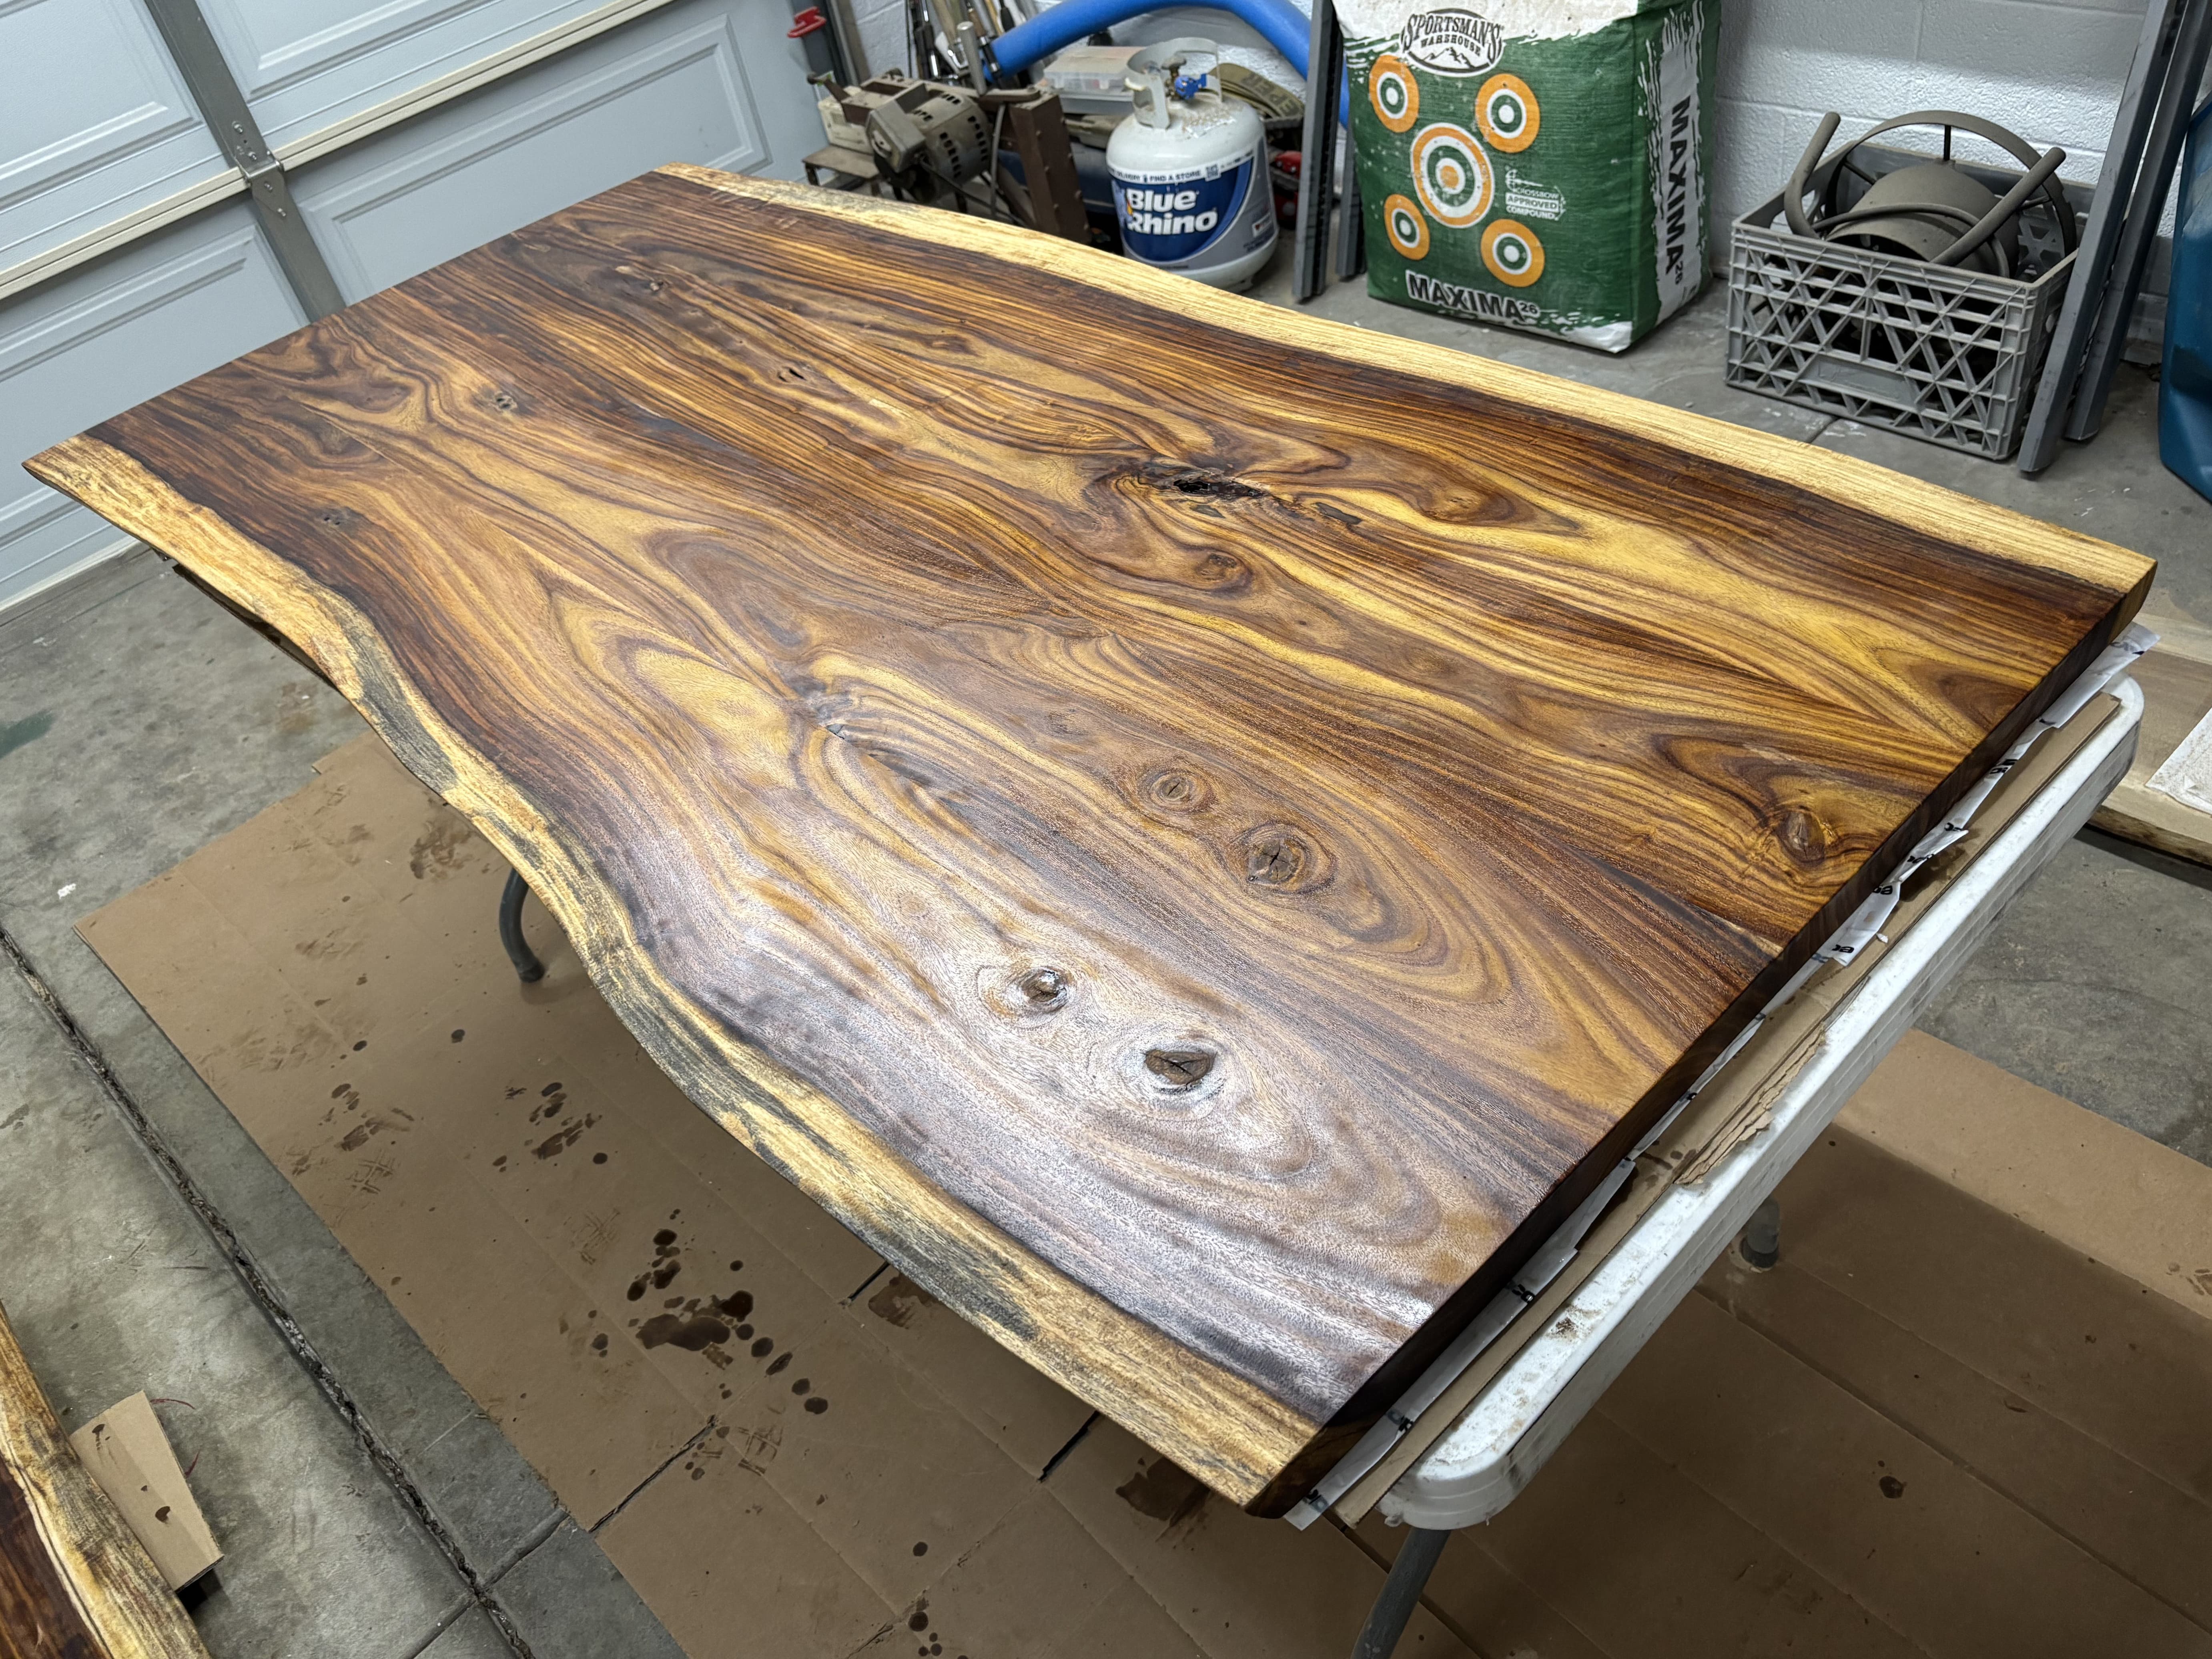
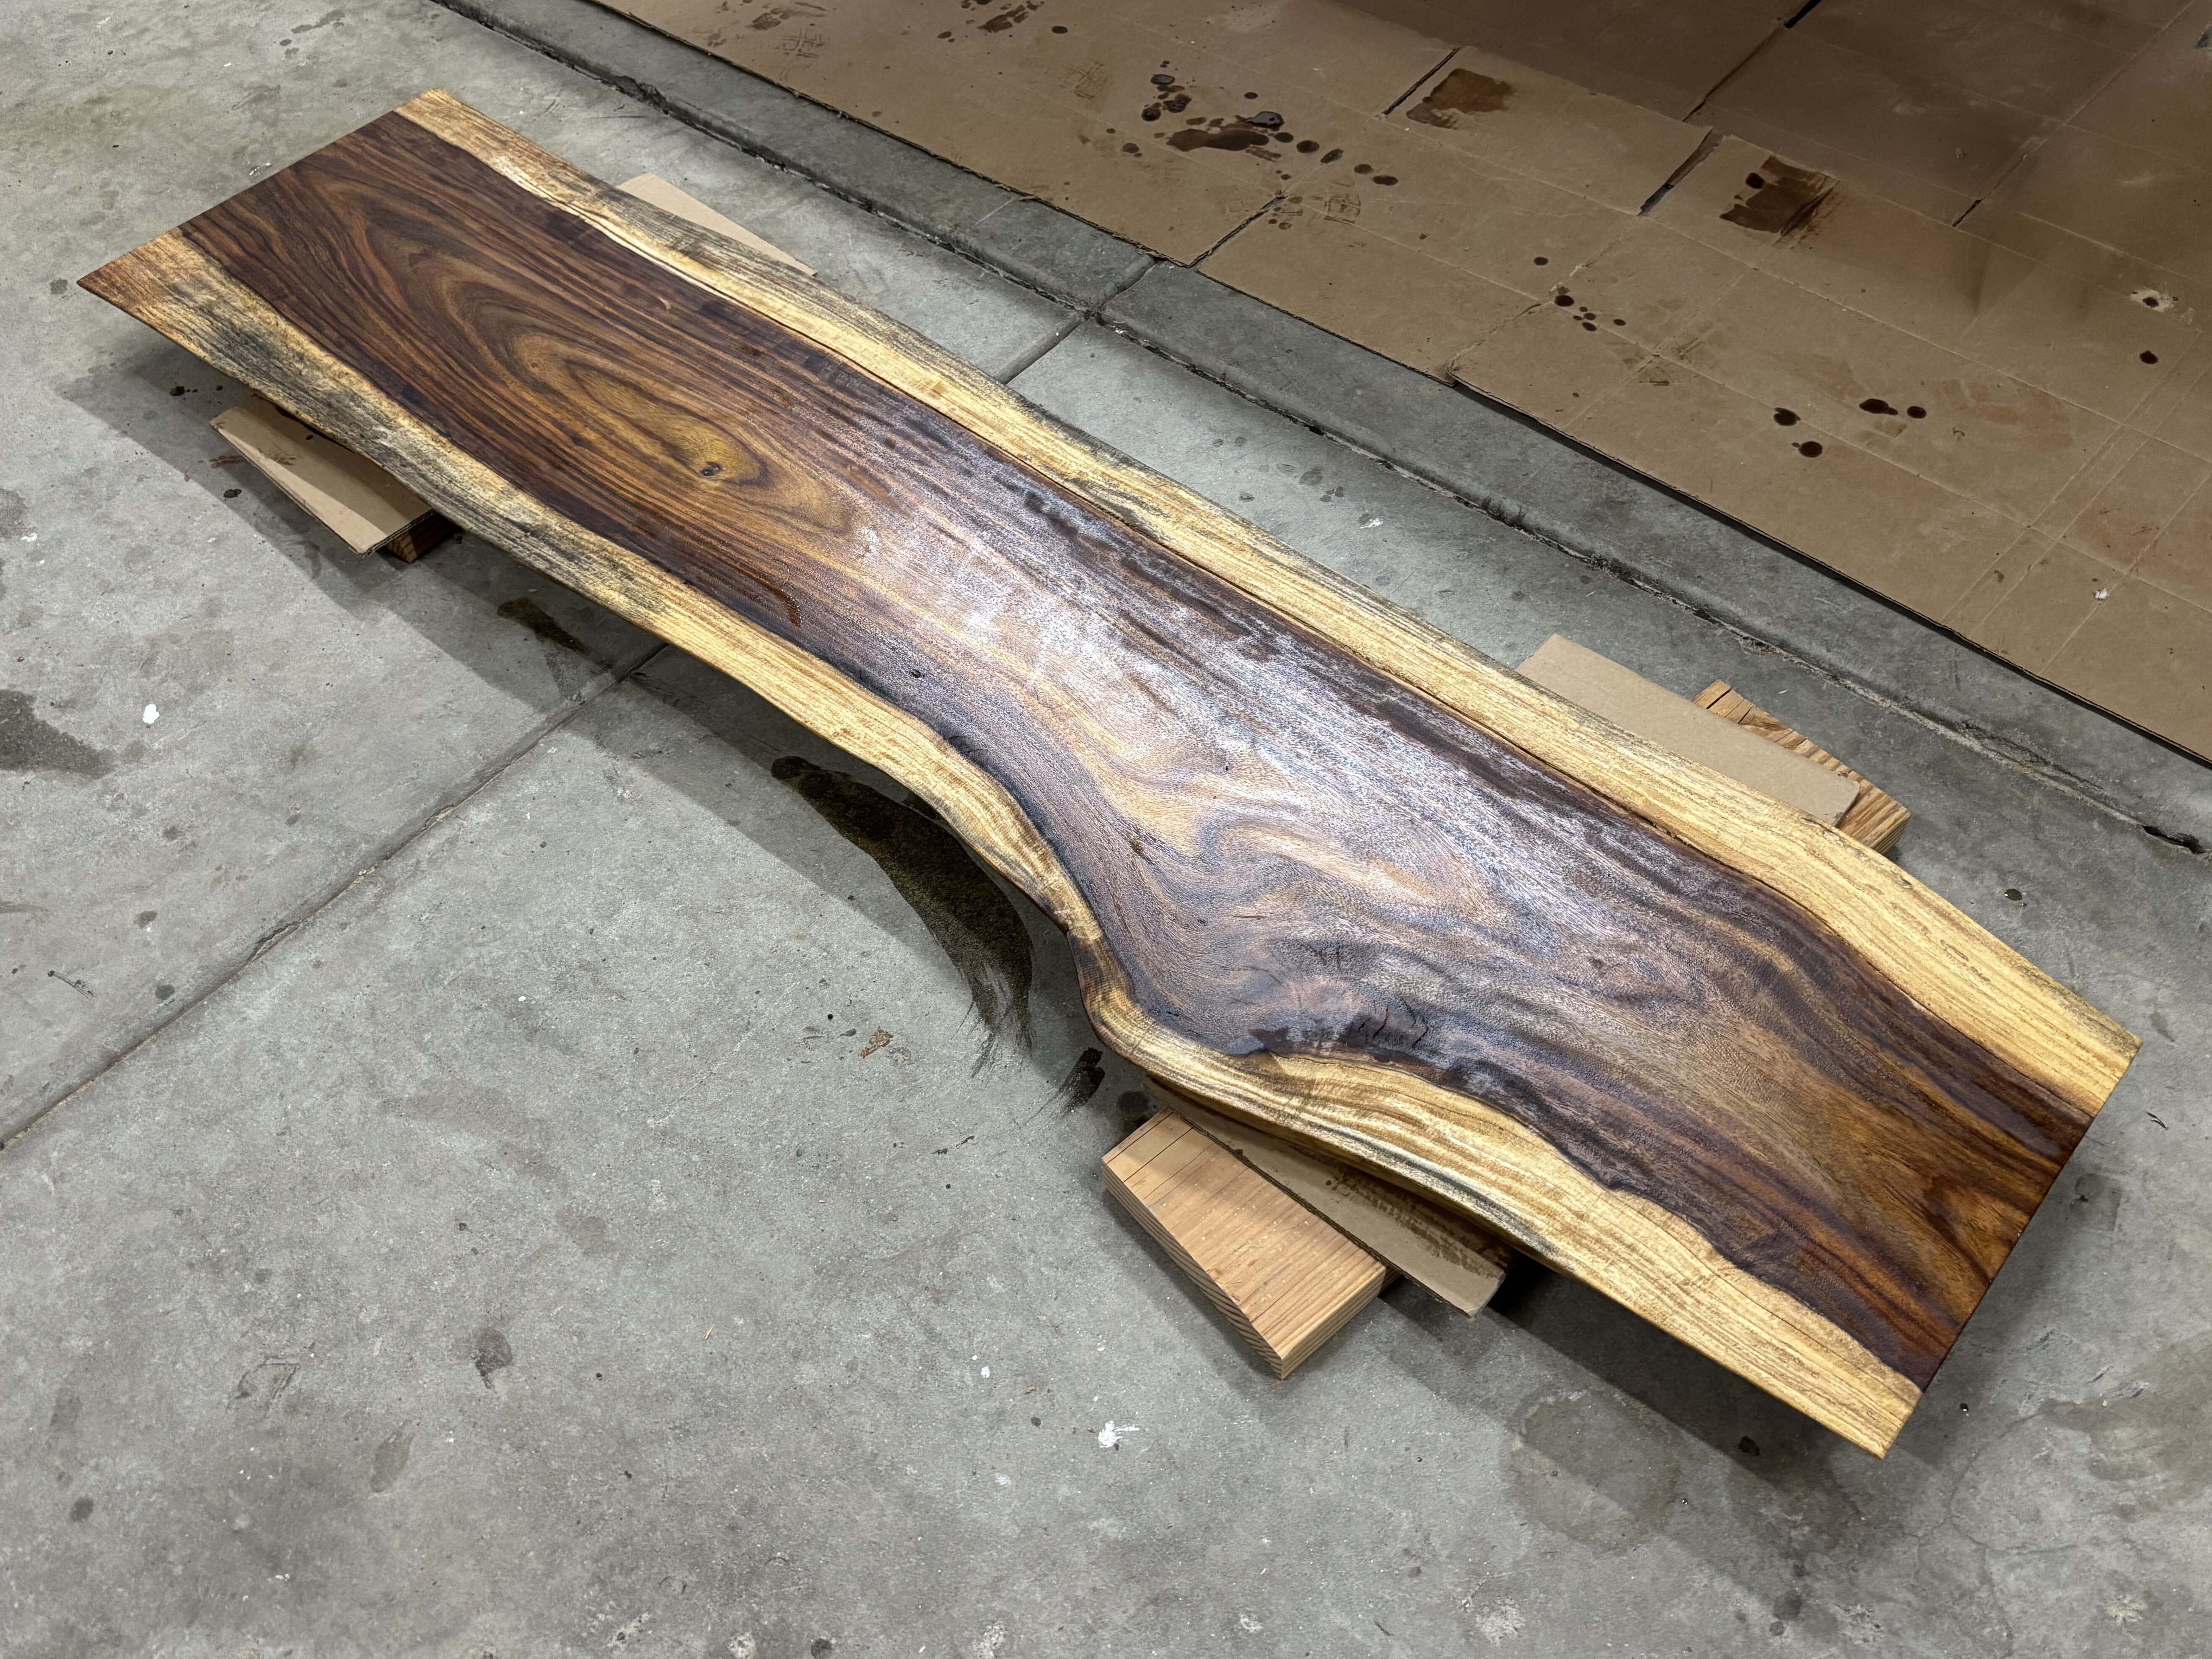
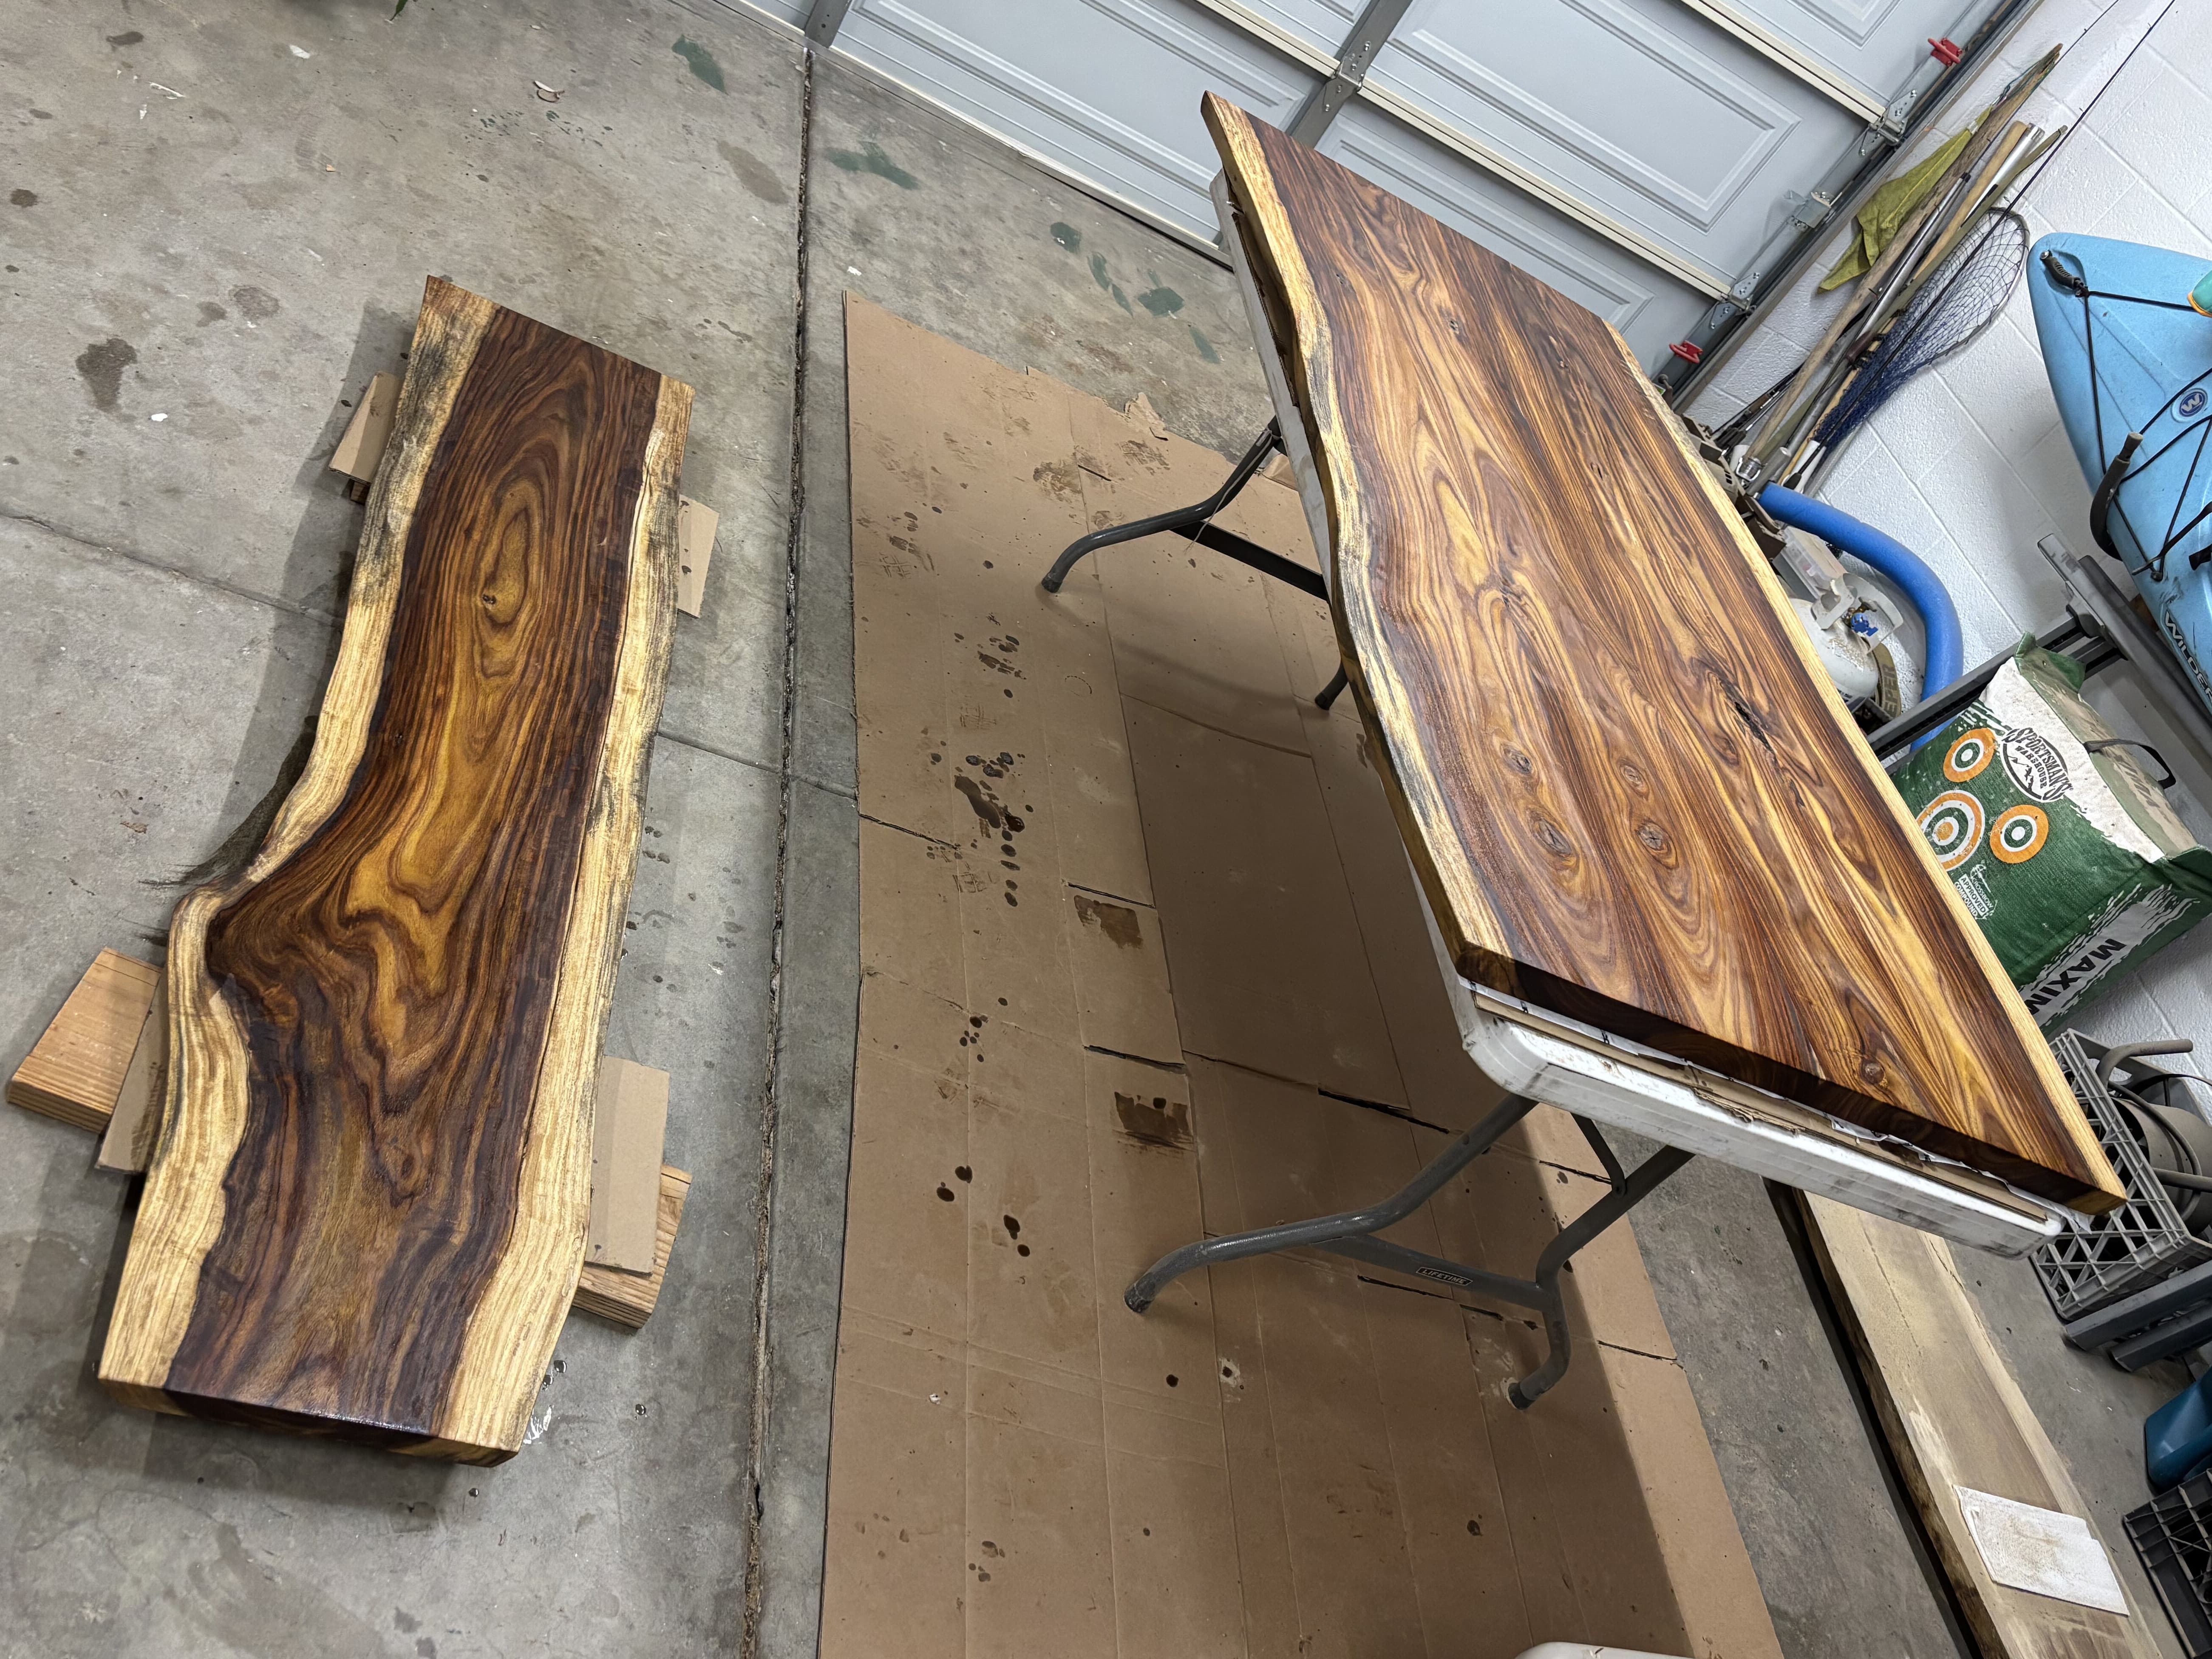
⚓ The trick — Seal the show face with a clear skim coat first
This is the single smartest piece of advice I got from pro table makers, and it's worth stopping on. Before any black goes down, spread an ultra-thin layer of clear epoxy across the entire top surface — as thin as you can work it.
Why it matters: that clear coat pre-seals the wood, so when the black epoxy later flows into a crack and spreads, it can't wick out into the surrounding grain and stain it. The black stays crisp and exactly where you want it instead of bleeding a gray halo into the rosewood. Skip this and a porous spot will drink pigment and discolor the wood around every fill.
Tape the underside to dam the through-cracks
Once the clear skim has sealed the show face, flip the slab, tape the entire underside, and set it back down show-face-up. Any crack that runs all the way through would otherwise drain resin straight out the bottom — the tape on the underside dams those voids so the black epoxy stays put and fills from above.
Then pour into every crack and cavity from the top, the show face itself. Leaving the presentation face bare is deliberate: tape on the show face is a nightmare to peel and its residue fights you for hours (a lesson learned the hard way — see Step 16). Bubbles are managed right at the top surface as you pour, with a fine alcohol mist. (The actual pours, bubble control, and the multi-day sink-back saga are all in Step 9.)
Dam every through-crack
Any crack that goes all the way through will leak resin out the other side. Tape and dam those cavities carefully and press the tape down hard along every edge — a poor seal means a slow drip and a mess to clean up. On this build essentially the whole underside and edges ended up taped so the epoxy had nowhere to escape but the voids.
Why some areas drink epoxy
Porous, punky, or spongy areas — heavier in the sapwood here — will absorb resin and sink. That's normal on natural wood, and you manage it with additional thin pours in Step 9. The clear skim coat above is your first line of defense against the dye bleed those thirsty zones would otherwise cause.
⚠ Key rule — Stop sanding at 80 grit before epoxy
It's tempting to keep sanding the top smooth before you pour, but epoxy needs tooth to grip. Stop at 80 grit on the top before epoxy (100 grit maximum in unusual cases). Going to 120+ first gives the resin a polished surface to peel away from.
🛠 Tips
- Clear skim coat the whole top first — it stops black epoxy from bleeding into the grain.
- Tape the underside to dam the through-cracks; pour from the top, and never tape the show face — the residue is brutal to remove.
- Press tape down hard on every void edge to prevent leaks.
- Stop sanding the top around 80 grit before epoxy.