
Black Epoxy Fill
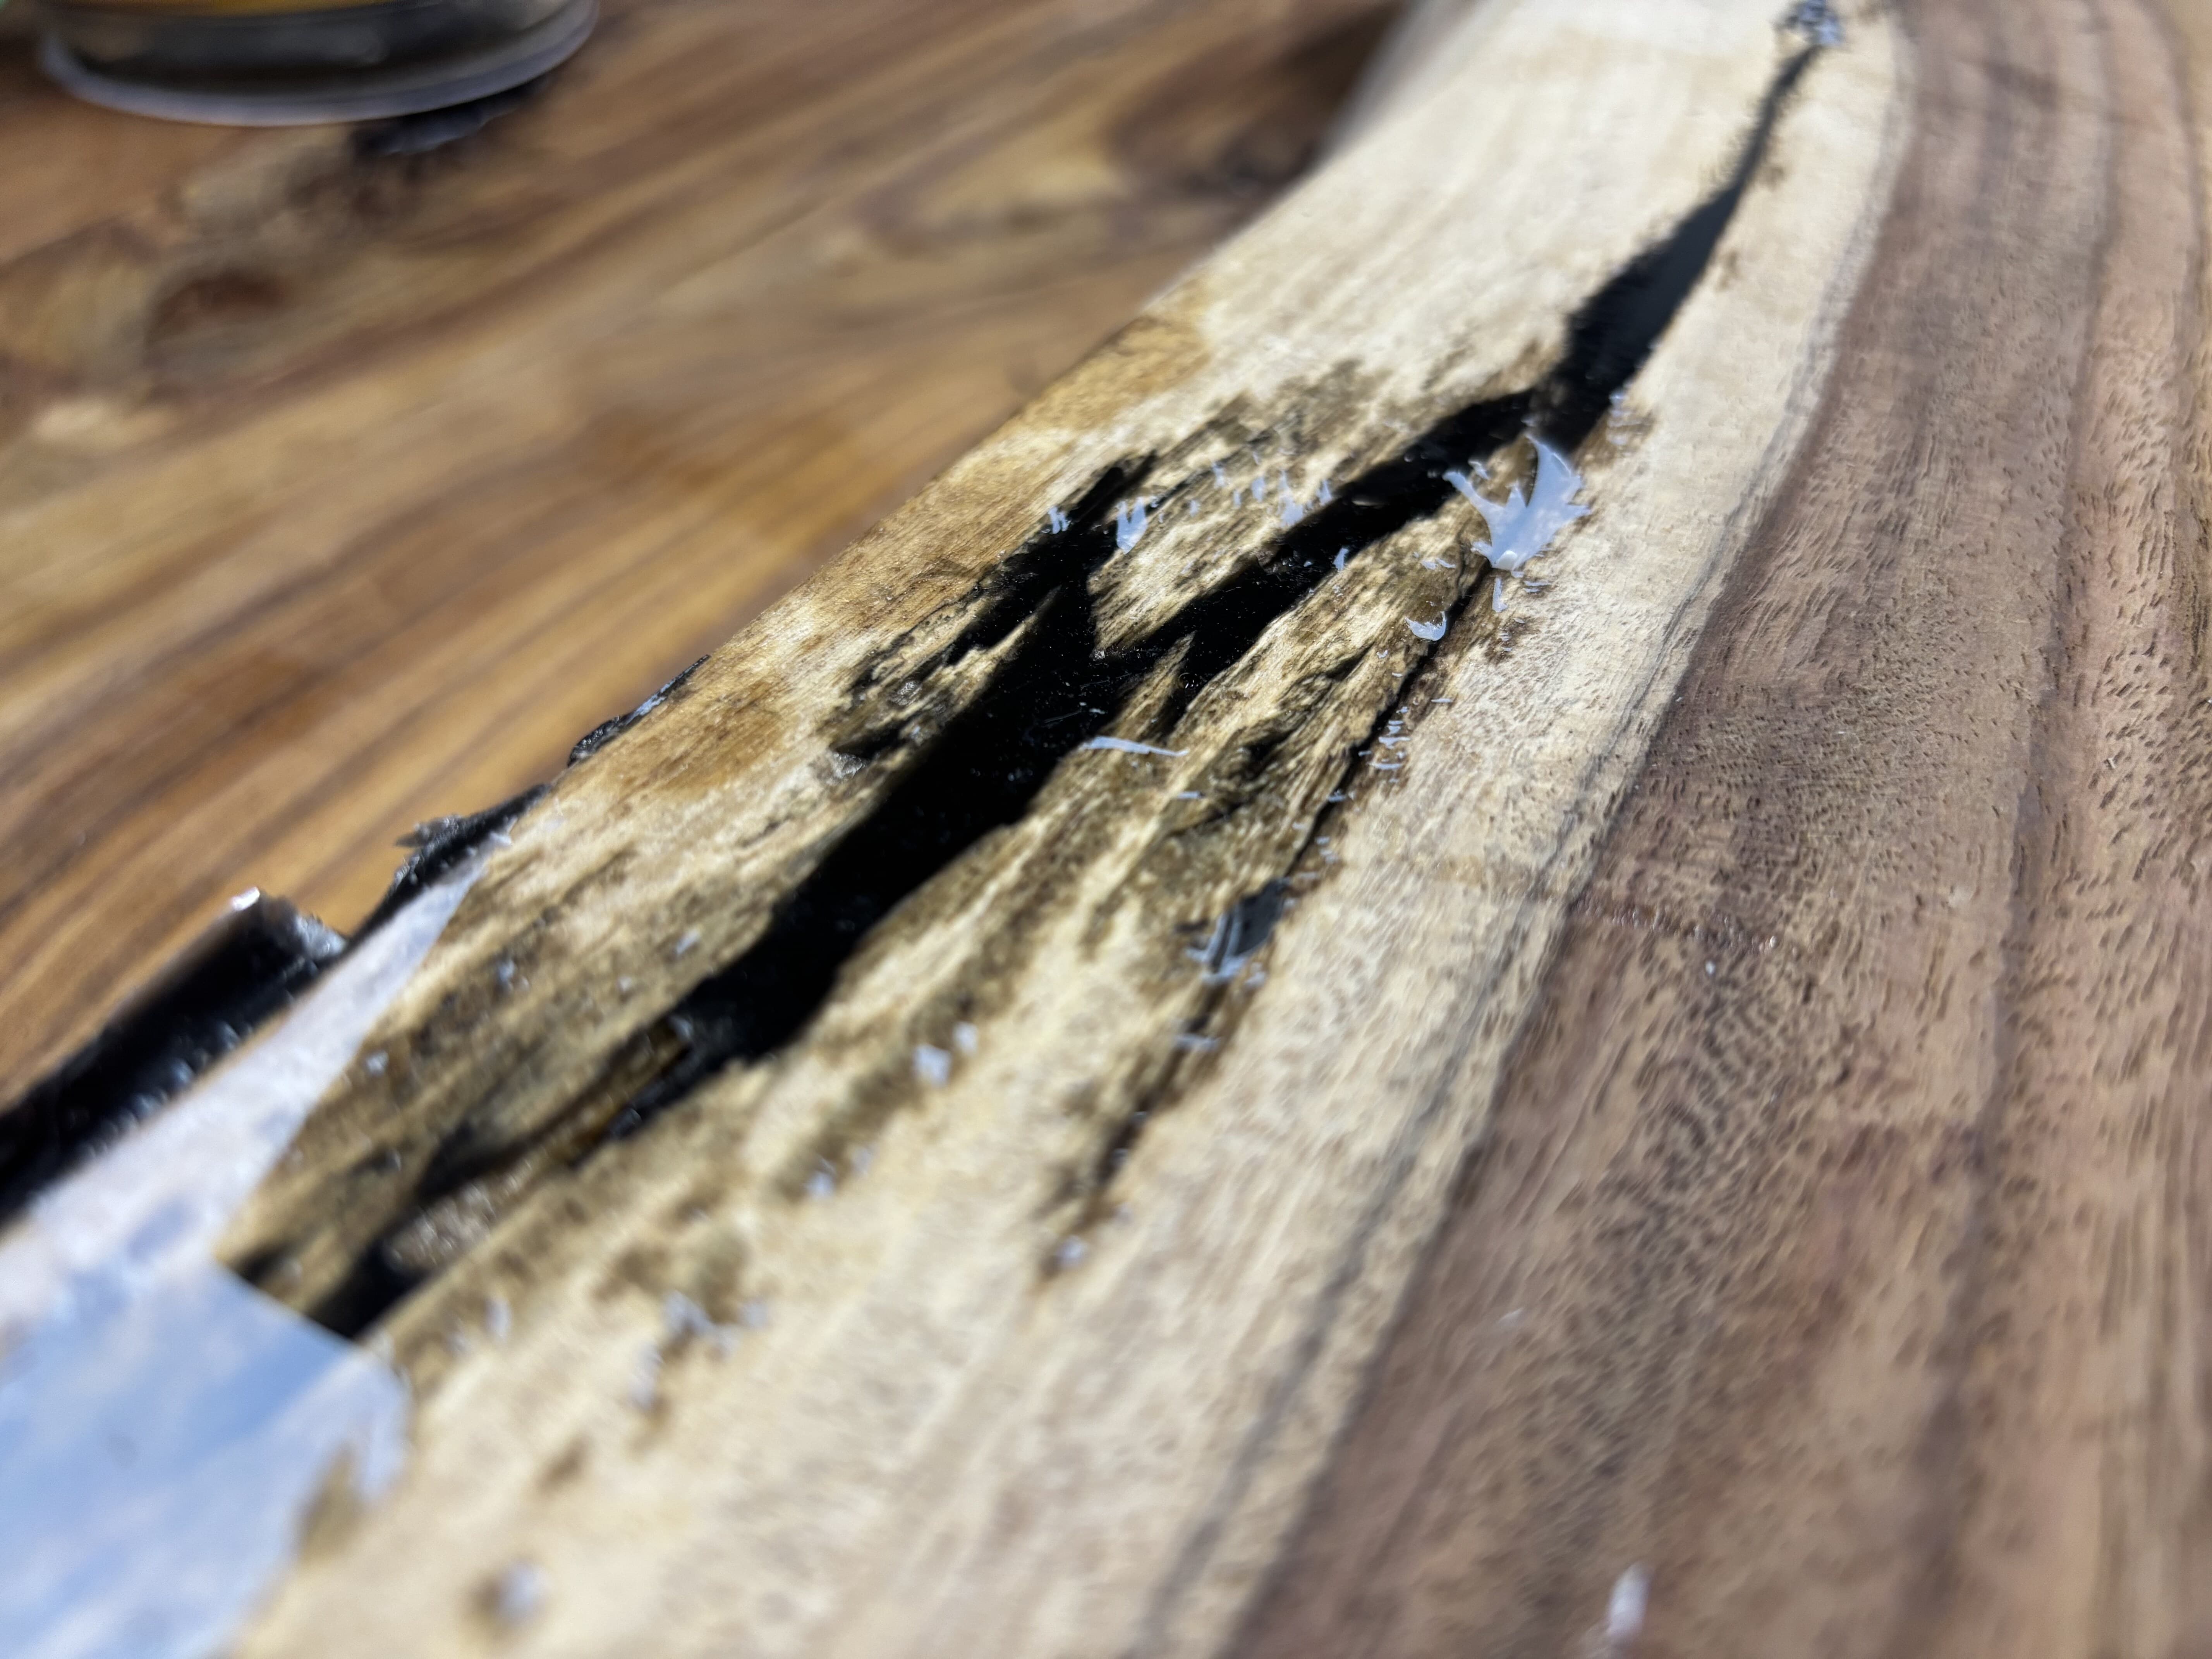
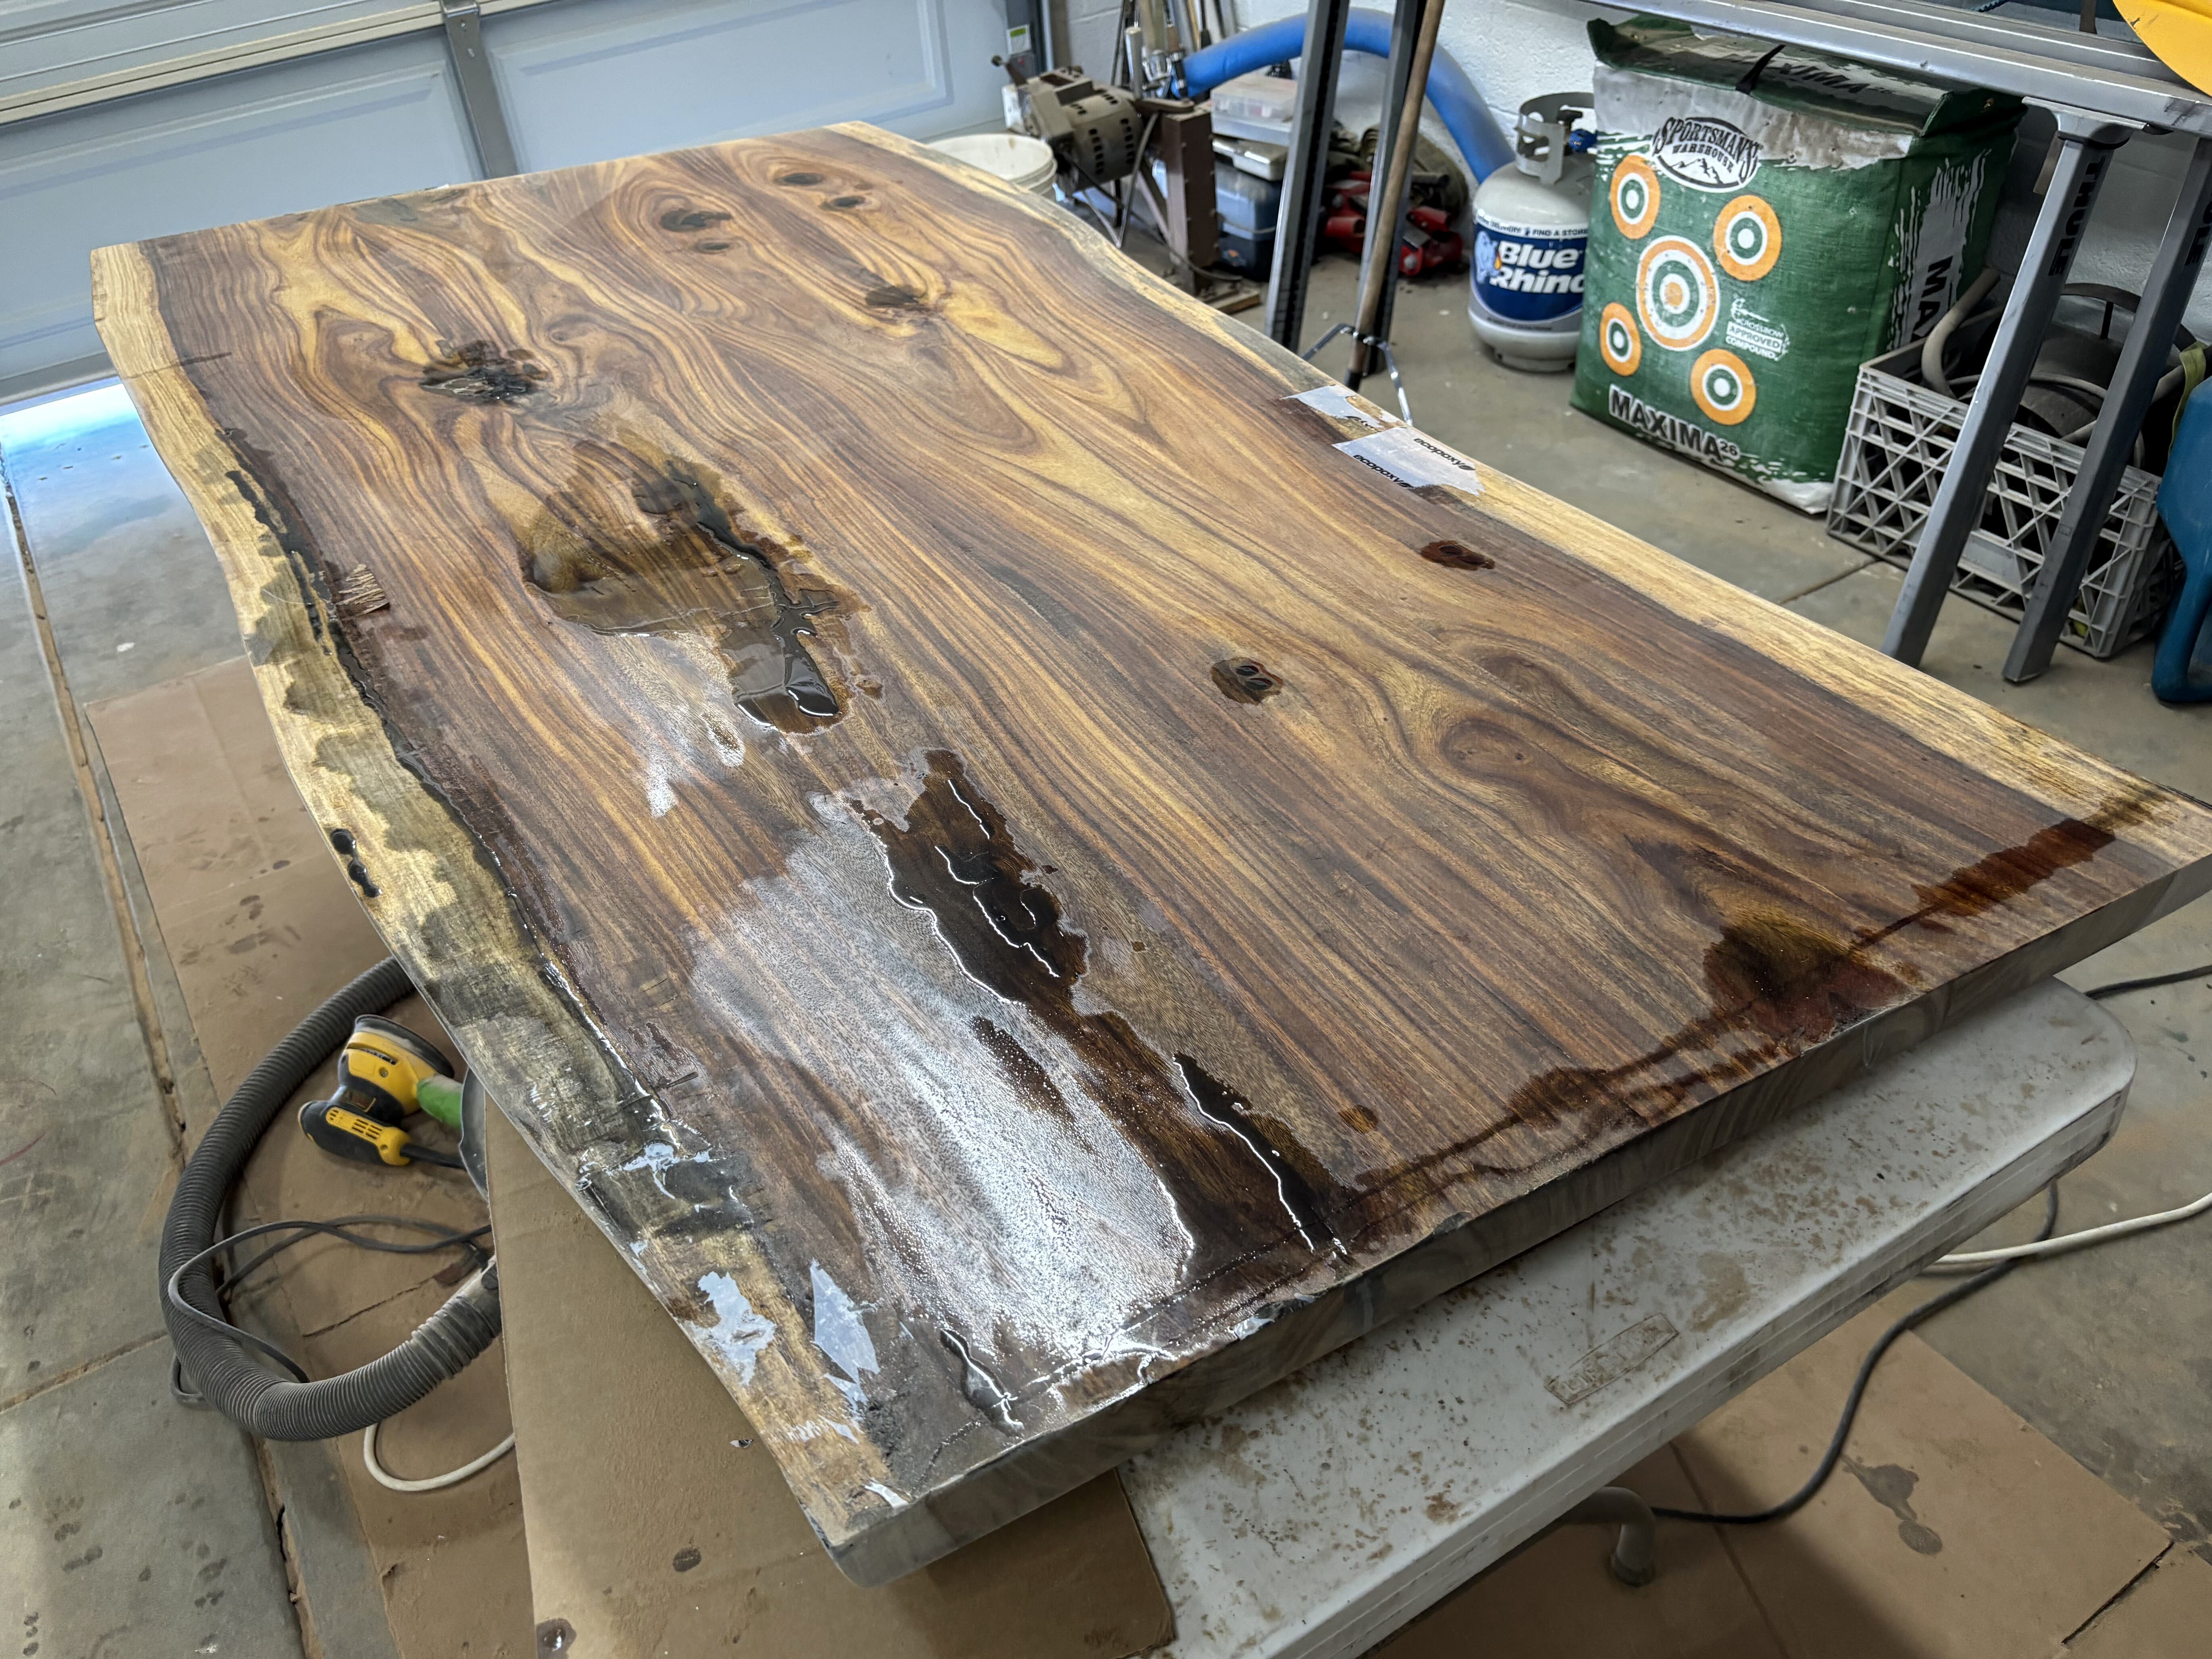
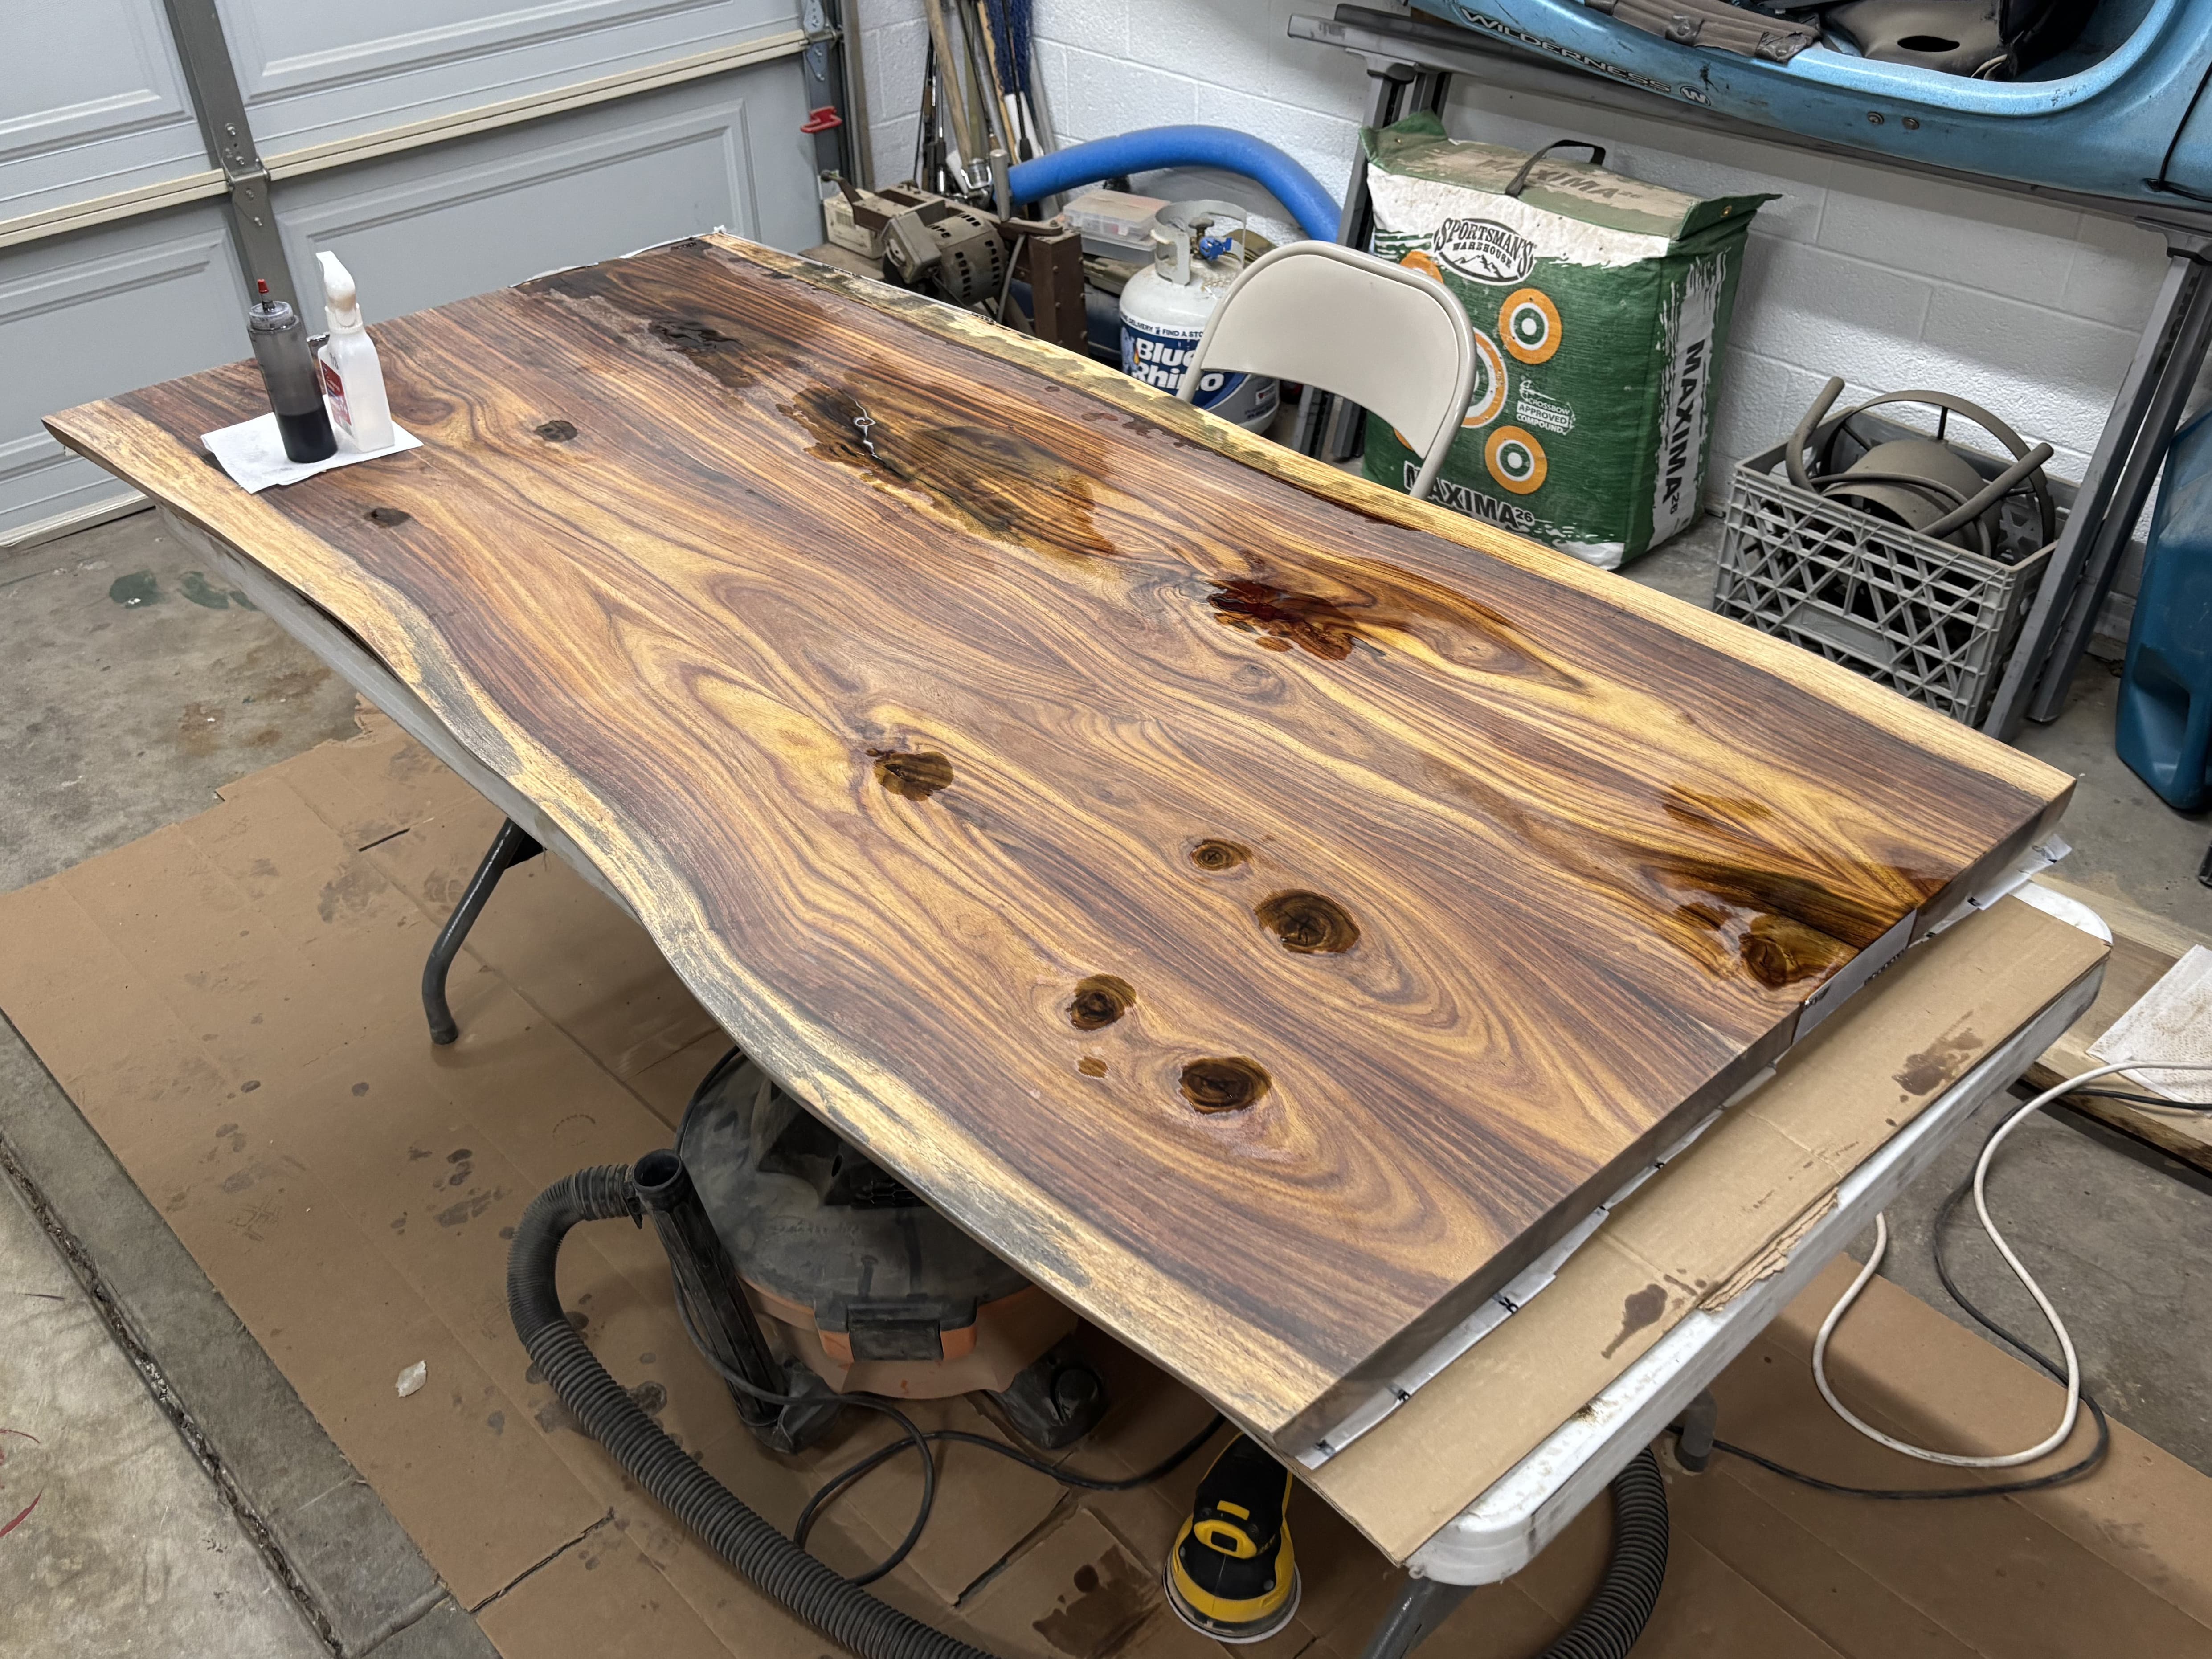
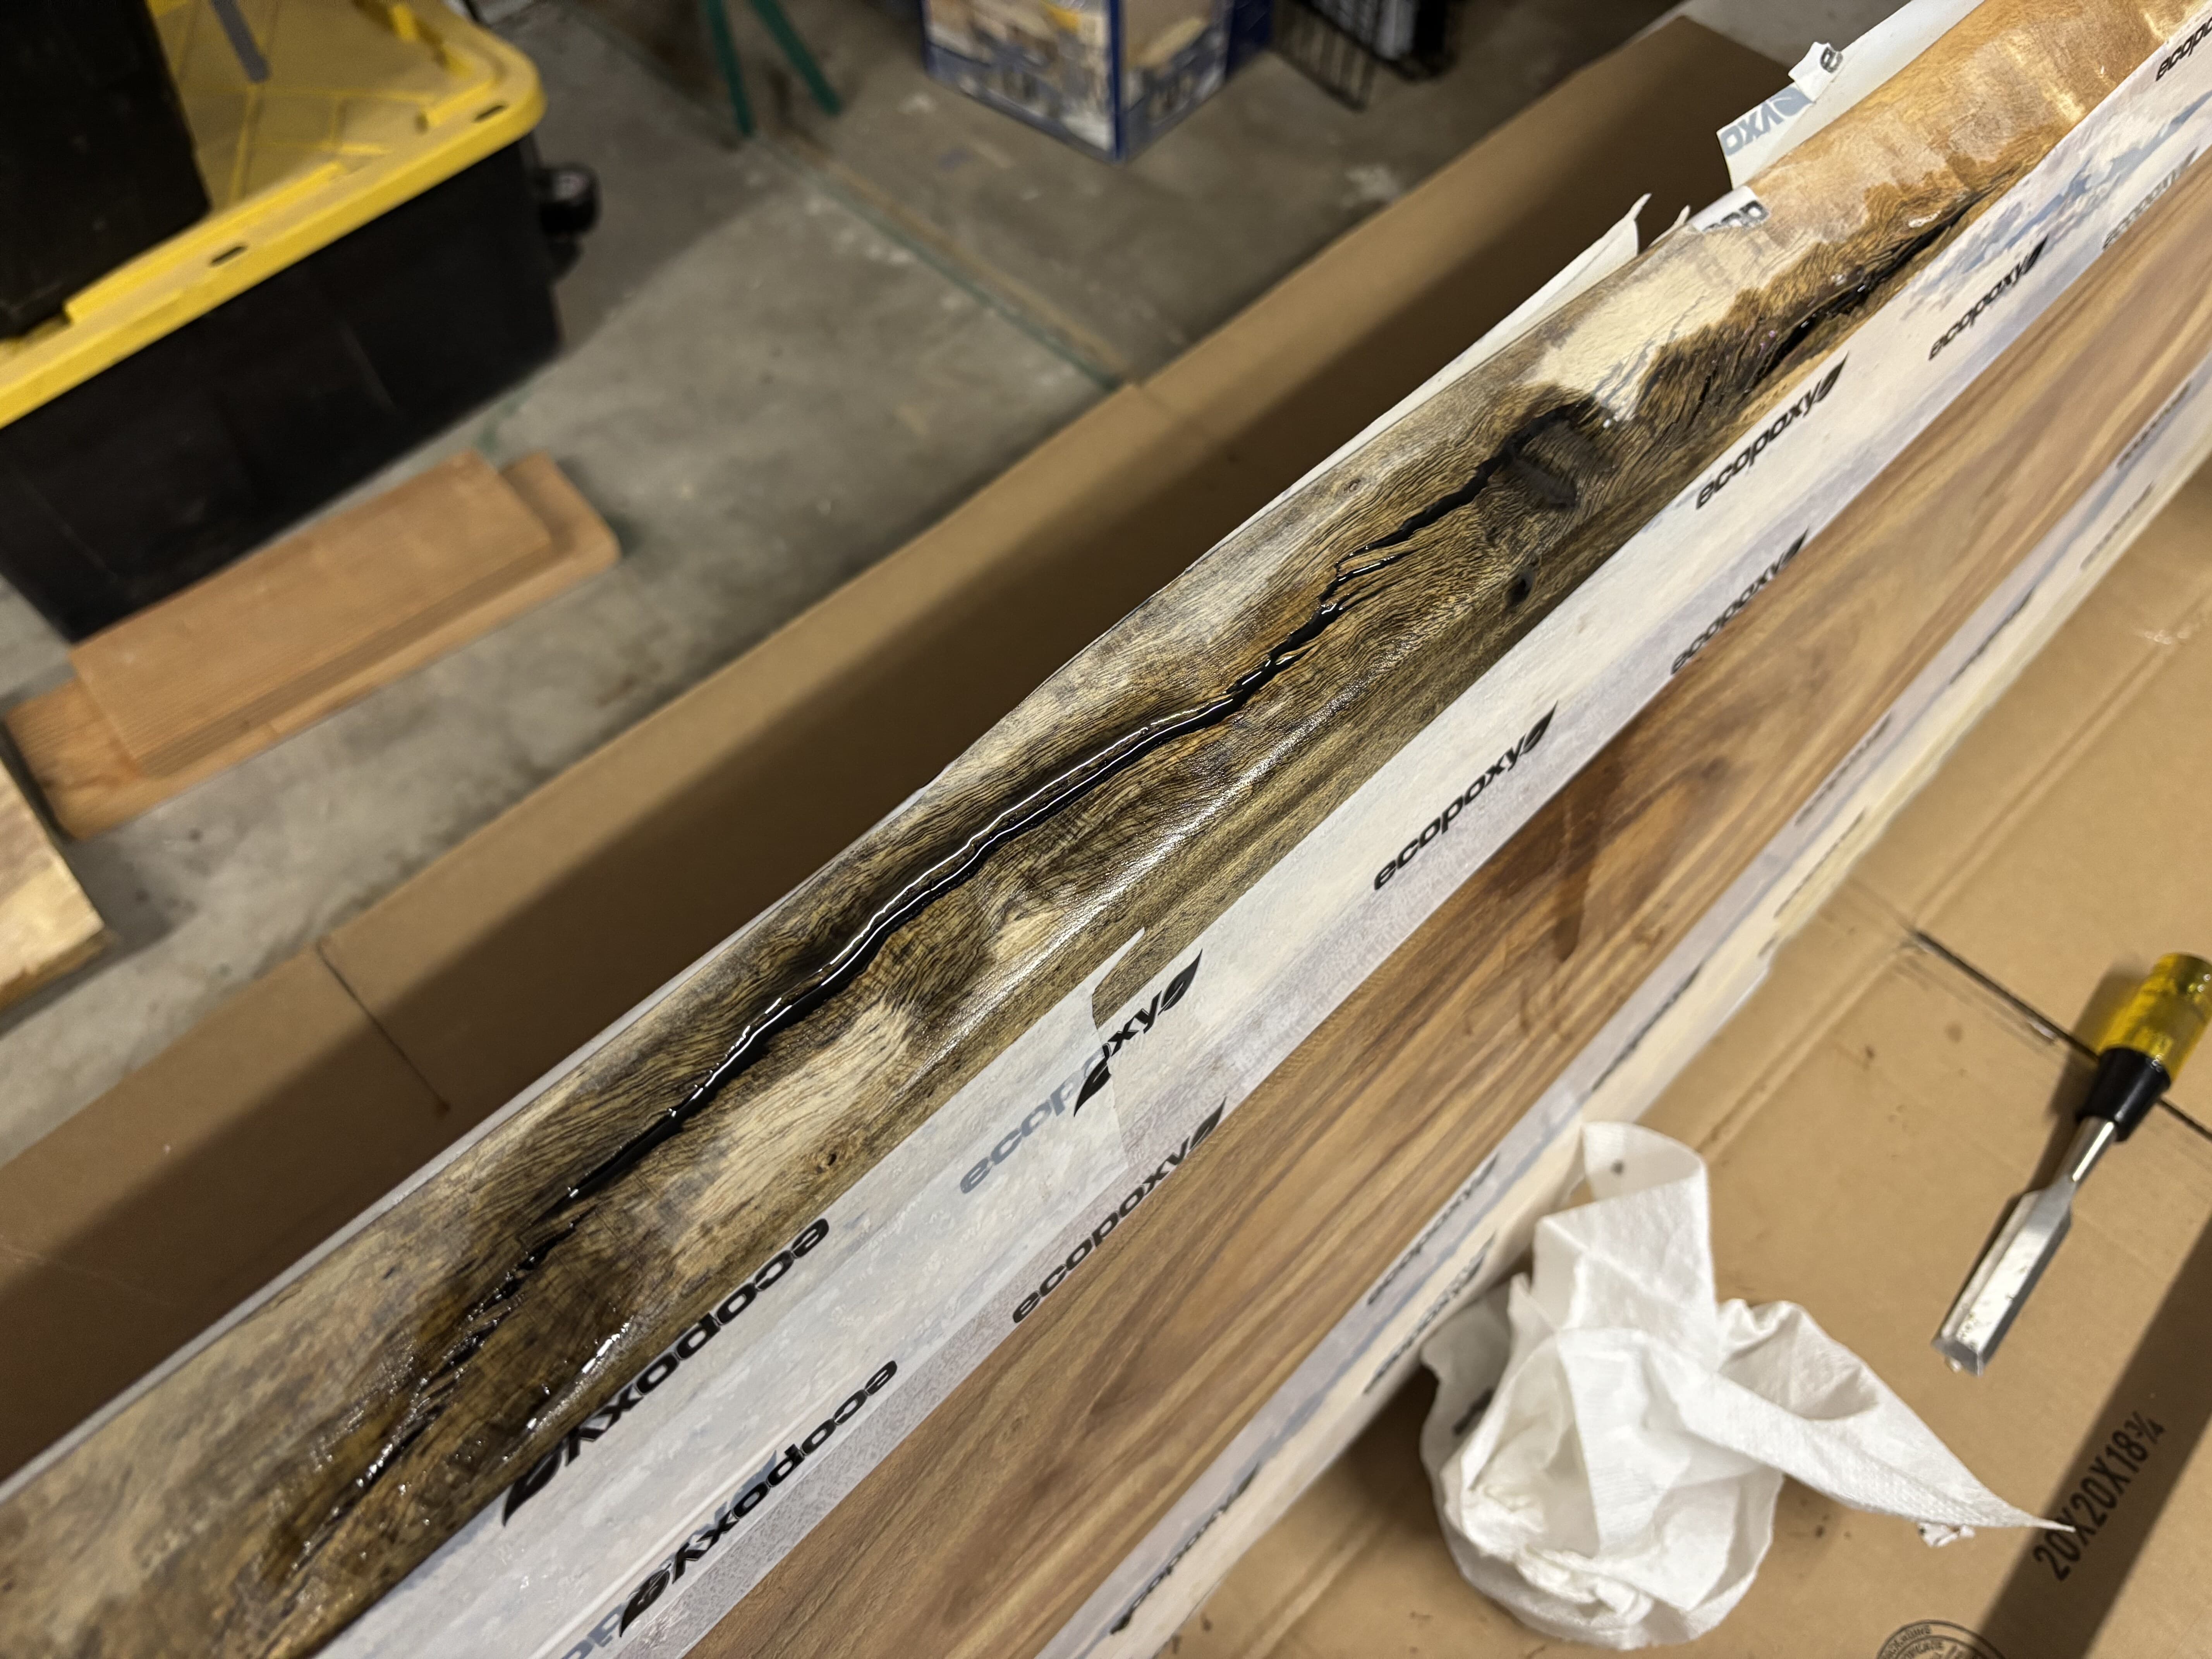
Filling cracks and voids with black-tinted epoxy — the signature accent on this rosewood. Expect sink-back, plan for multiple pours, and keep black CA glue on hand for the hairlines epoxy misses.
Choosing the black pigment
Black epoxy is a deliberate aesthetic choice here — it reads as crisp, modern accent against the warm rosewood and ties into the matte-black steel base. Use a pigment/dye made for epoxy and add it sparingly until fully opaque.
Mixing — slower than you think
The best advice I got on mixing: go slower than a turtle on weed. Speed whips air into the resin, and every bubble is a future blemish. The process that worked, step by step:
- Mix only what you can use in one session, in a single container — don't batch ahead.
- Combine resin and hardener at the correct ratio and stir slowly until perfectly clear.
- Then add the black pigment and mix again, slowly, until the color is fully uniform.
- Decant by pouring slowly down a mixing stick into a plastic squeeze bottle with a fine spout — running it down the stick keeps you from re-introducing bubbles.
- Use that spouted bottle to fill the voids precisely, and overfill slightly — the surface sinks as it cures and soaks in.
The exact resin, pigment, bottles, and sticks — photographed with field notes — are in the Tools & Materials guide.
⚠ Bubbles — reach for alcohol, not heat
The instinct is to wave a torch or heat gun over the surface to pop bubbles. Better, per the pros: a fine mist of ~98% alcohol from a spray bottle.
Why it works: the alcohol breaks the surface tension and lowers the viscosity right at the top, so trapped bubbles rise and pop — then it flashes off clean, leaving no residue. Heat also works, but it can locally accelerate the cure and you risk scorching or over-thinning a spot. Keep the mist fine (big droplets pit the surface), and never combine alcohol mist with a torch or heat gun — the alcohol is flammable.
Sink-back & the many return trips
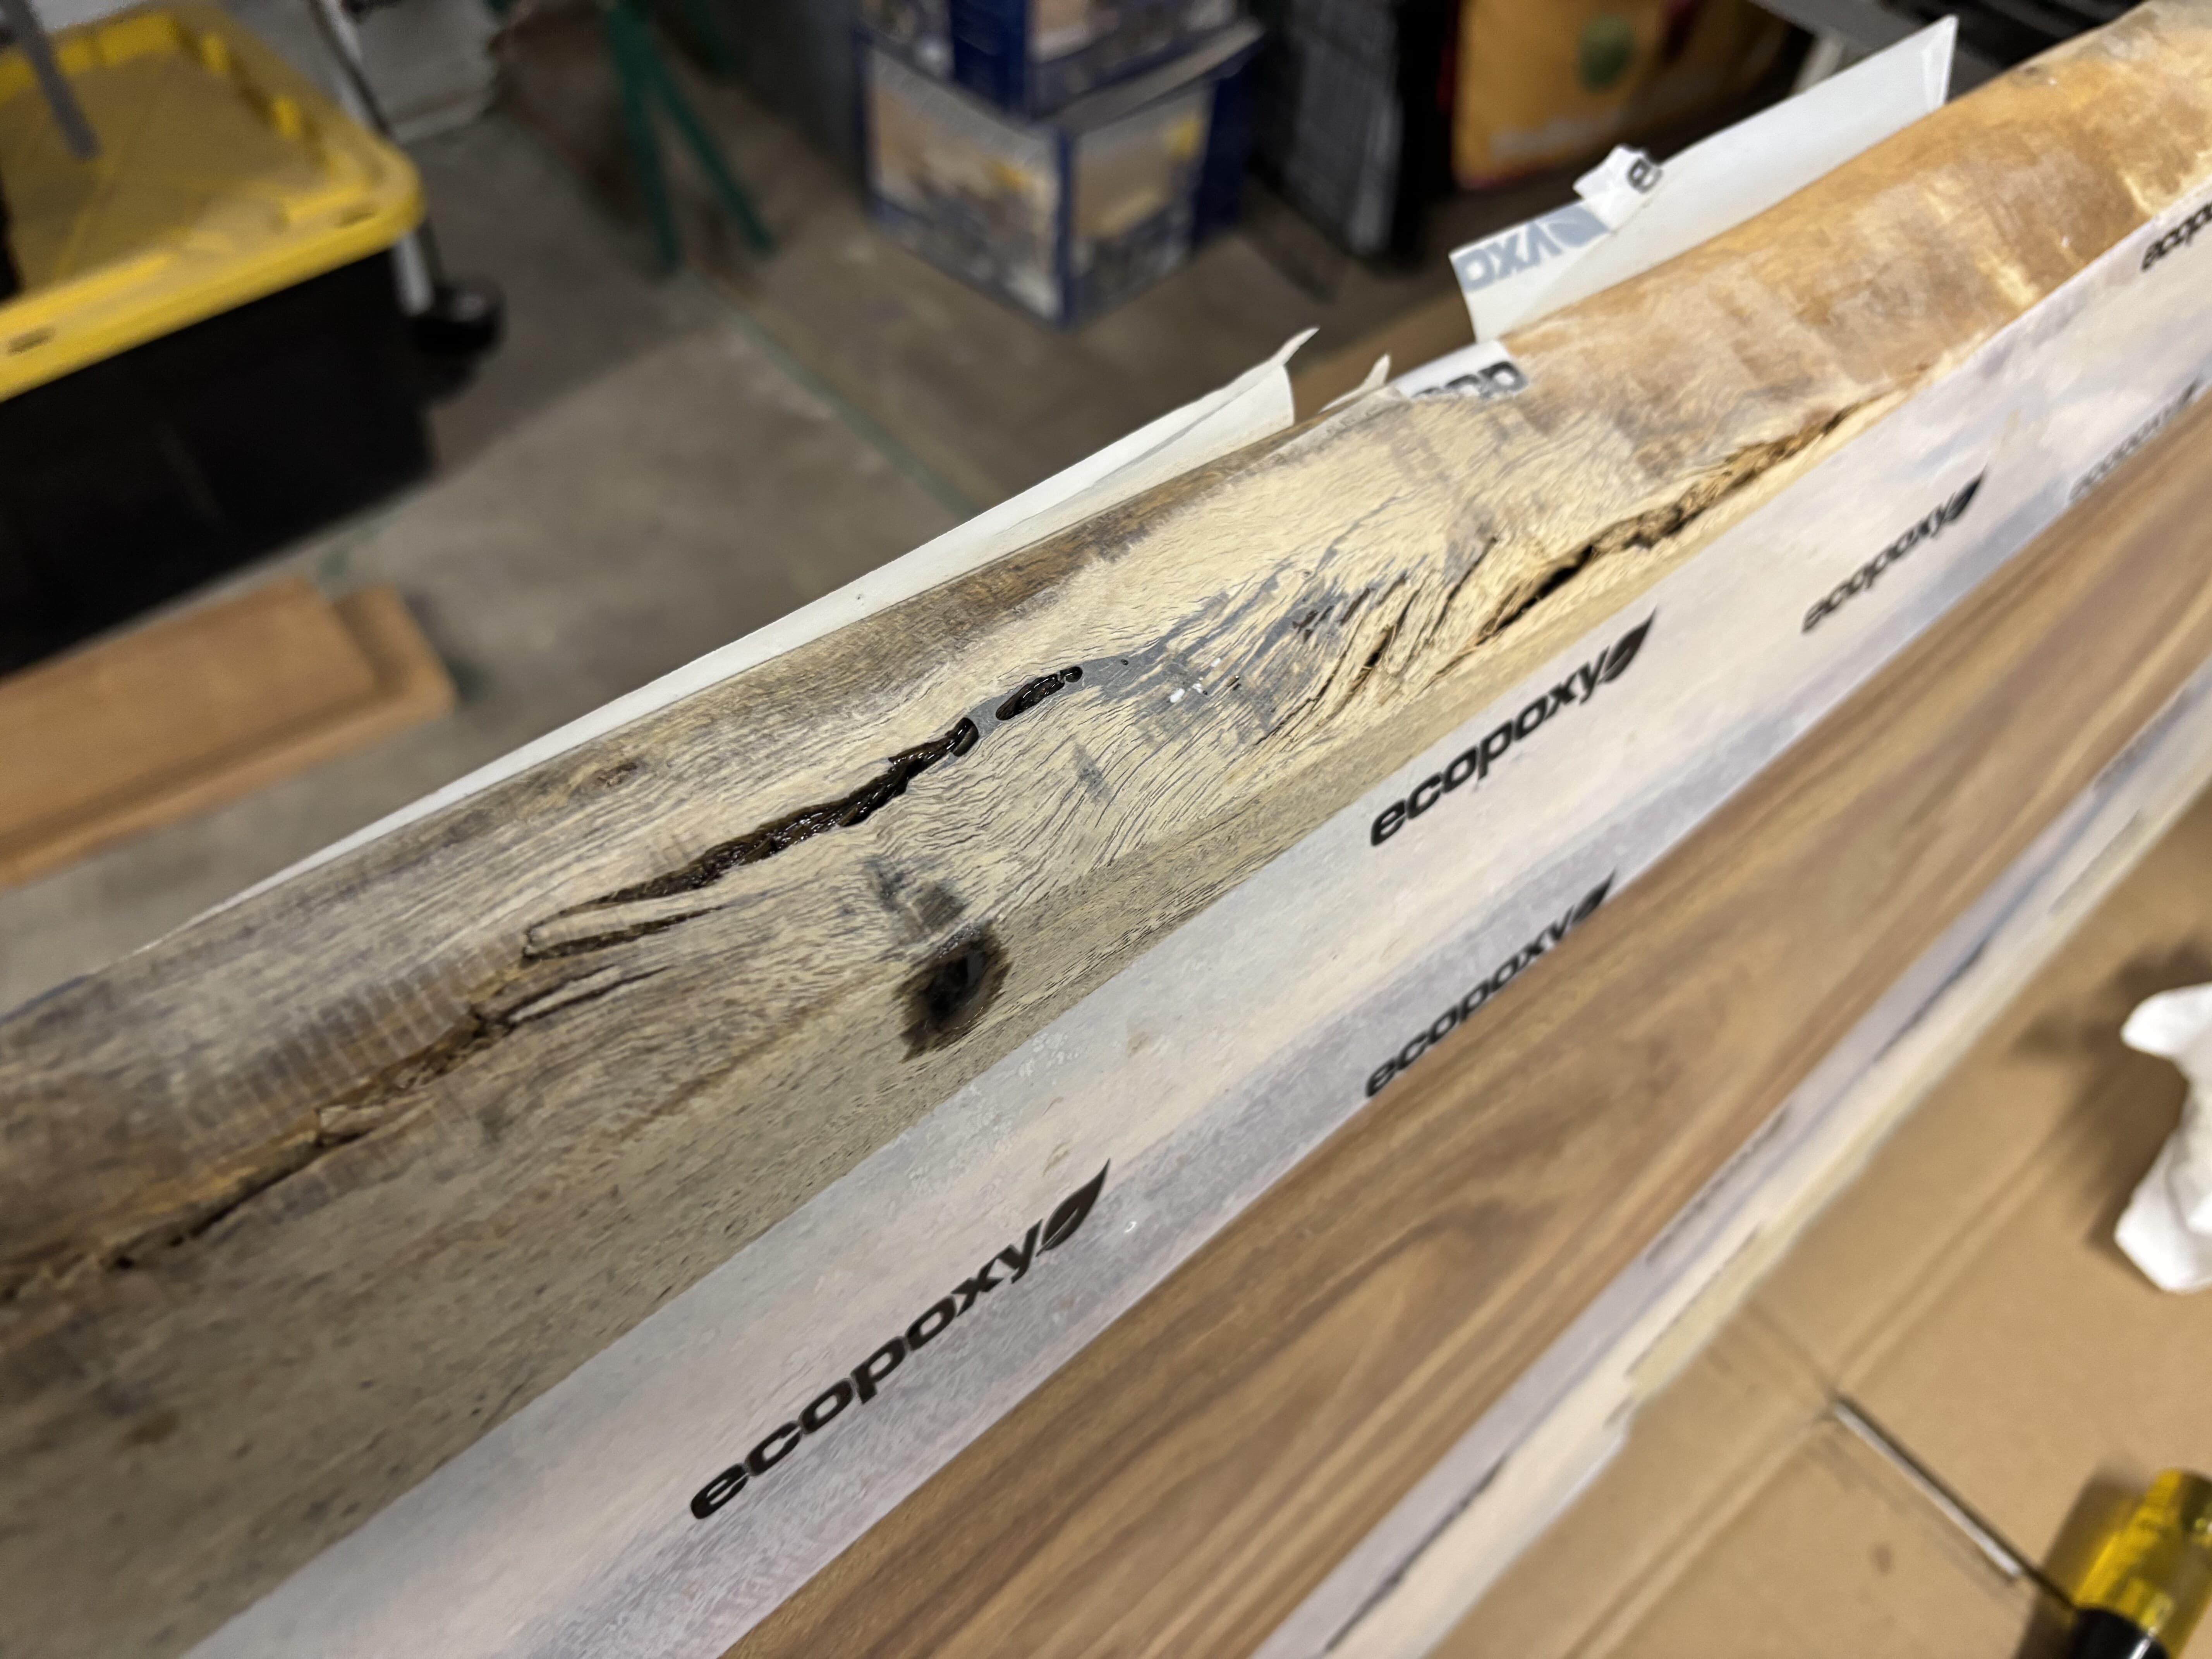
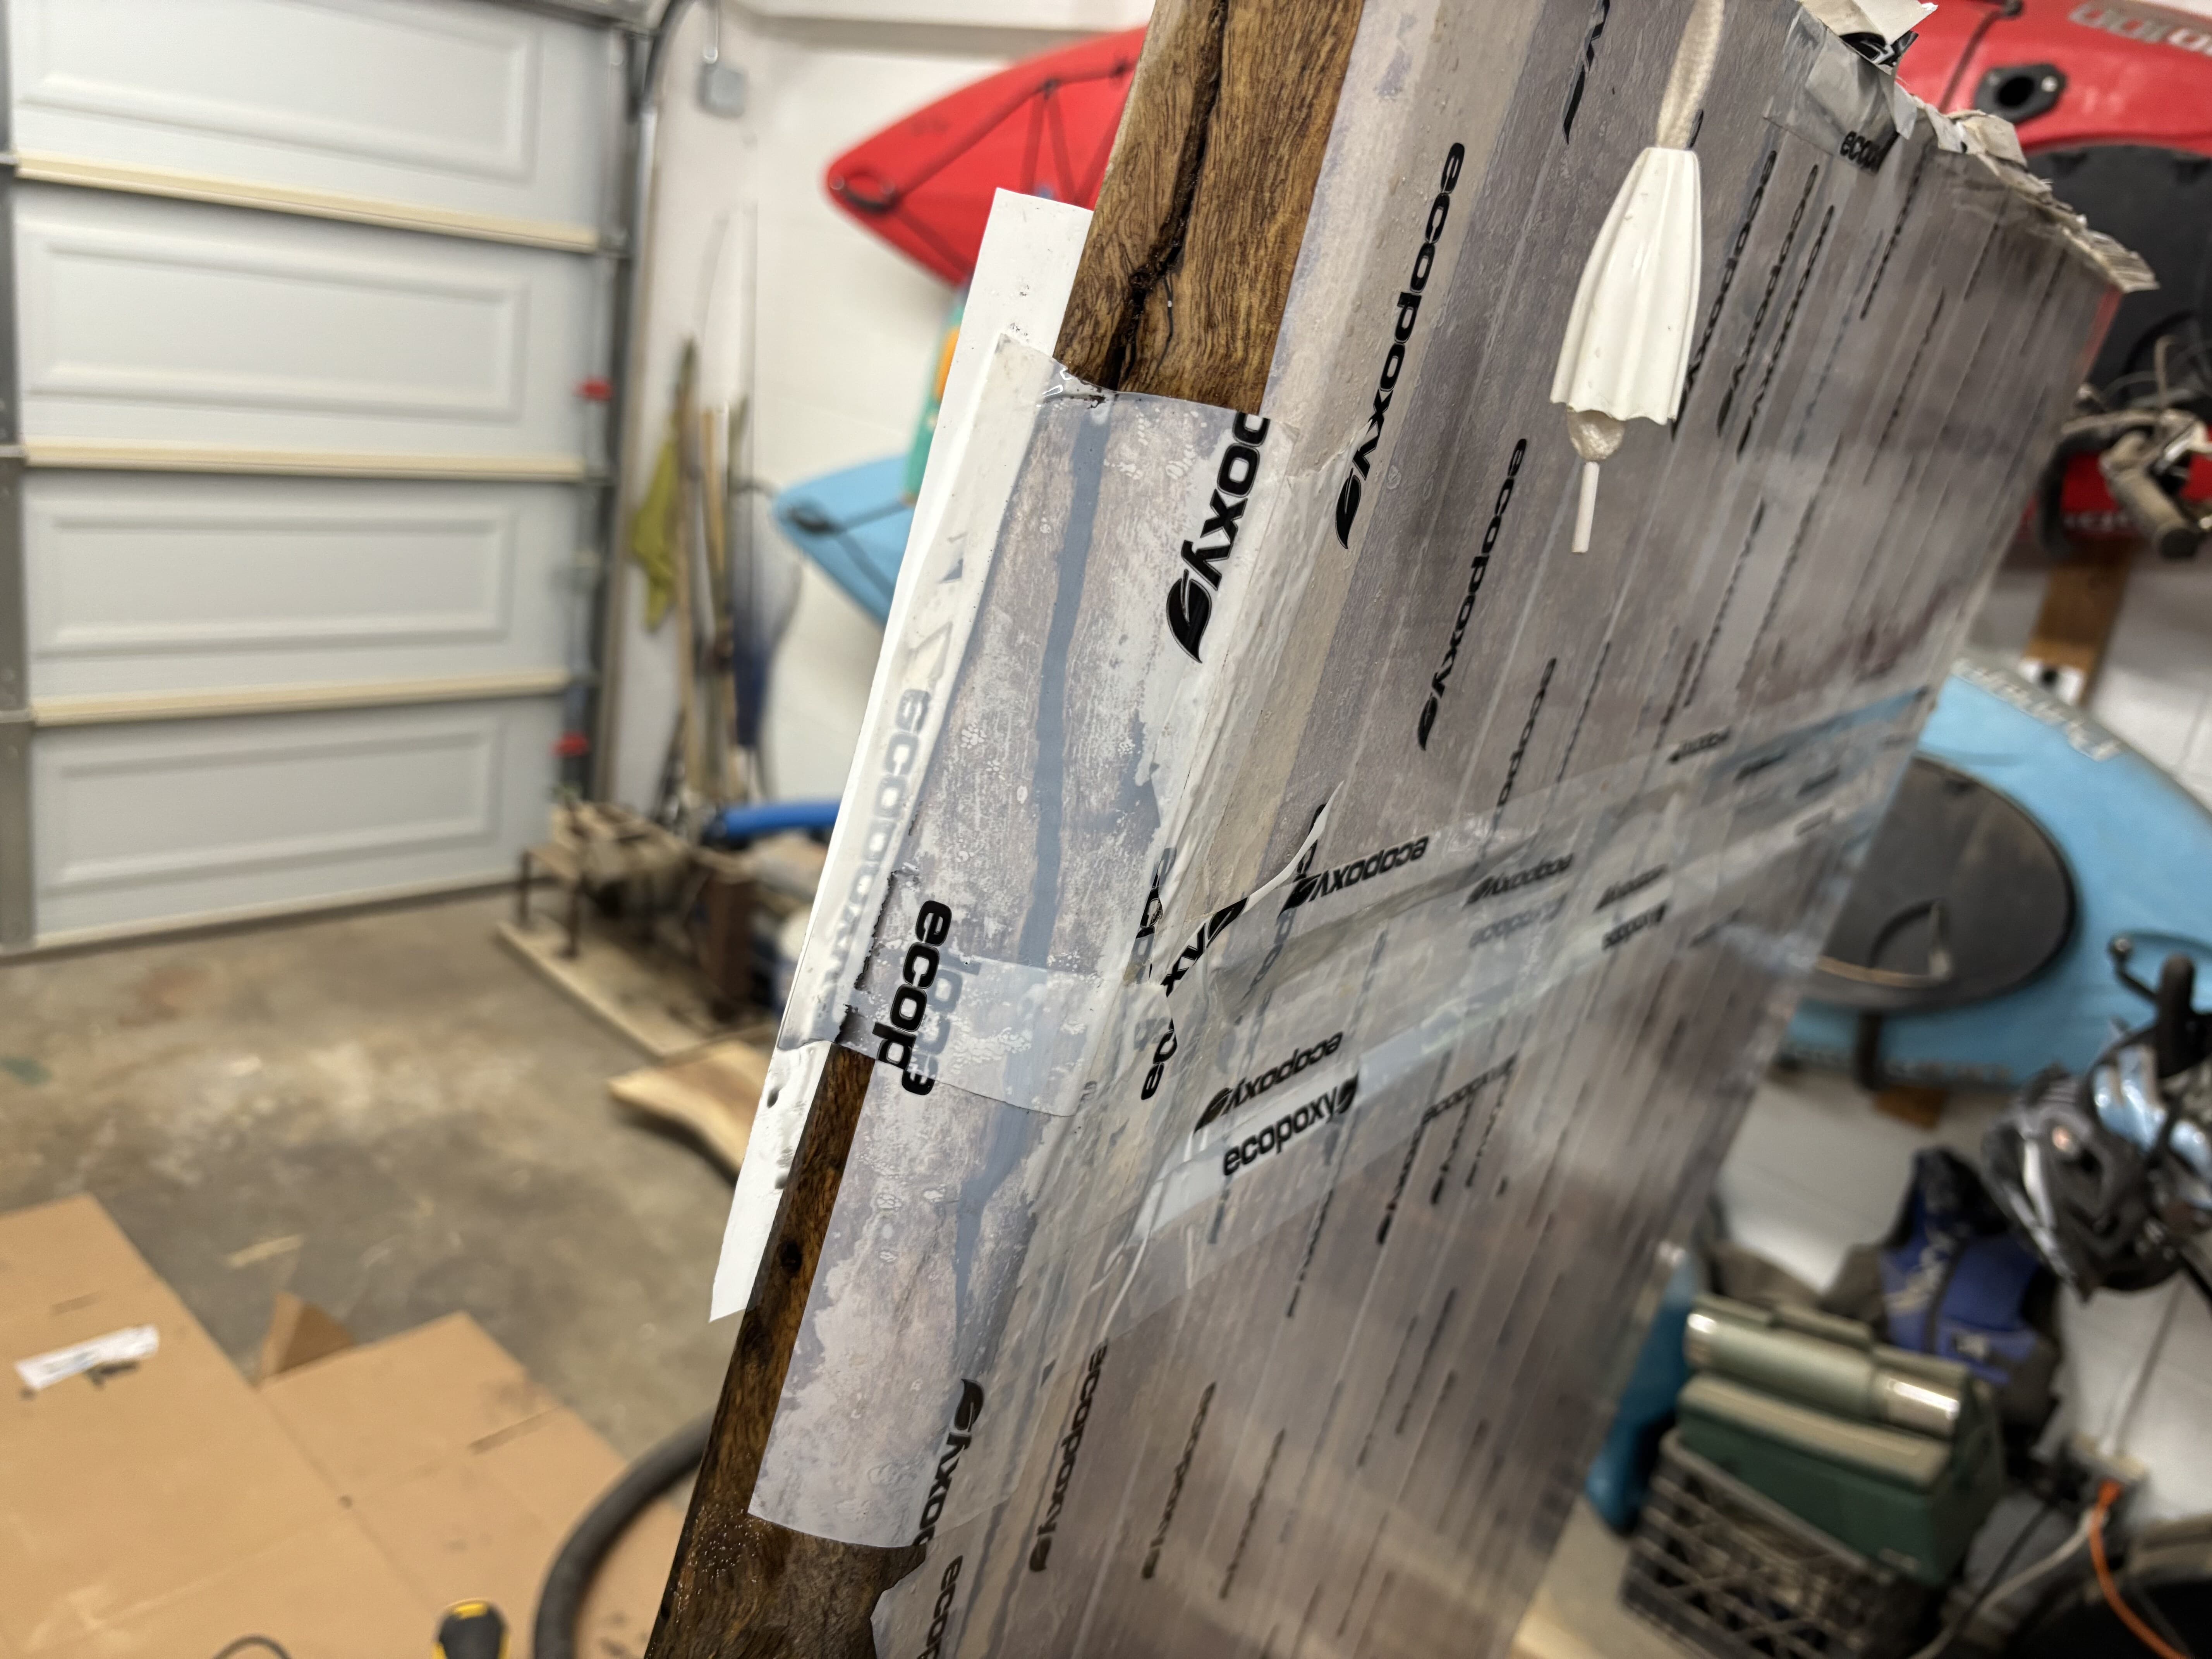
On this build the first pour set overnight but sank into the wood in several places, some deeply — the porous sapwood behaved like a sponge. That first pour also revealed the epoxy's hidden paths: resin traveled through connected cracks and soft wood and surfaced somewhere unexpected, which meant going back to re-tape and re-dam before pouring again. Honestly, the epoxy work took longer than anything else on the whole table — pour, wait, come back five minutes later and pour more, again and again.
That's normal. Don't panic and don't try to flood it solid; build it up in thin successive pours until every void stays proud of the surface. The clear skim coat from Step 8 is what keeps all this re-pouring from staining the surrounding grain.
⚠ Mistakes & Fixes — Epoxy sink-back
Porous, punky areas drink resin and leave a sunken, sometimes pitted fill after the first pour. Trying to fix it in one giant pour just wastes resin and traps bubbles.
Fix: finish all epoxy work in thin successive pours before doing major sanding. Only sand between pours if you're outside the recoat window, or if hardened drips/ridges are physically in the way.
The hardest part: pouring on the live edge
Once every flat area on top was filled, the real challenge began: the cracks and voids that ran along the live edges, where nothing is level and gravity works against you. There's no flat surface to hold a pour, so I got creative — standing the table up on its edges and angling it into some genuinely awkward positions so each void sat momentarily level enough to fill.
The trick that saved it was building little dams around the non-level cavities. Tape handled what it could; where tape couldn't seal a curved live edge, I laid a bead of silicone from a caulk gun to draw a border around the low spot — a custom well that held the detail pour until it cured, then peeled away clean. All of this came after the flat areas were done, and it was hands-down the most challenging part of the entire epoxy stage.
Black CA glue for missed hairlines
A quick note on sequence: this part really overlapped with sanding. Many of these tiny fills were done in tandem with leveling in Step 10 — as each pass exposed a hairline the pour had missed, I stopped and fixed it. It's detailed visual work rather than structural repair, but it's exactly the kind of small detail worth doing well.
Some fine hairlines and small spots won't take epoxy well. The approved fix on this build (recommended by the mentor) is a black cyanoacrylate system: Titebond Instant Bond Medium Adhesive — Jet Black with Titebond 6319 Instant Bond Accelerator.
- Clean the area thoroughly.
- Apply black CA into the void.
- Mist accelerator lightly to set it.
- Build in layers if needed.
- Let it cure, then scrape or sand flush.
⚠ Mistakes & Fixes — Smearing wet CA glue
Wiping wet black CA across a hairline smears pigment into the surrounding pores and contaminates the surface — leaving a gray halo you'll have to sand out.
Fix: never wipe wet CA across the wood. Apply it into the void only, let it fully cure, then scrape or sand it flush. Patience here saves a refinishing headache.
When to do epoxy in the workflow
Epoxy goes after flattening and initial prep, but before final sanding and finish: flatten/level → clean cracks & voids → clear skim coat the top → tape the underside to dam the through-cracks → pour tinted epoxy from the top in thin layers → cure fully → sand flush → continue finish sanding (next step).
🛠 Tips
- Slightly overfill and expect some sinkage.
- Work in thin pours rather than one deep flood if areas are absorbing resin.
- Don't wipe wet black CA glue across the wood.
- Let all repairs cure, then sand flush — don't rush to level wet fills.