
Sanding & Surface Leveling
Flattening the cured epoxy level with the wood and refining the whole surface through a disciplined grit progression — ending at 150 grit, the maximum for a Rubio finish.
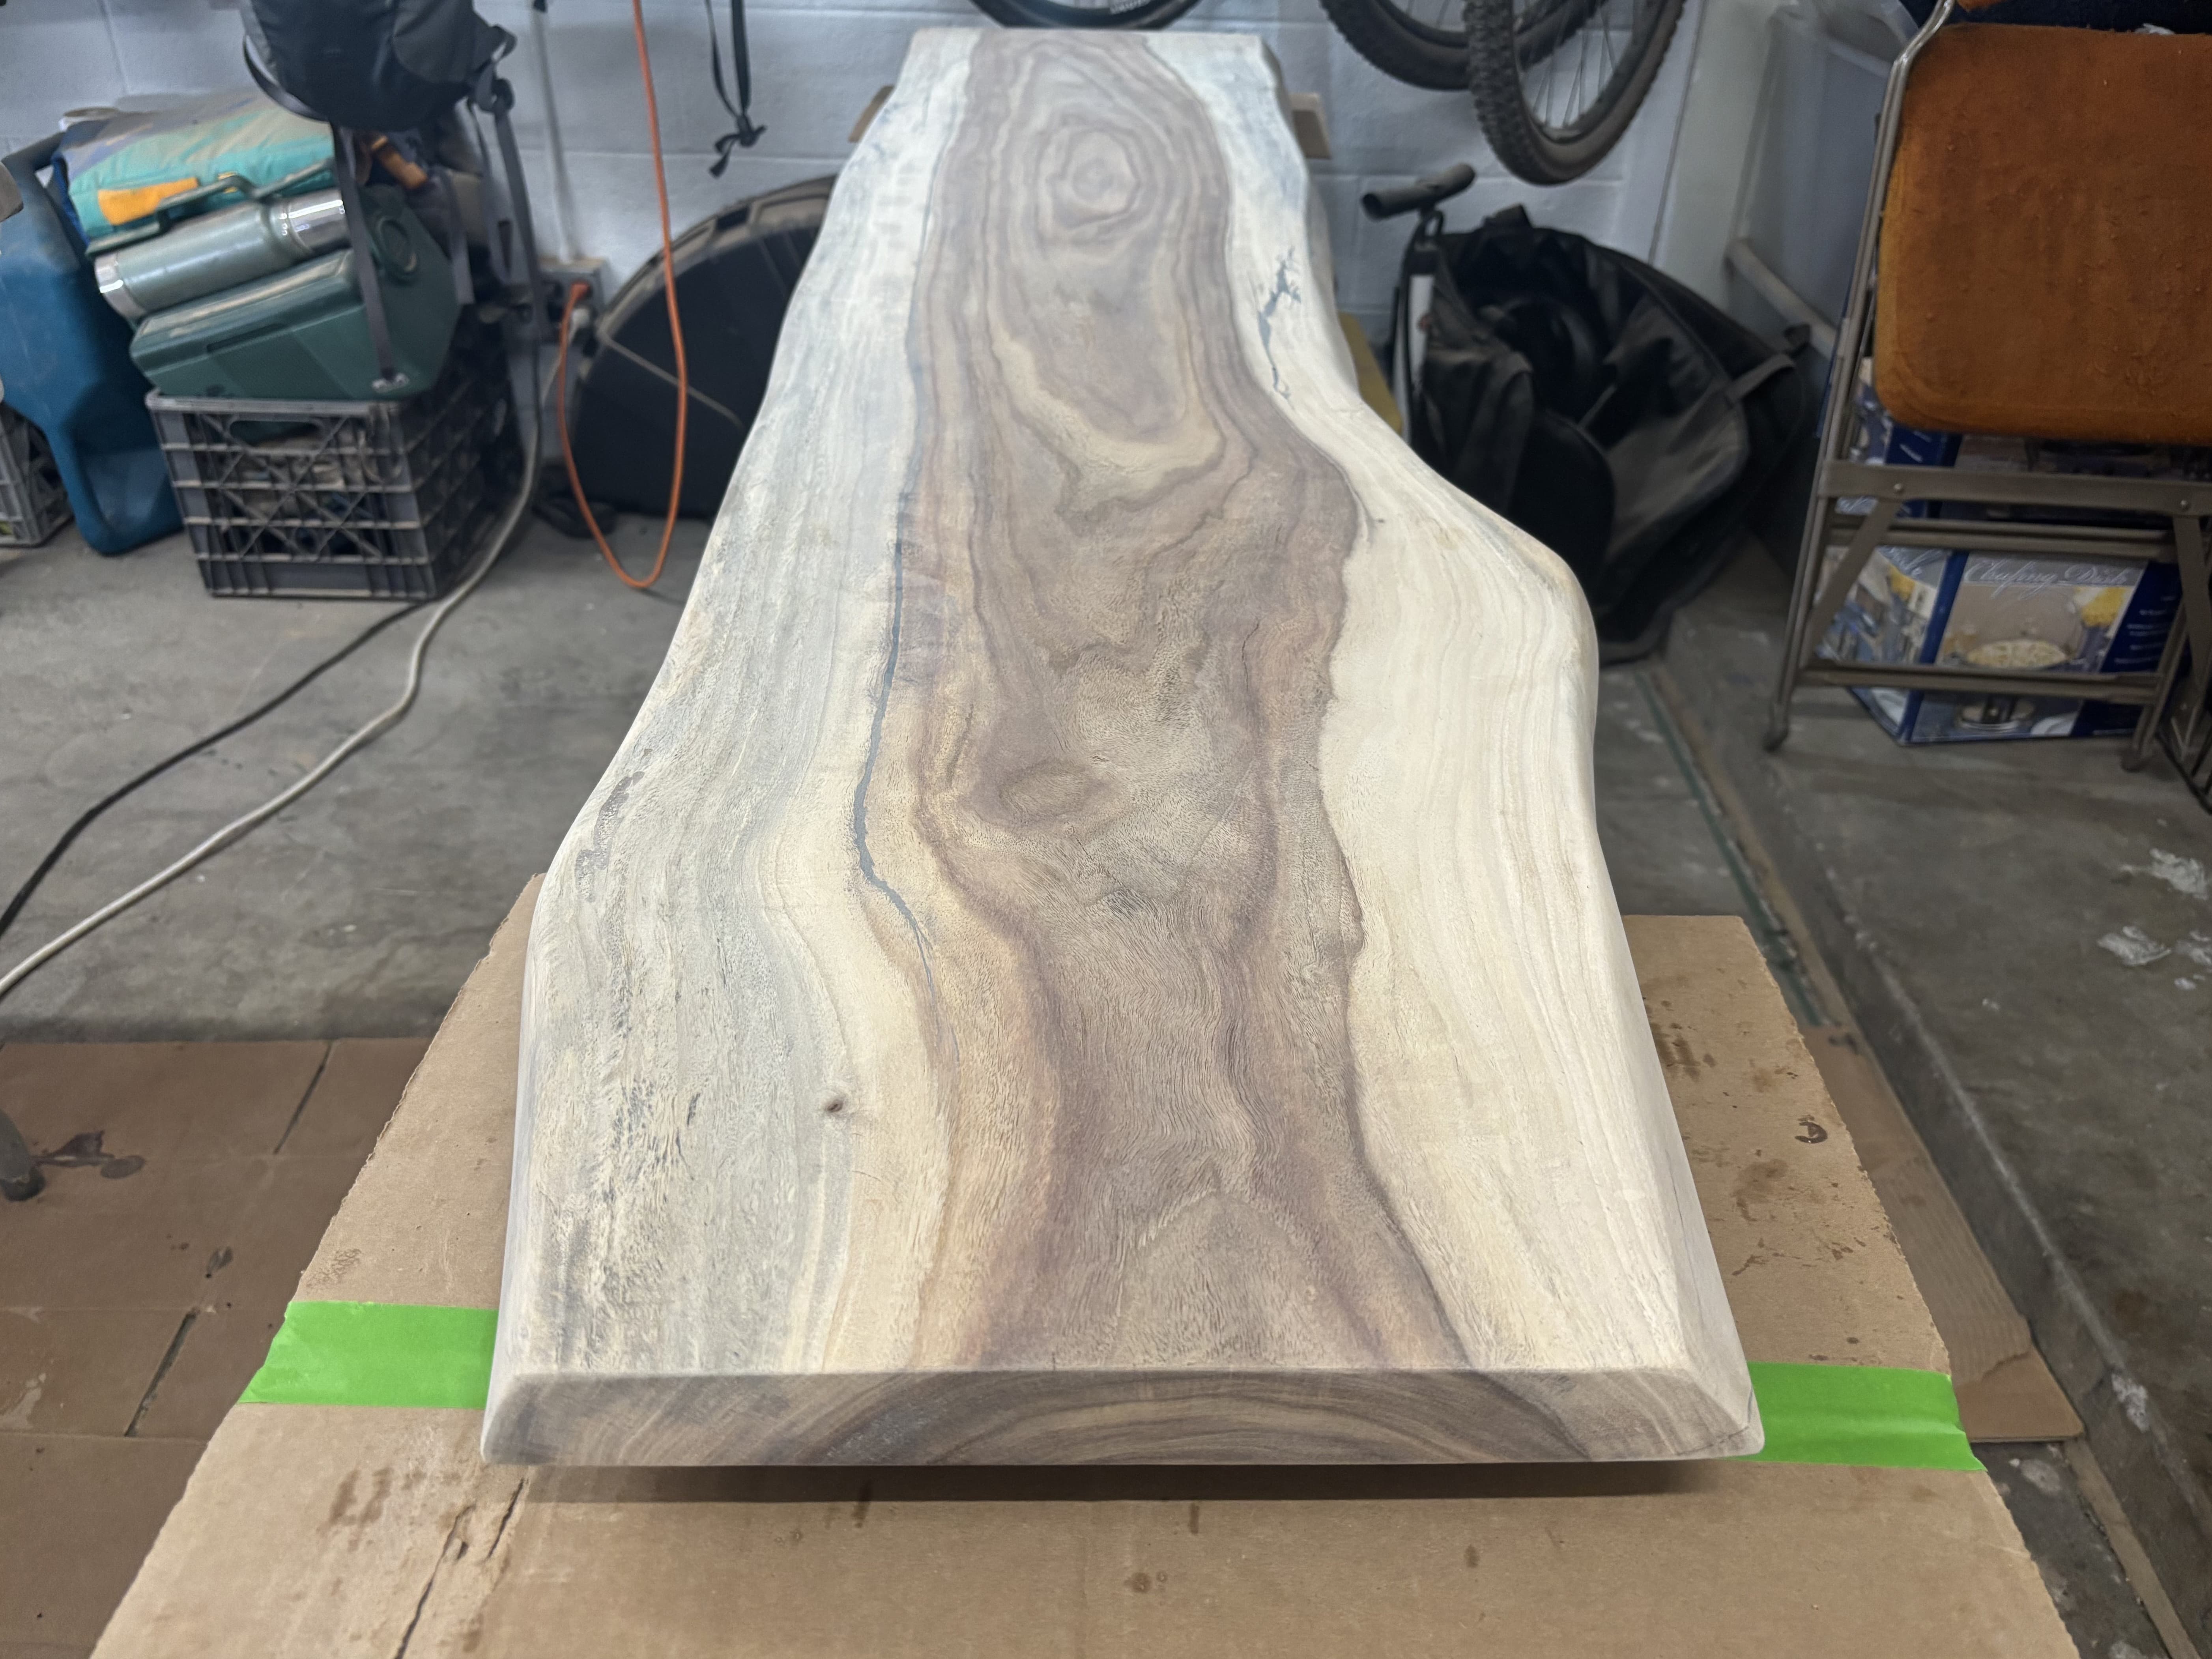
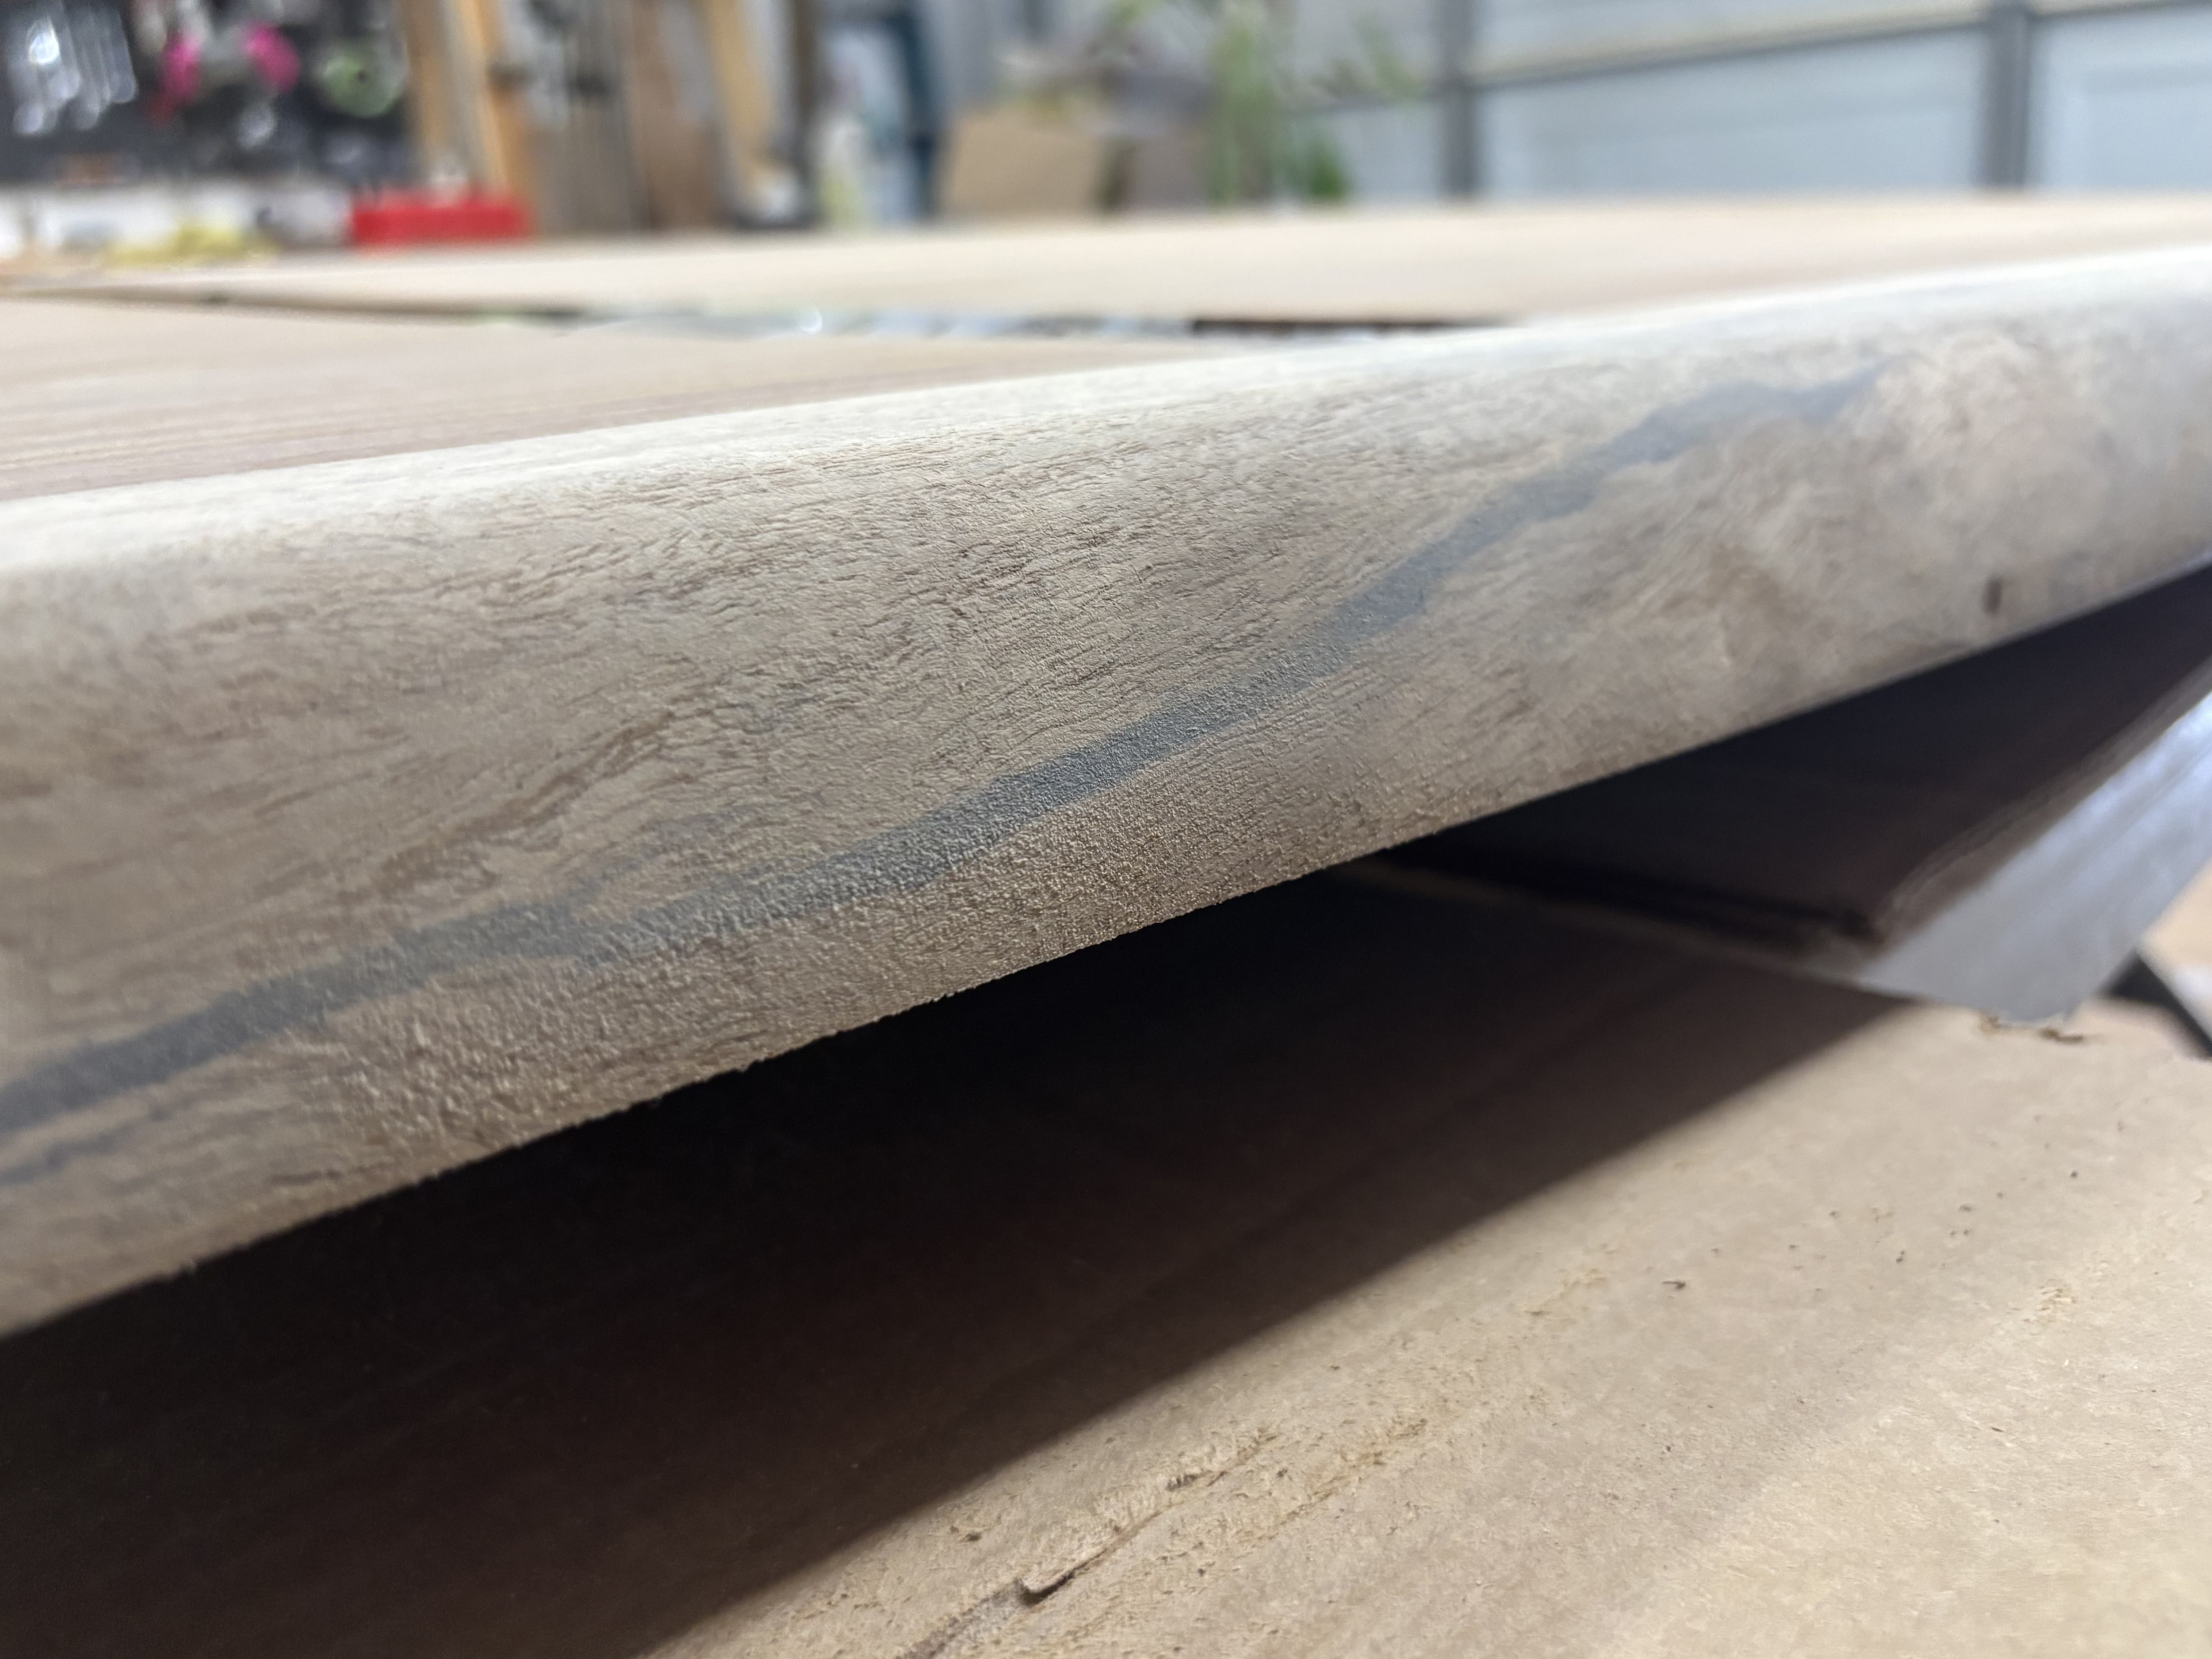
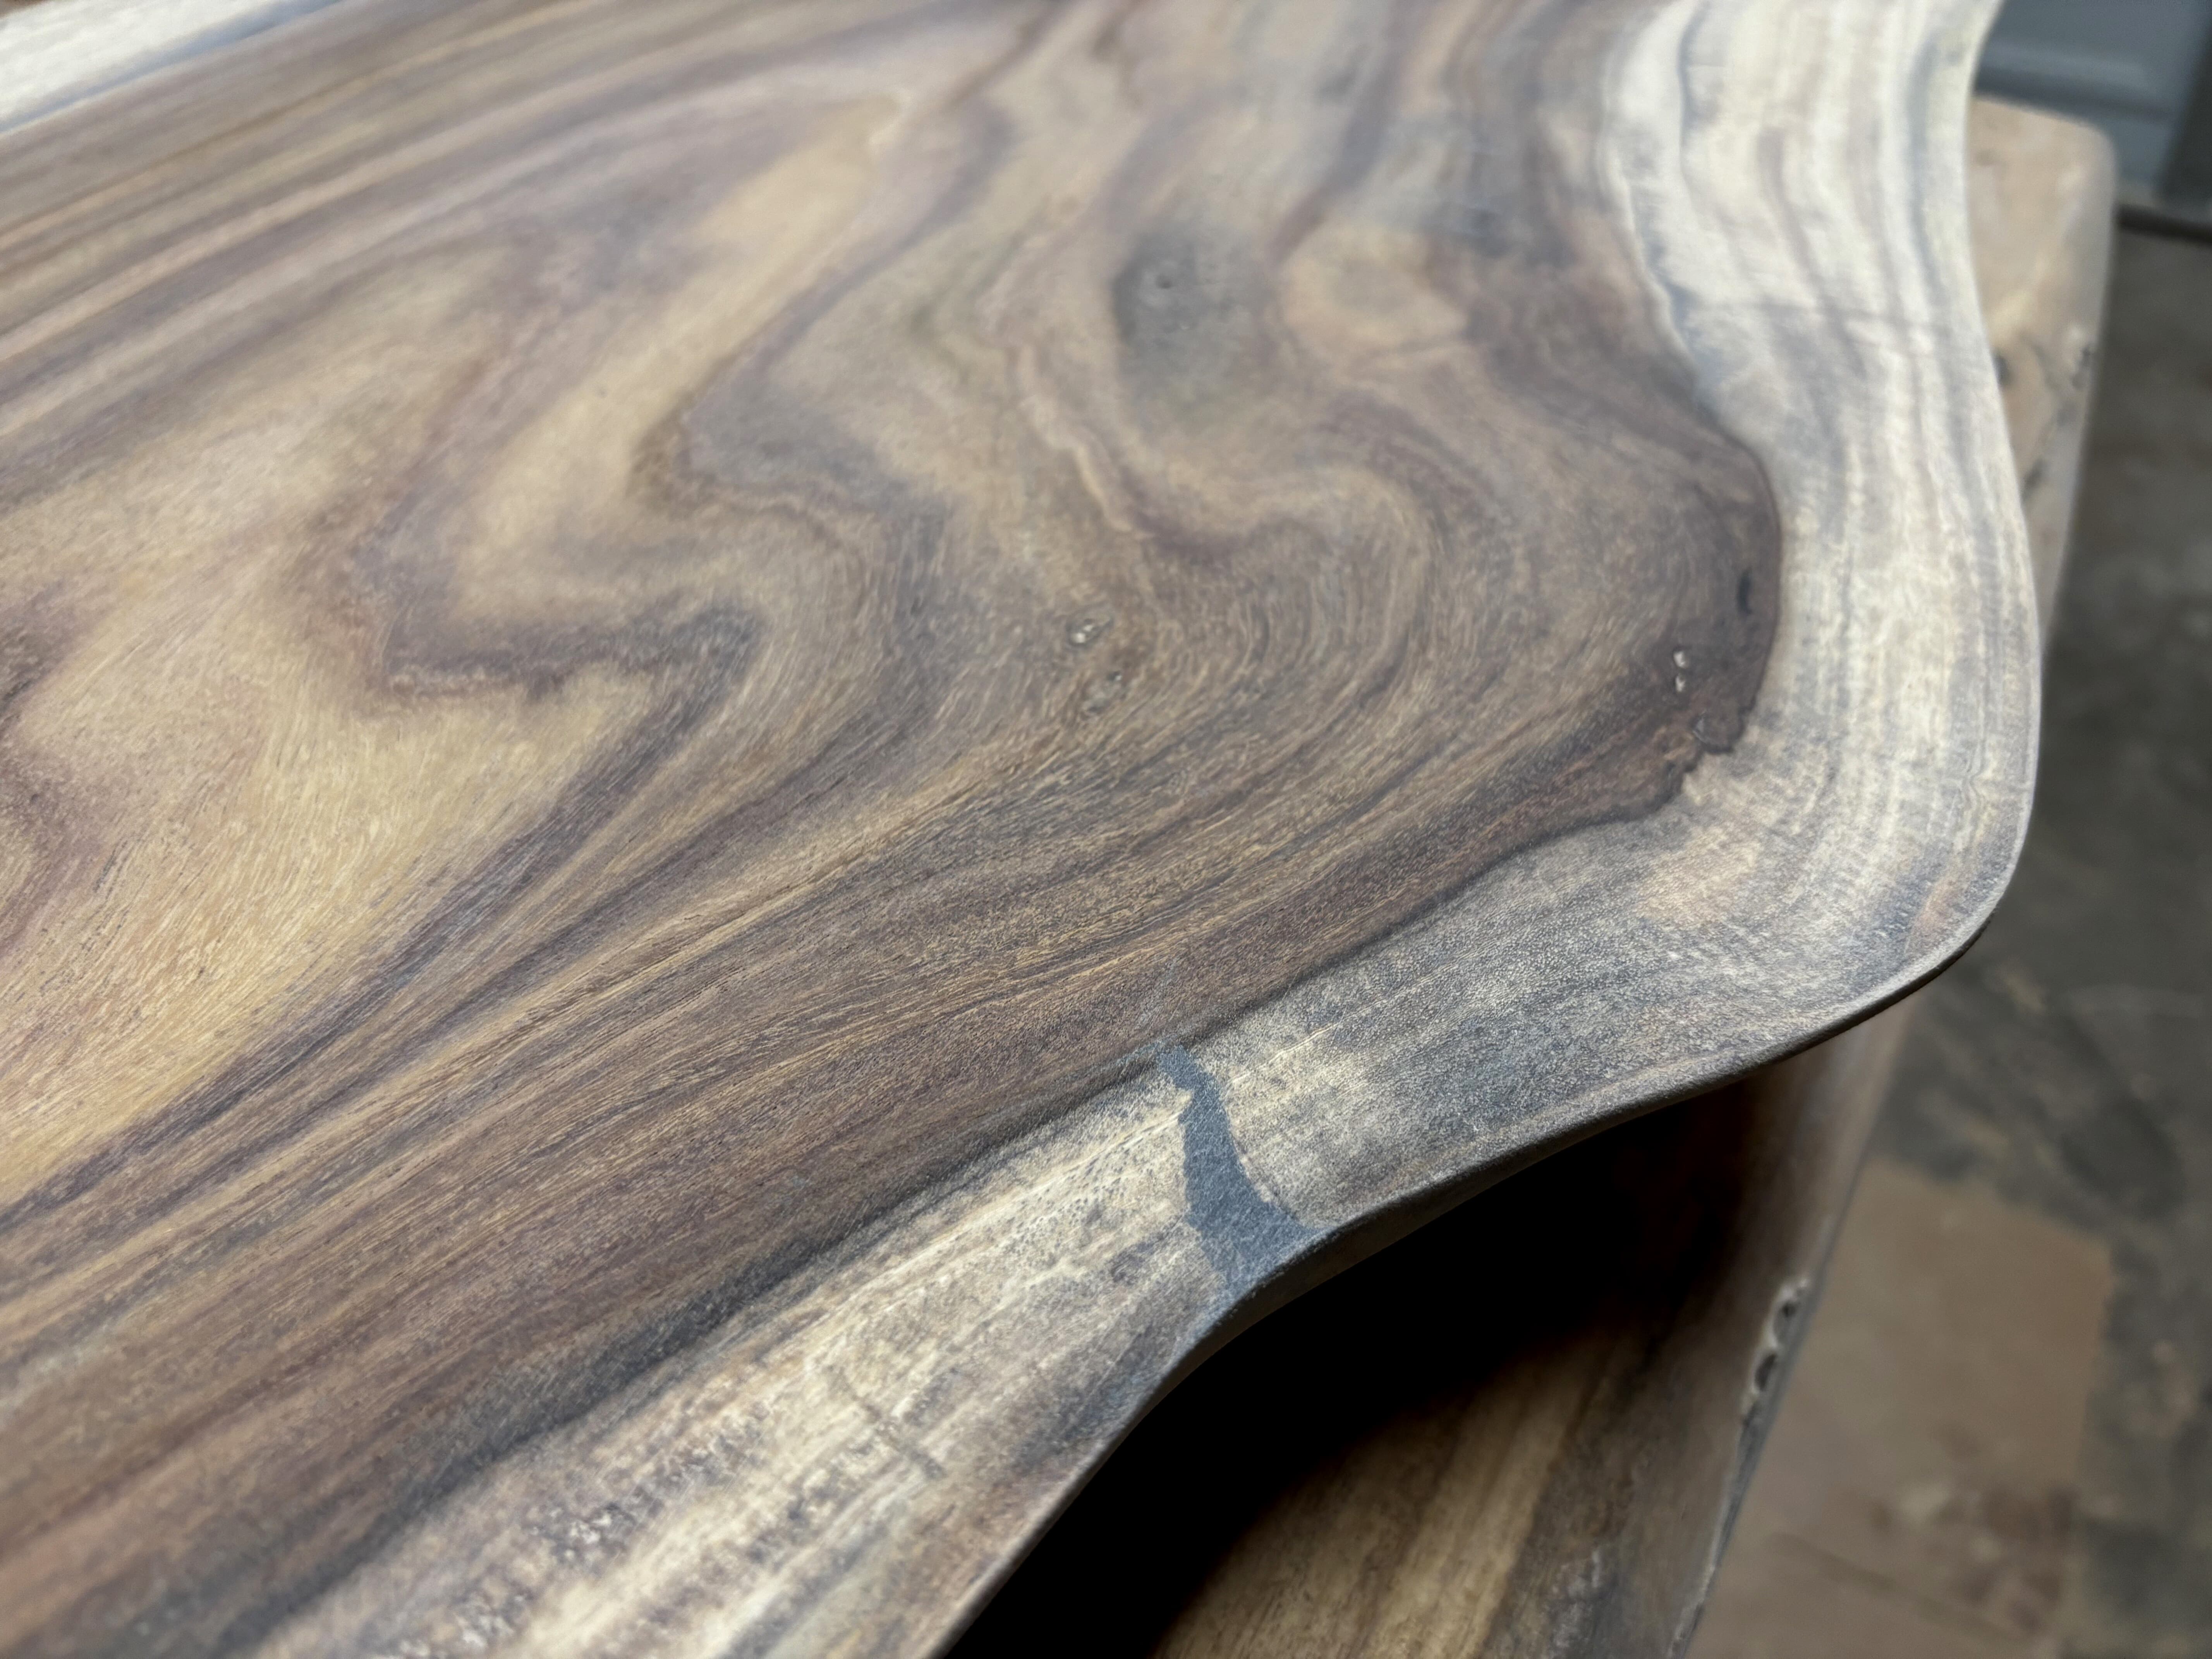
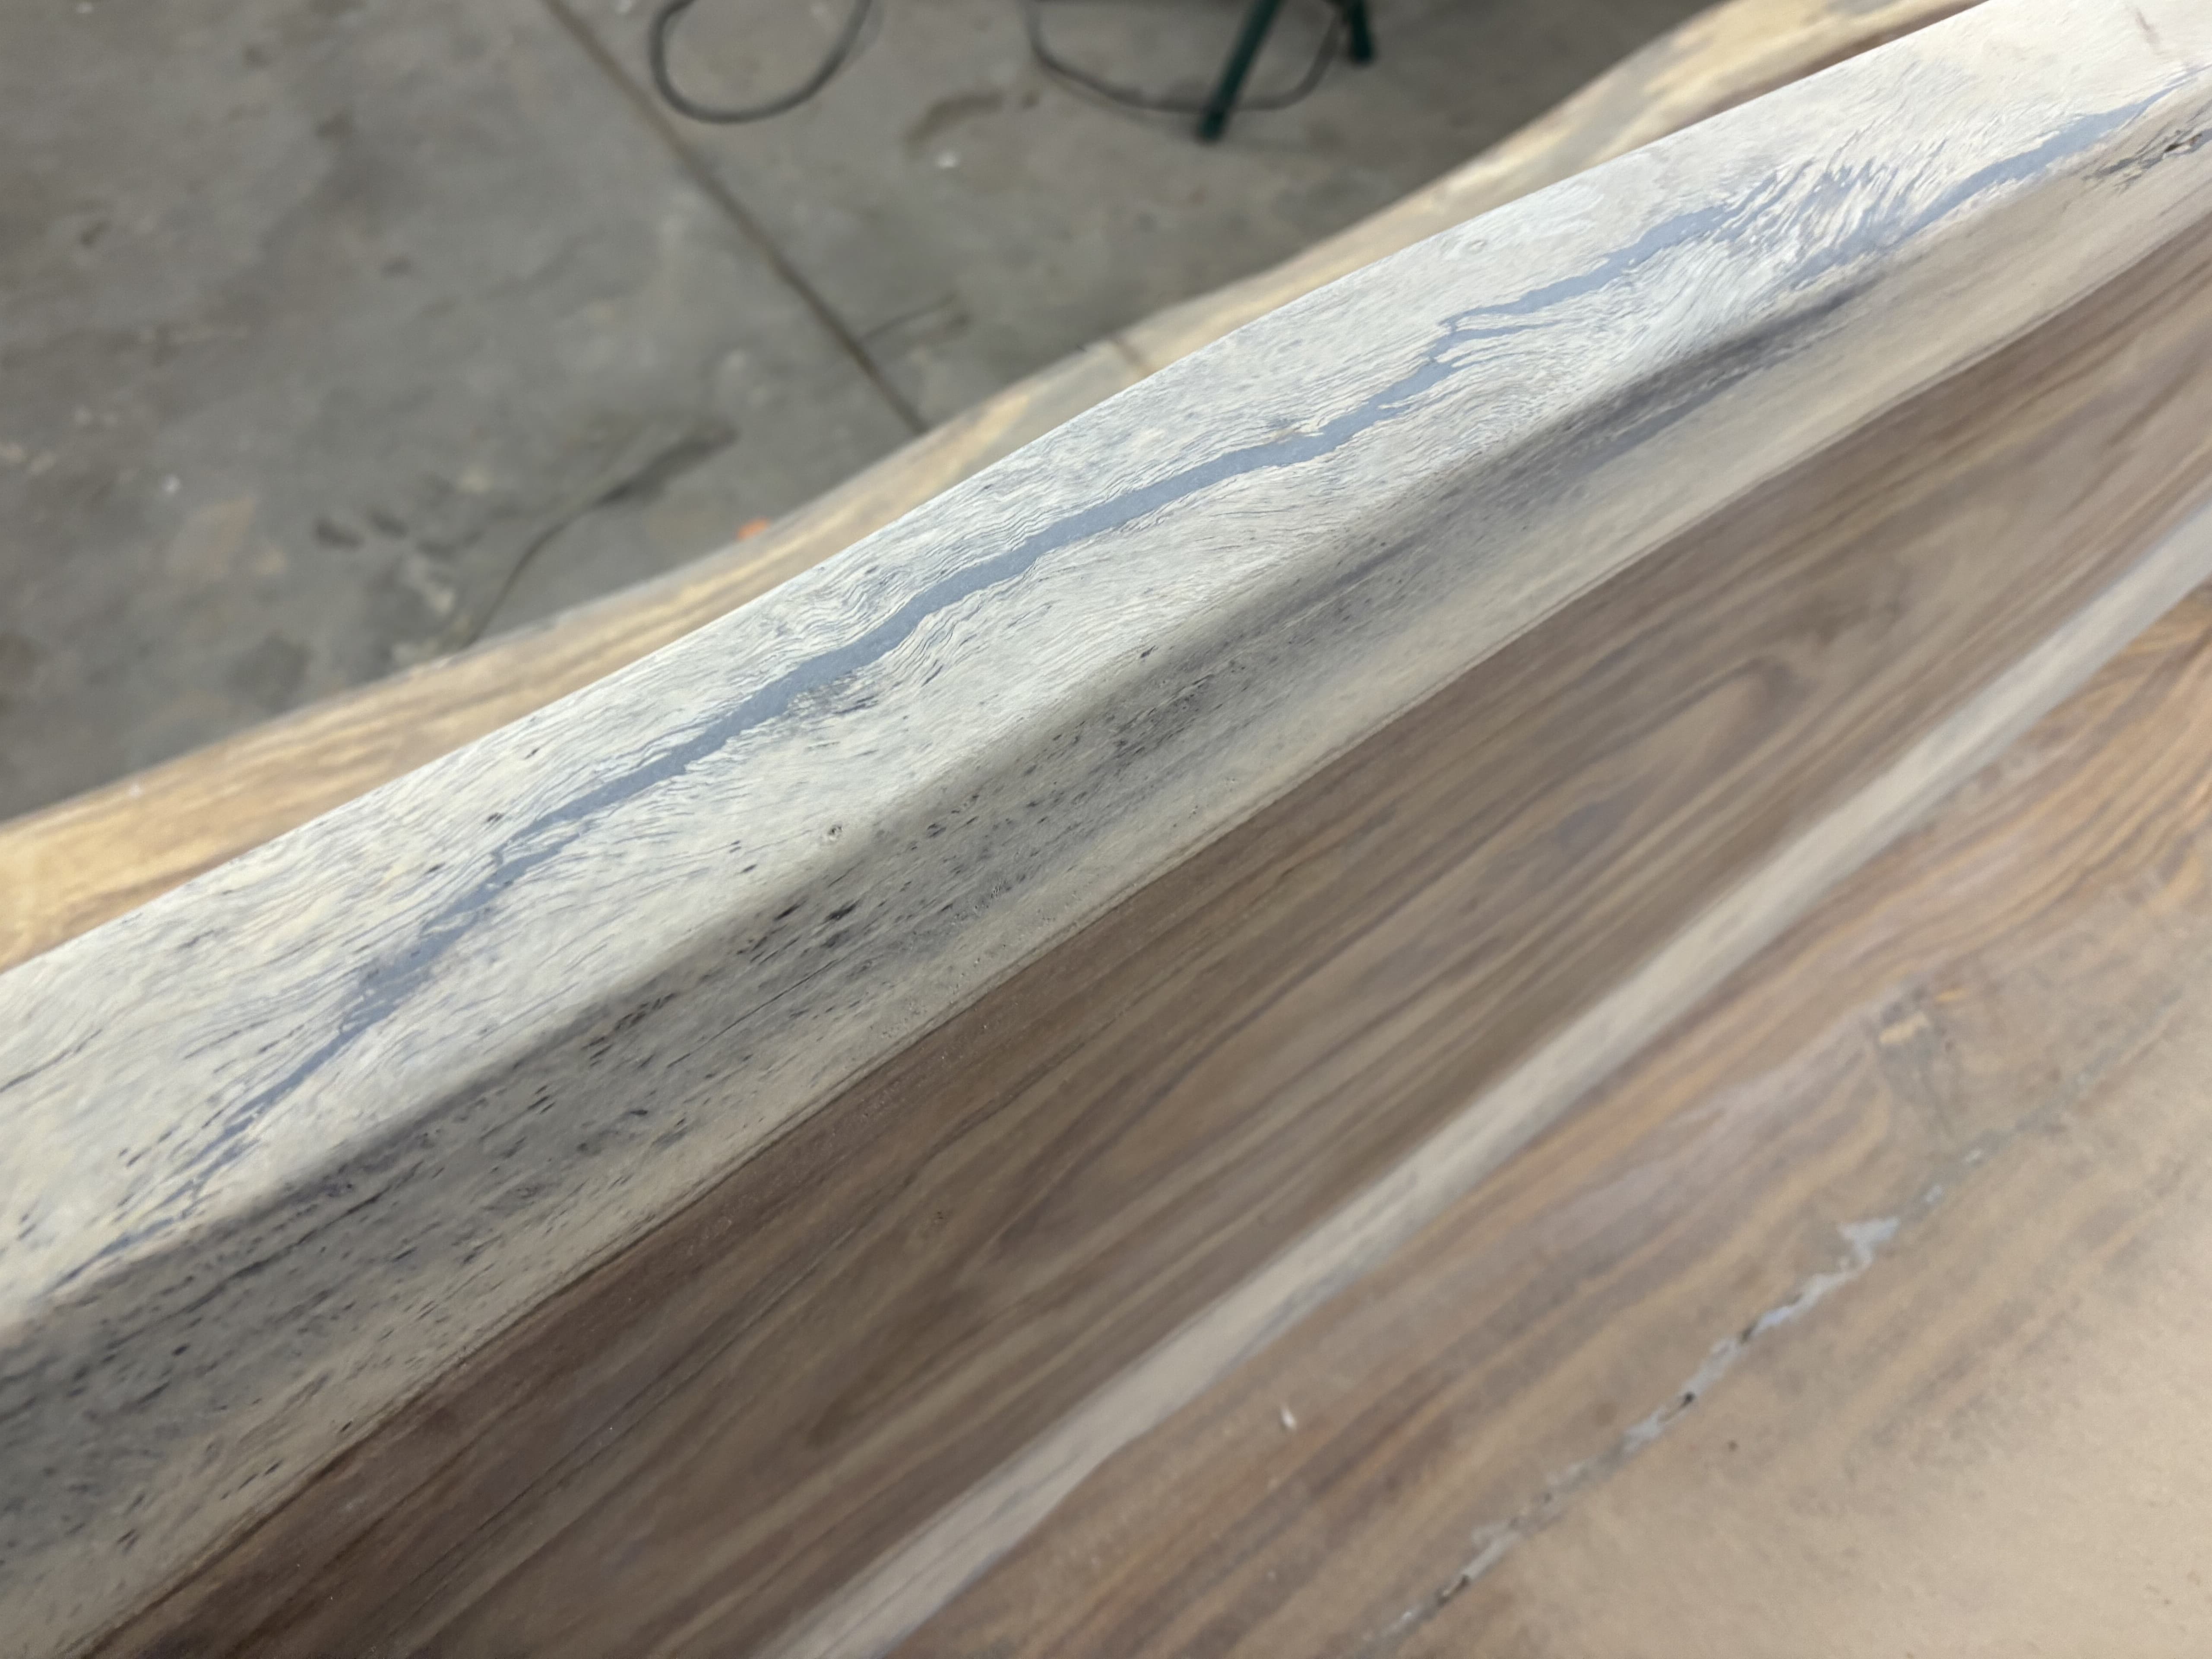
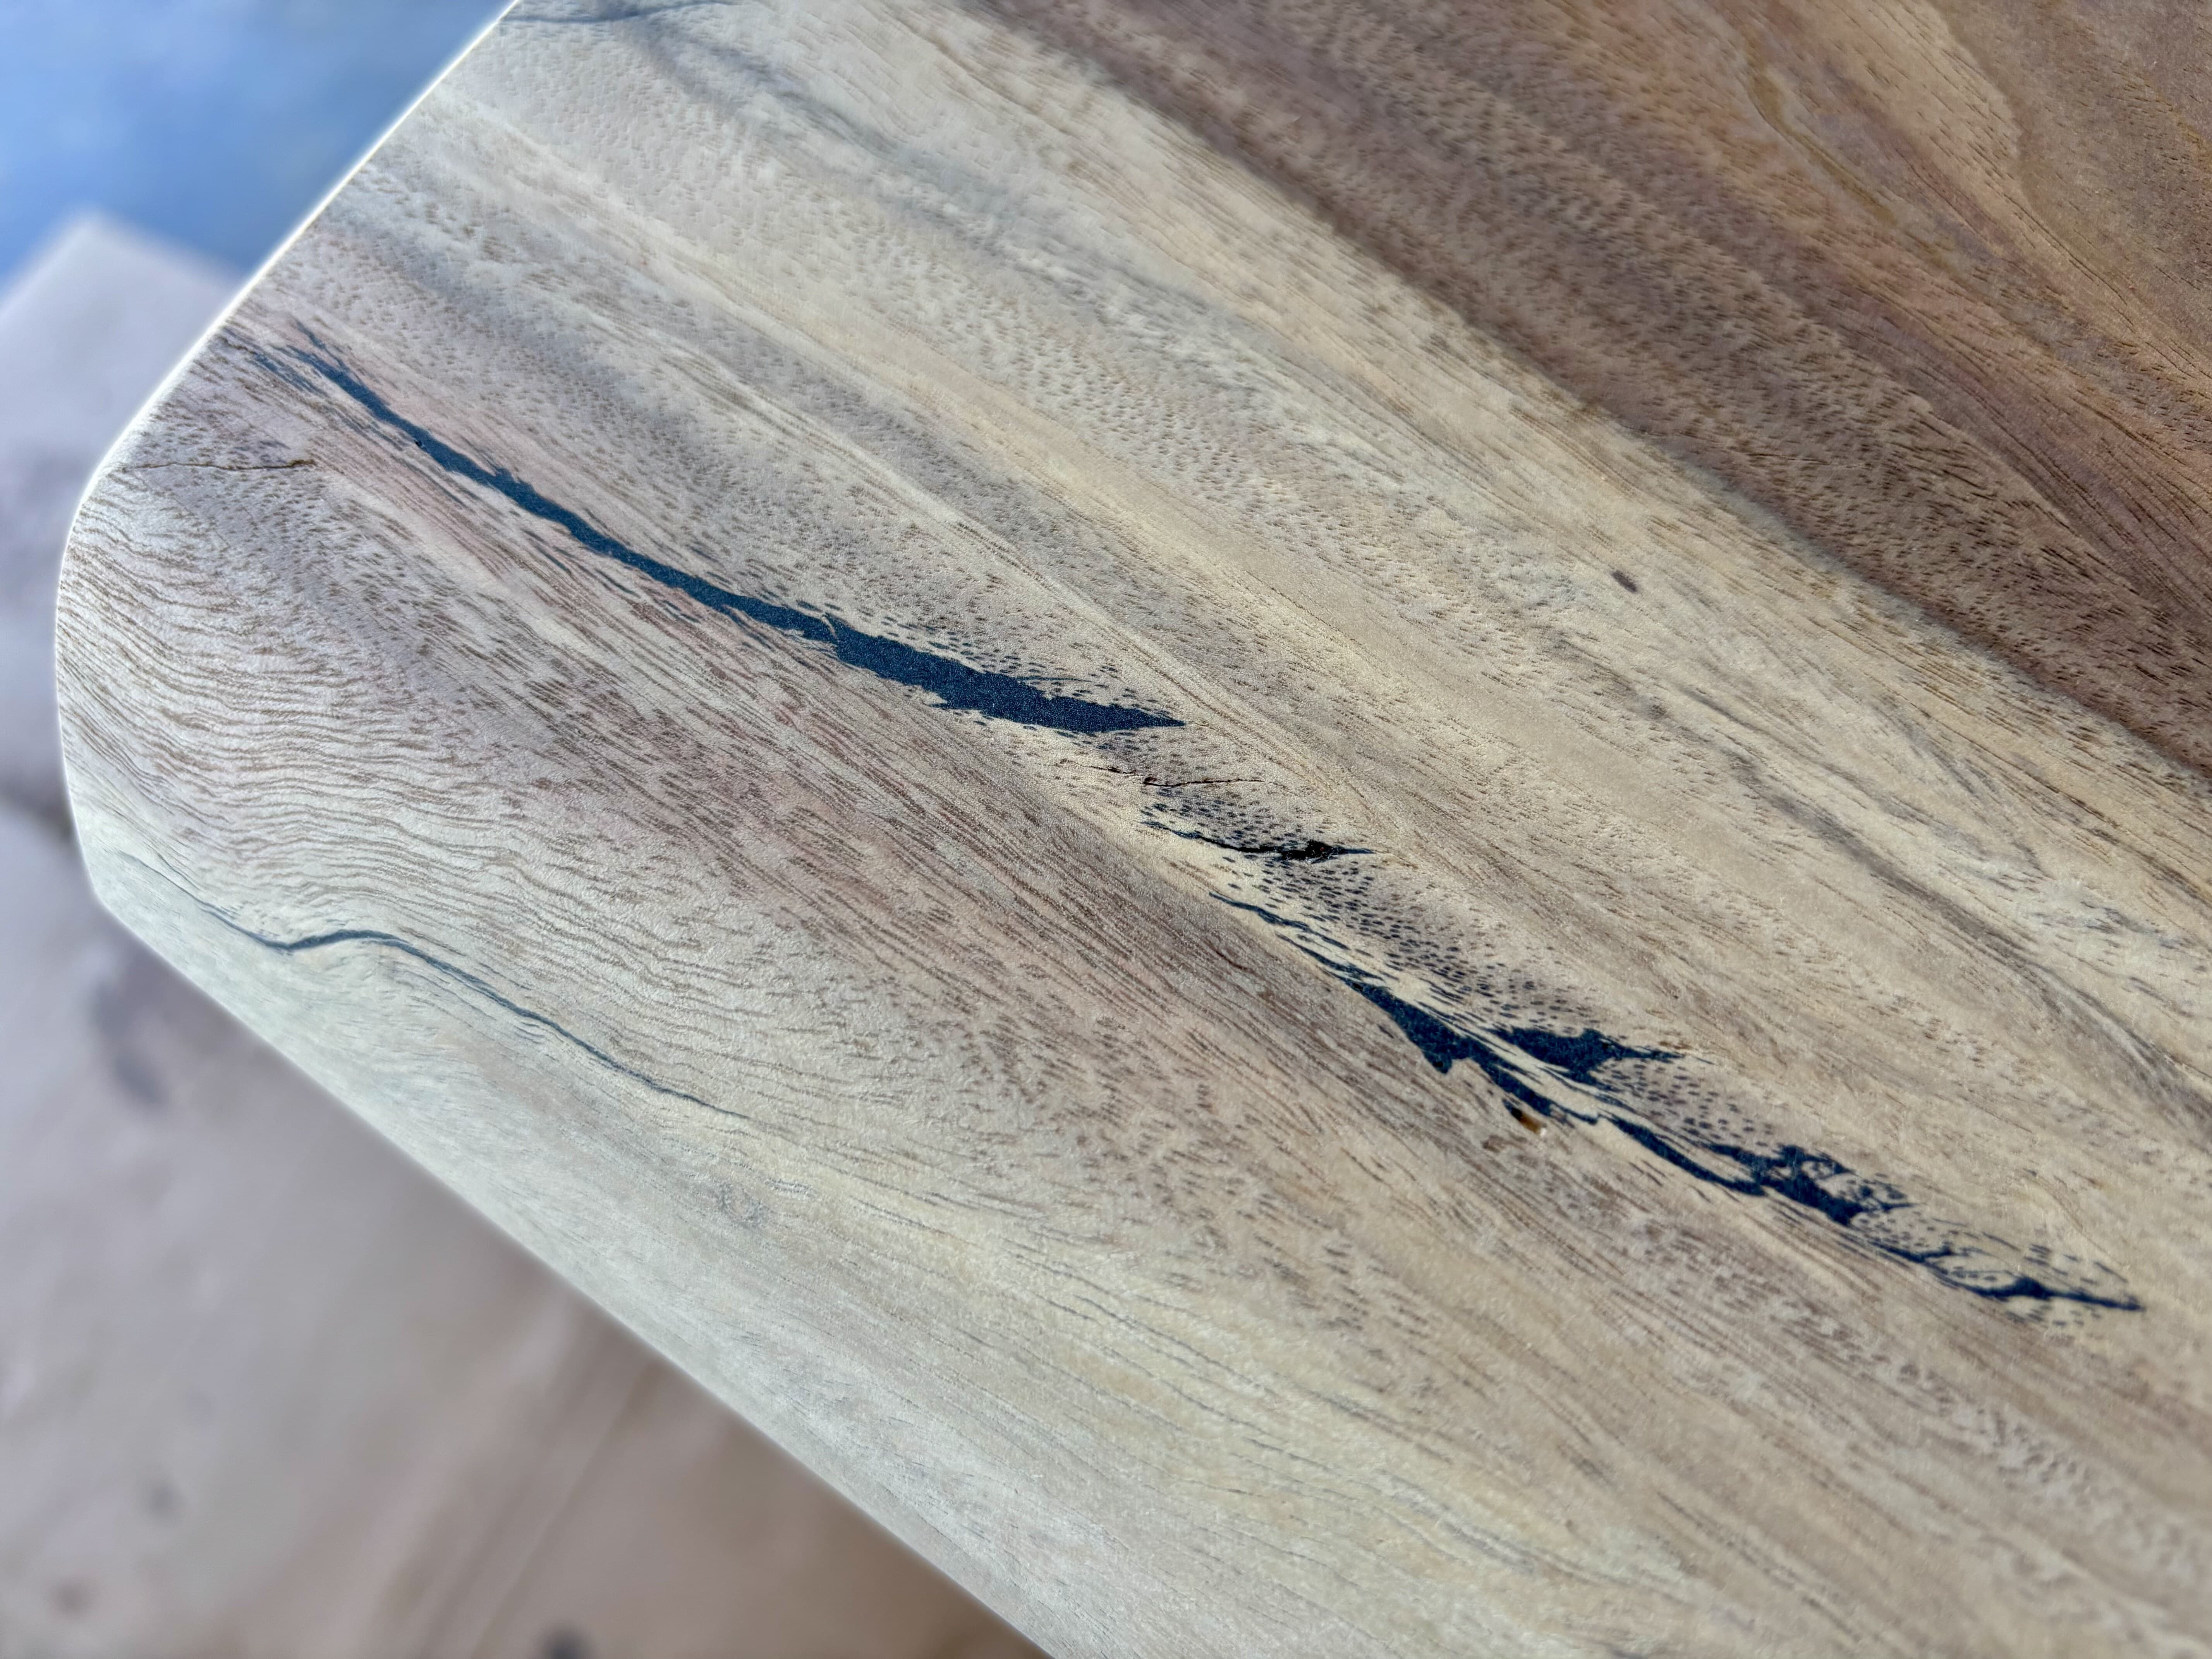
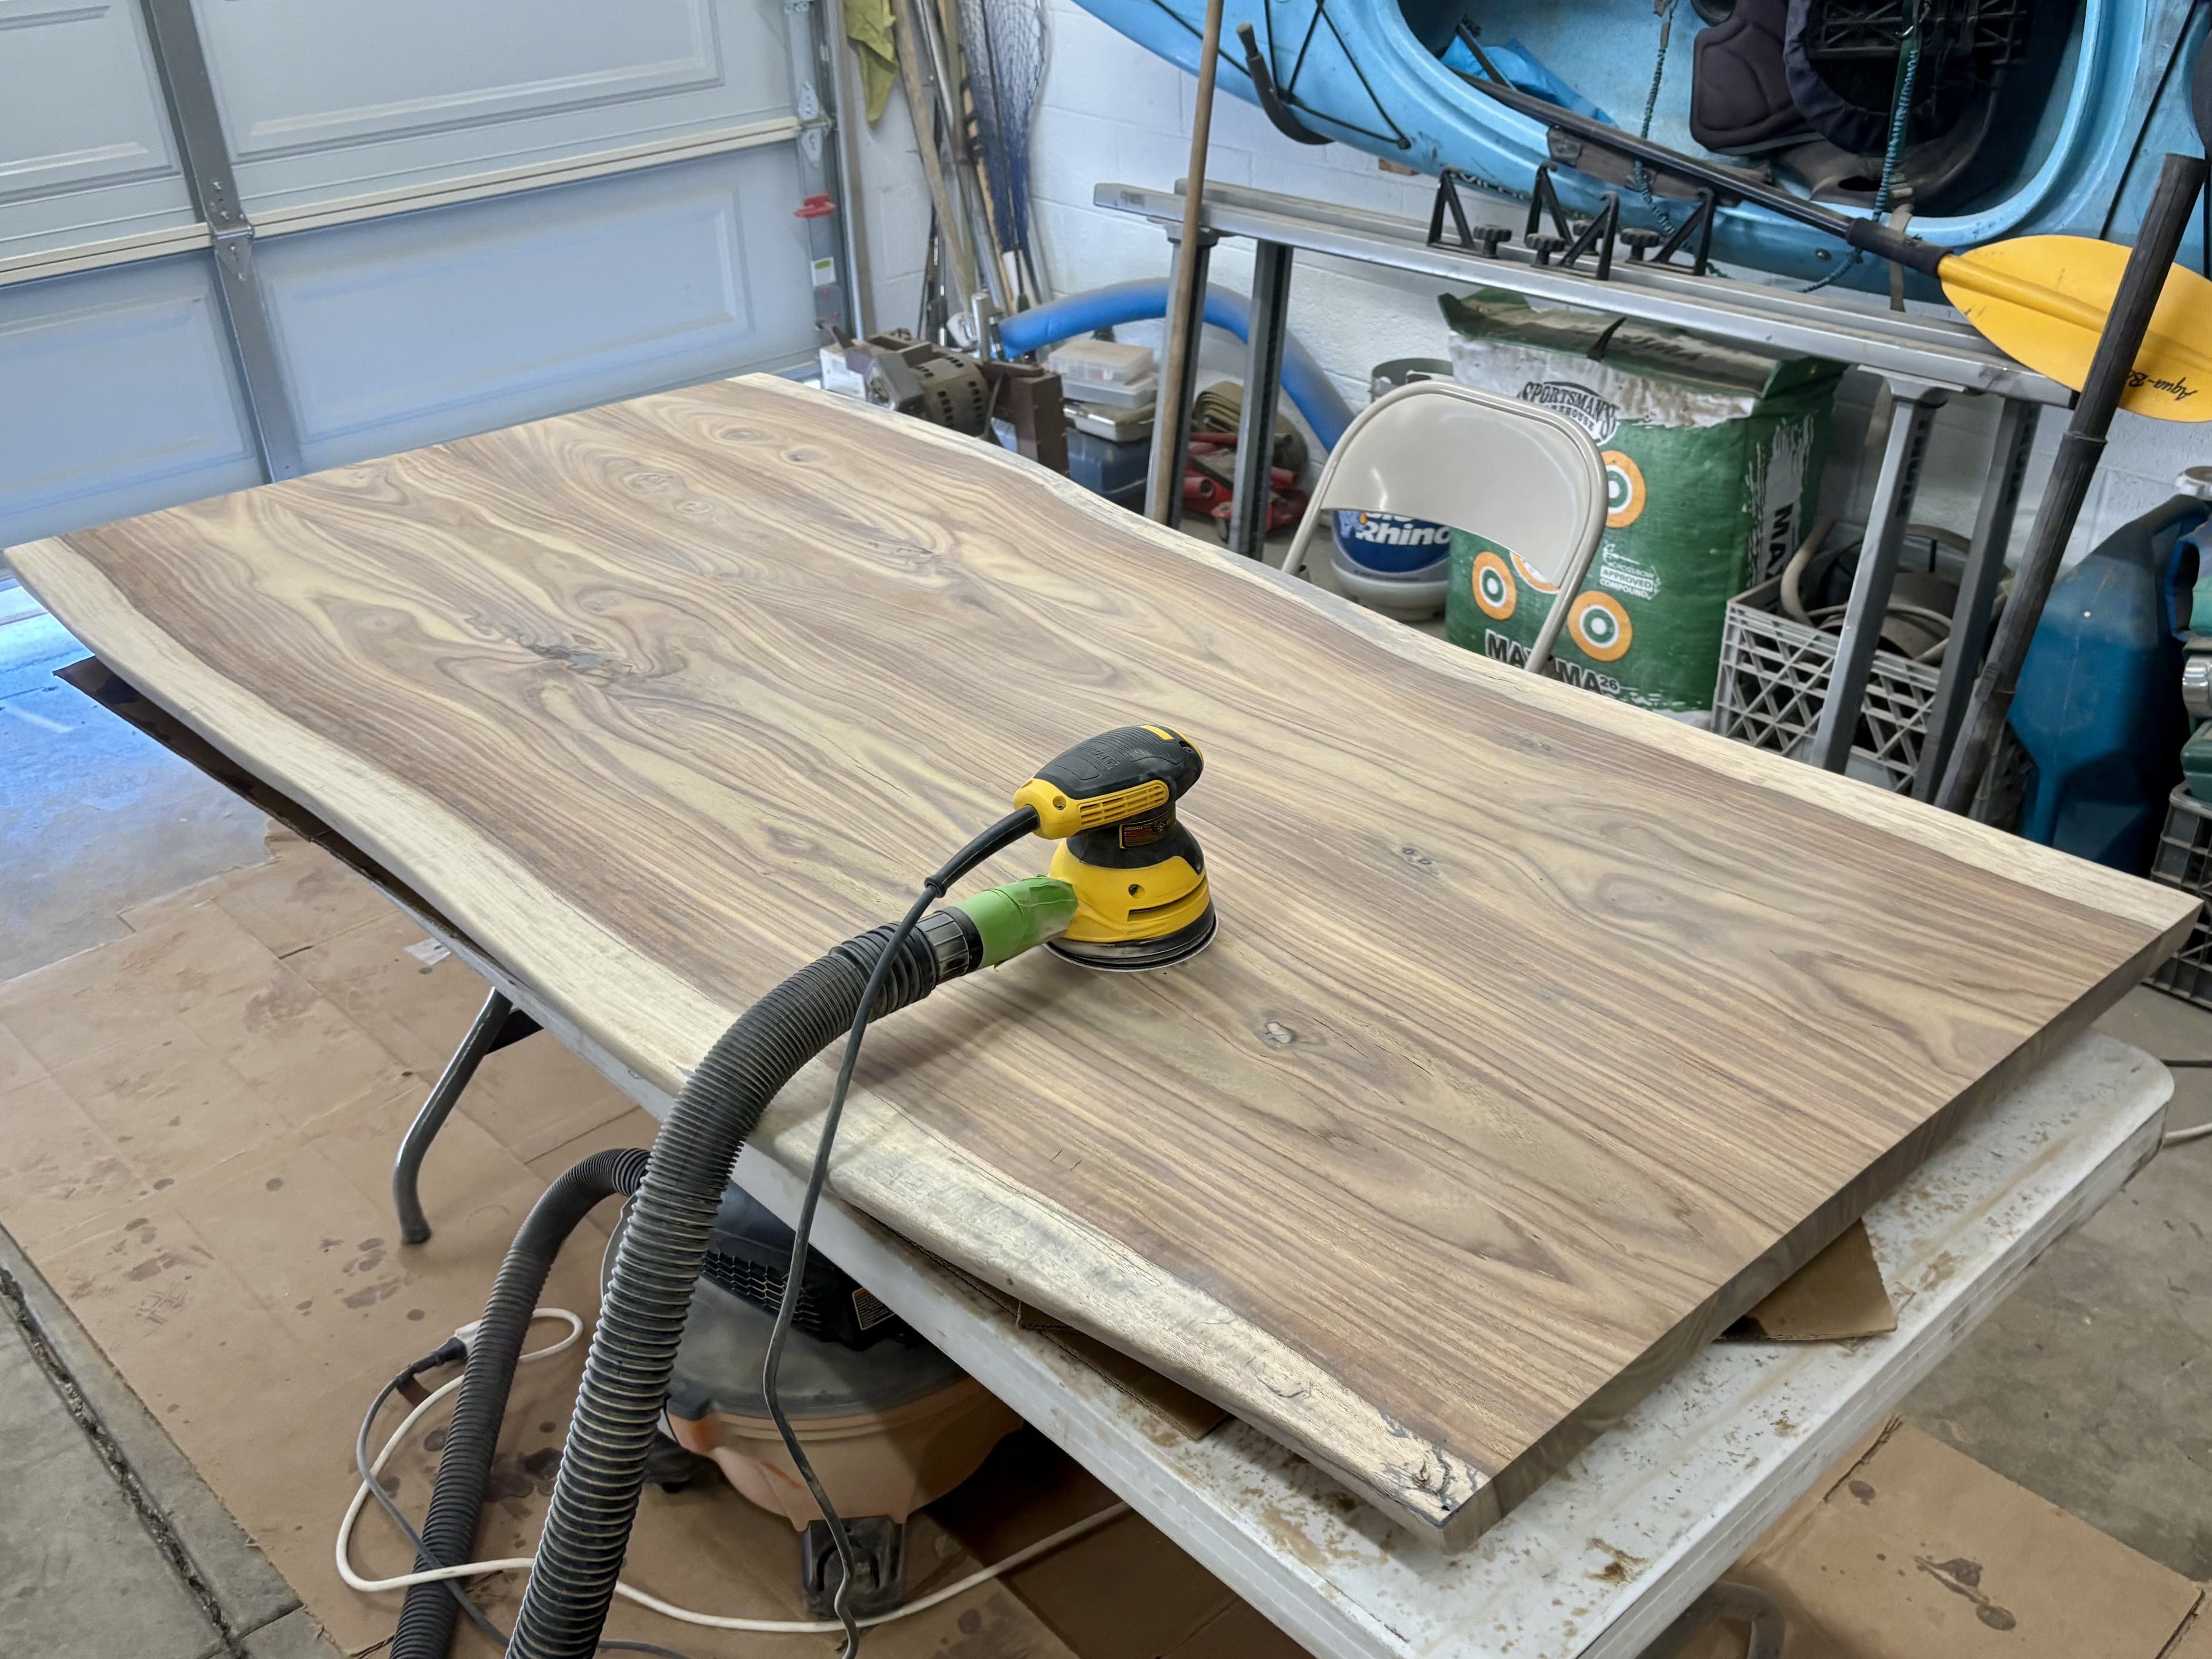
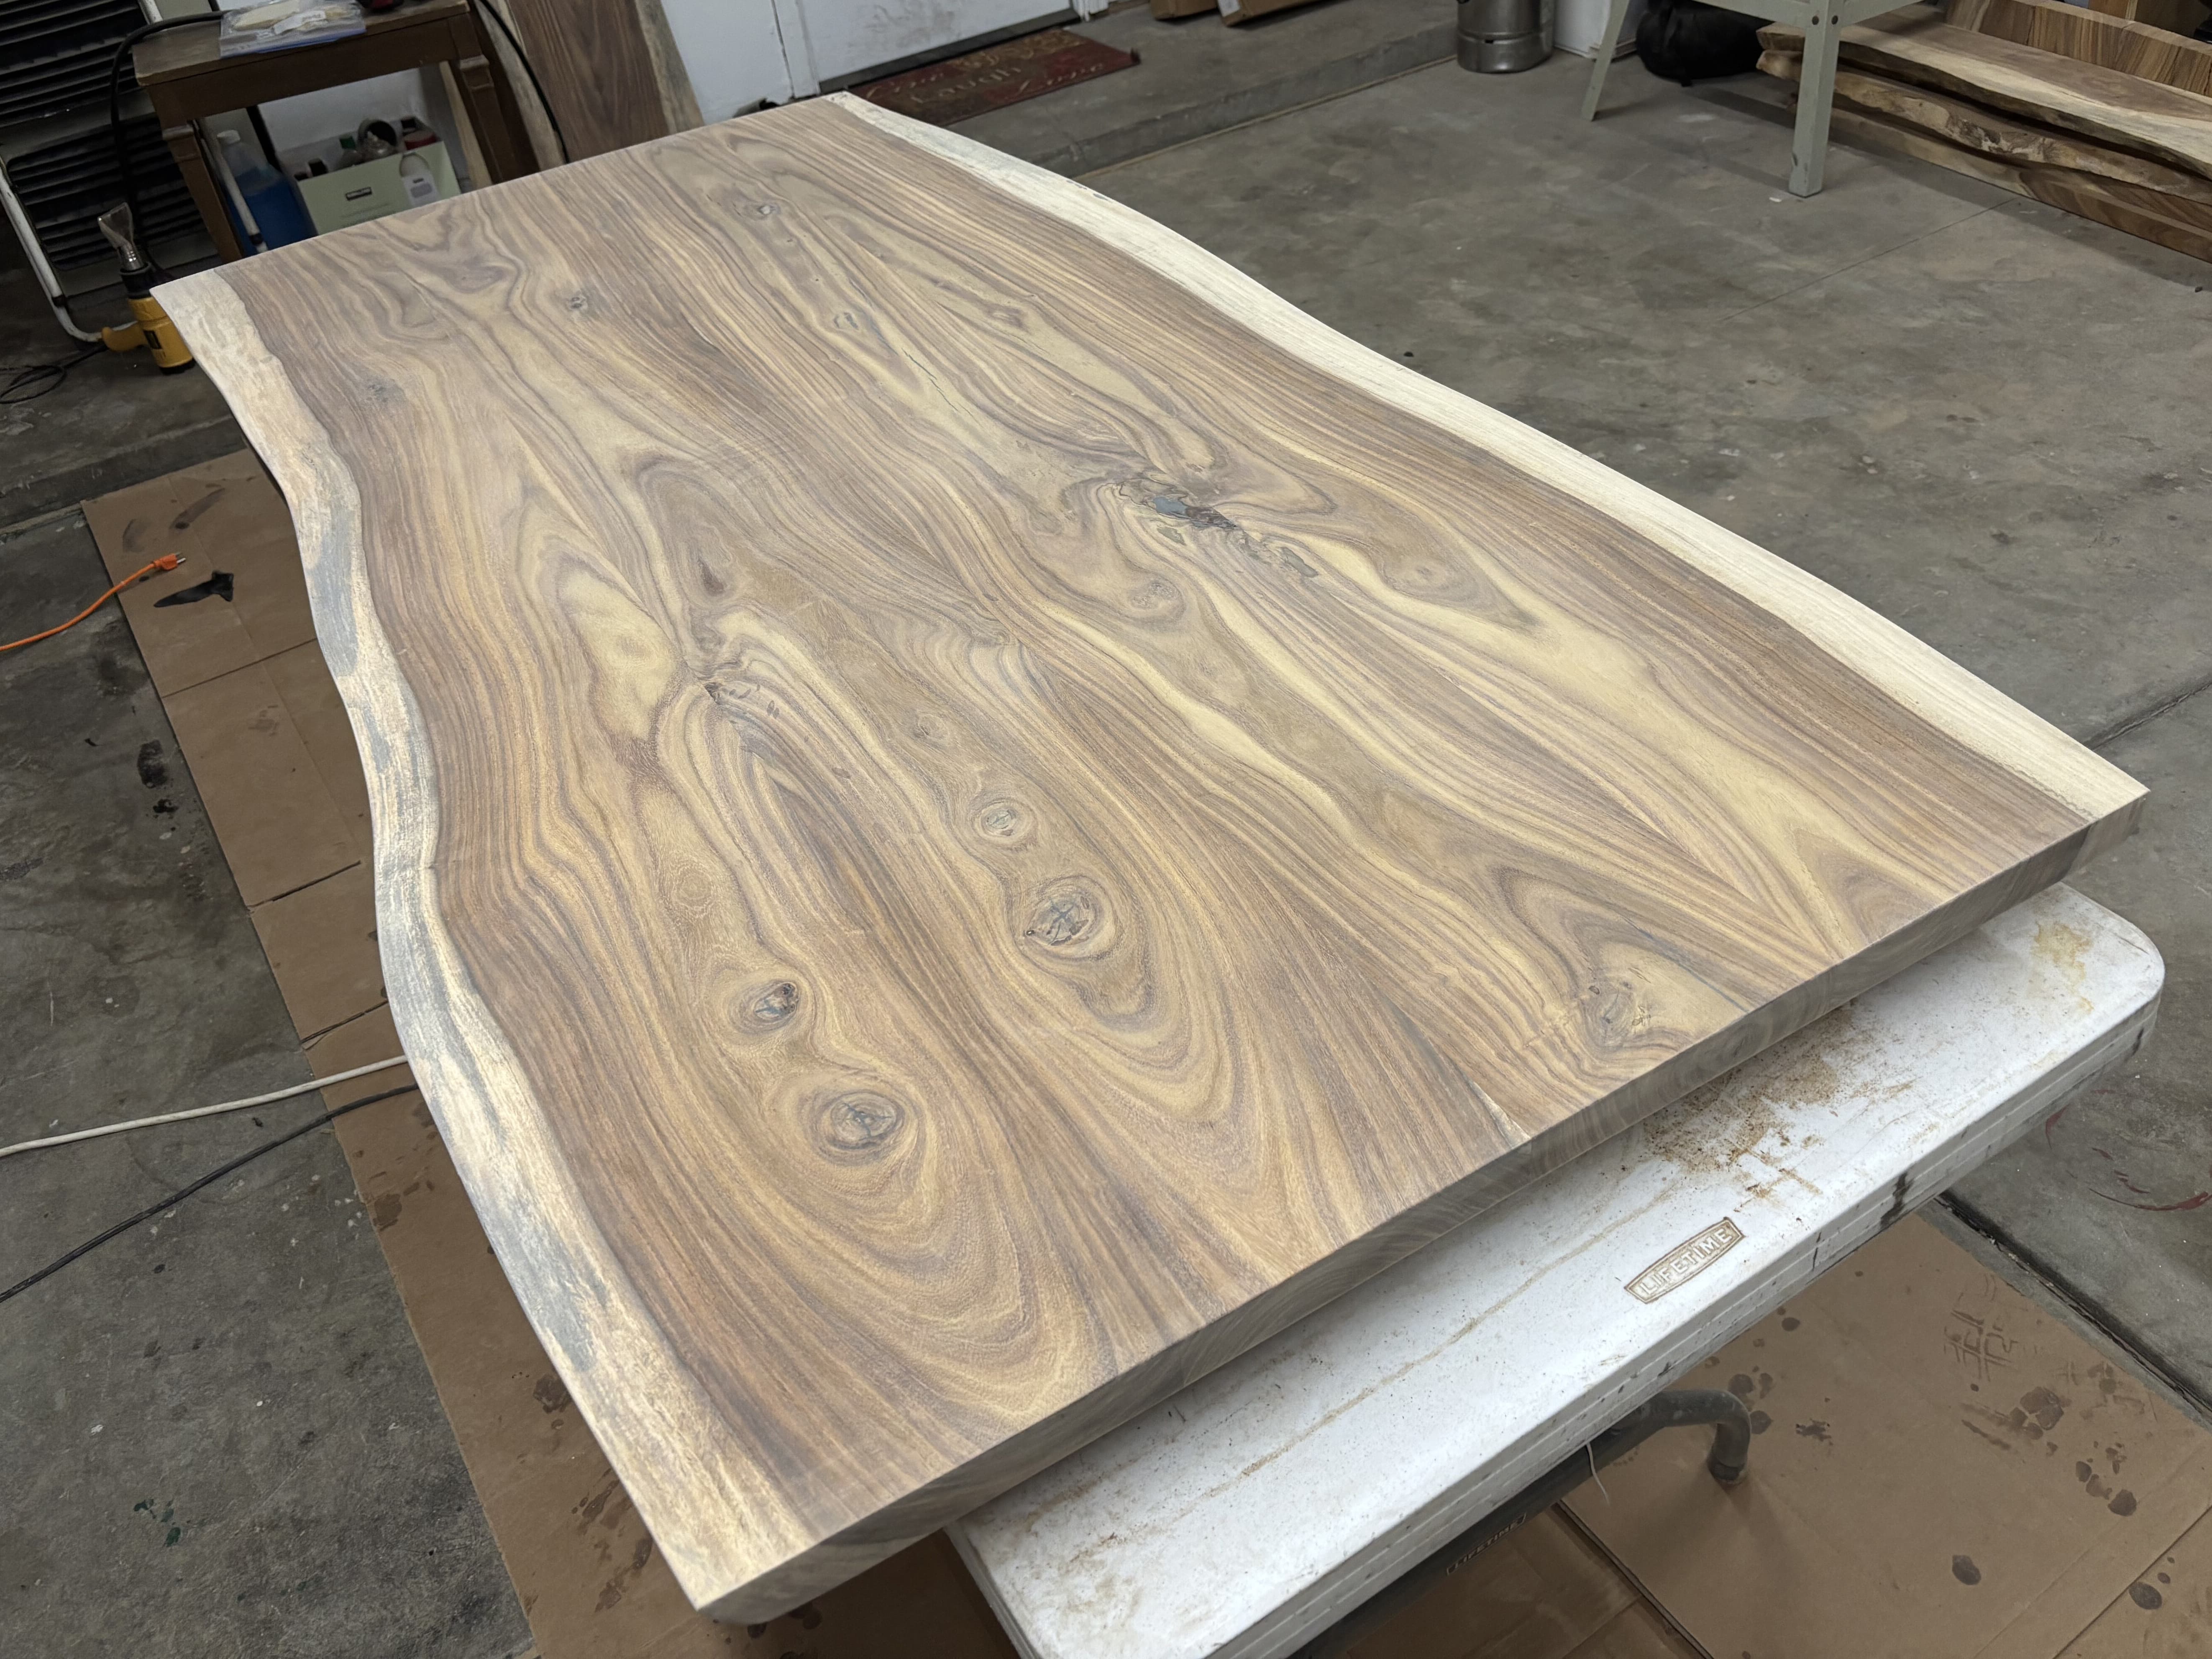
Grit sequence (post-epoxy, pre-Rubio)
- 60 grit — only if needed to knock down epoxy ridges / high spots.
- 80 grit — flatten epoxy and wood together.
- 120 grit — remove the 80-grit scratches.
- 150 grit — final refinement before Rubio.
Critical rule: stop at 150 grit max for Rubio. Finer than 150 burnishes dense hardwood and the oil won't penetrate evenly.
Removing epoxy ridges
Hardened drips and proud ridges come down first. For controlled leveling, a belt sander with 40/60 grit works (metal-grade belts are fine on wood in this aggressive stage). For localized drips, a card scraper or chisel is more precise. Then move to the random orbital for the progression above.
Belt sander vs. random orbital
Use the belt sander only for heavy leveling — gluelines, epoxy-and-wood flattening, heavy removal. It's not for fine finish stages. The random orbital sander does the broad surface work from 80 grit up; keep it flat and moving.
Keeping epoxy and wood level
Epoxy and rosewood cut at different rates. Work the whole area evenly rather than dwelling on the epoxy — you want a single continuous plane, not a sanded-down dish around each fill. Don't skip grits; each grit removes the previous grit's scratches.
⚠ Mistakes & Fixes — Swirl marks & loaded discs
Swirls usually come from a worn disc, dust buildup, or moving too fast. They hide until the oil goes on, then jump out.
Fix: change discs often (replace when they stop cutting, clog, overheat, or the hook-and-loop fails), keep the sander moving, and vacuum between grits so old grit doesn't score the next pass.
A trick that makes even sanding foolproof: pencil the surface
The single most useful thing I did in this stage: before each grit, I scribbled light pencil lines across the whole surface — long, loose S-curves, barely pressing. Then I sanded until every last pencil mark was gone. When the lines disappear evenly, you've cut the whole surface evenly; where they linger, that's a low spot the pad hasn't reached yet. It turns "am I sanding this flat?" into something you can actually see.
I also kept my free hand gliding across the surface the whole time, reading the texture by feel — your fingertips catch a ridge or a swirl long before your eyes do. Between the pencil and the hand, this became one of the most satisfying, meditative parts of the whole build.
Dust control & respirator
Arizona Rosewood dust is no joke — and that's not just caution-speak. Rosewoods are widely reported as respiratory and skin sensitizers: repeated exposure to the fine dust can trigger allergic reactions — dermatitis, eye and airway irritation, and even asthma-like respiratory sensitization. The dangerous thing about sensitization is that it's cumulative and can show up suddenly, even after handling a wood for years with no trouble; once you're sensitized, reactions can be severe and don't go away. Power sanding throws the finest, most breathable dust of anything in this build, so this is exactly where protection matters most.
Wear a half-face respirator with P100 filters (e.g. 3M 7500-series or GVS Elipse P100), run dust extraction on the sander, and keep spare filters on hand so a clogged one never tempts you to skip it. An N95 is acceptable only for short sessions and is less ideal.
🛠 Tips
- Do not skip grits.
- Pencil light S-curves across the surface before each grit — sand until they vanish for even cutting.
- Keep the sander moving — no dwelling in one spot.
- Change discs often for a clean cut.
- Use a P100 respirator for rosewood dust — it's a cumulative sensitizer.
- Stop at 150 grit max for Rubio.