
Flattening & Surface Prep
Bringing the glued-up slab dead flat and removing glue ridges, so the surface is ready for crack work and epoxy. Get it flat before epoxy — not after.
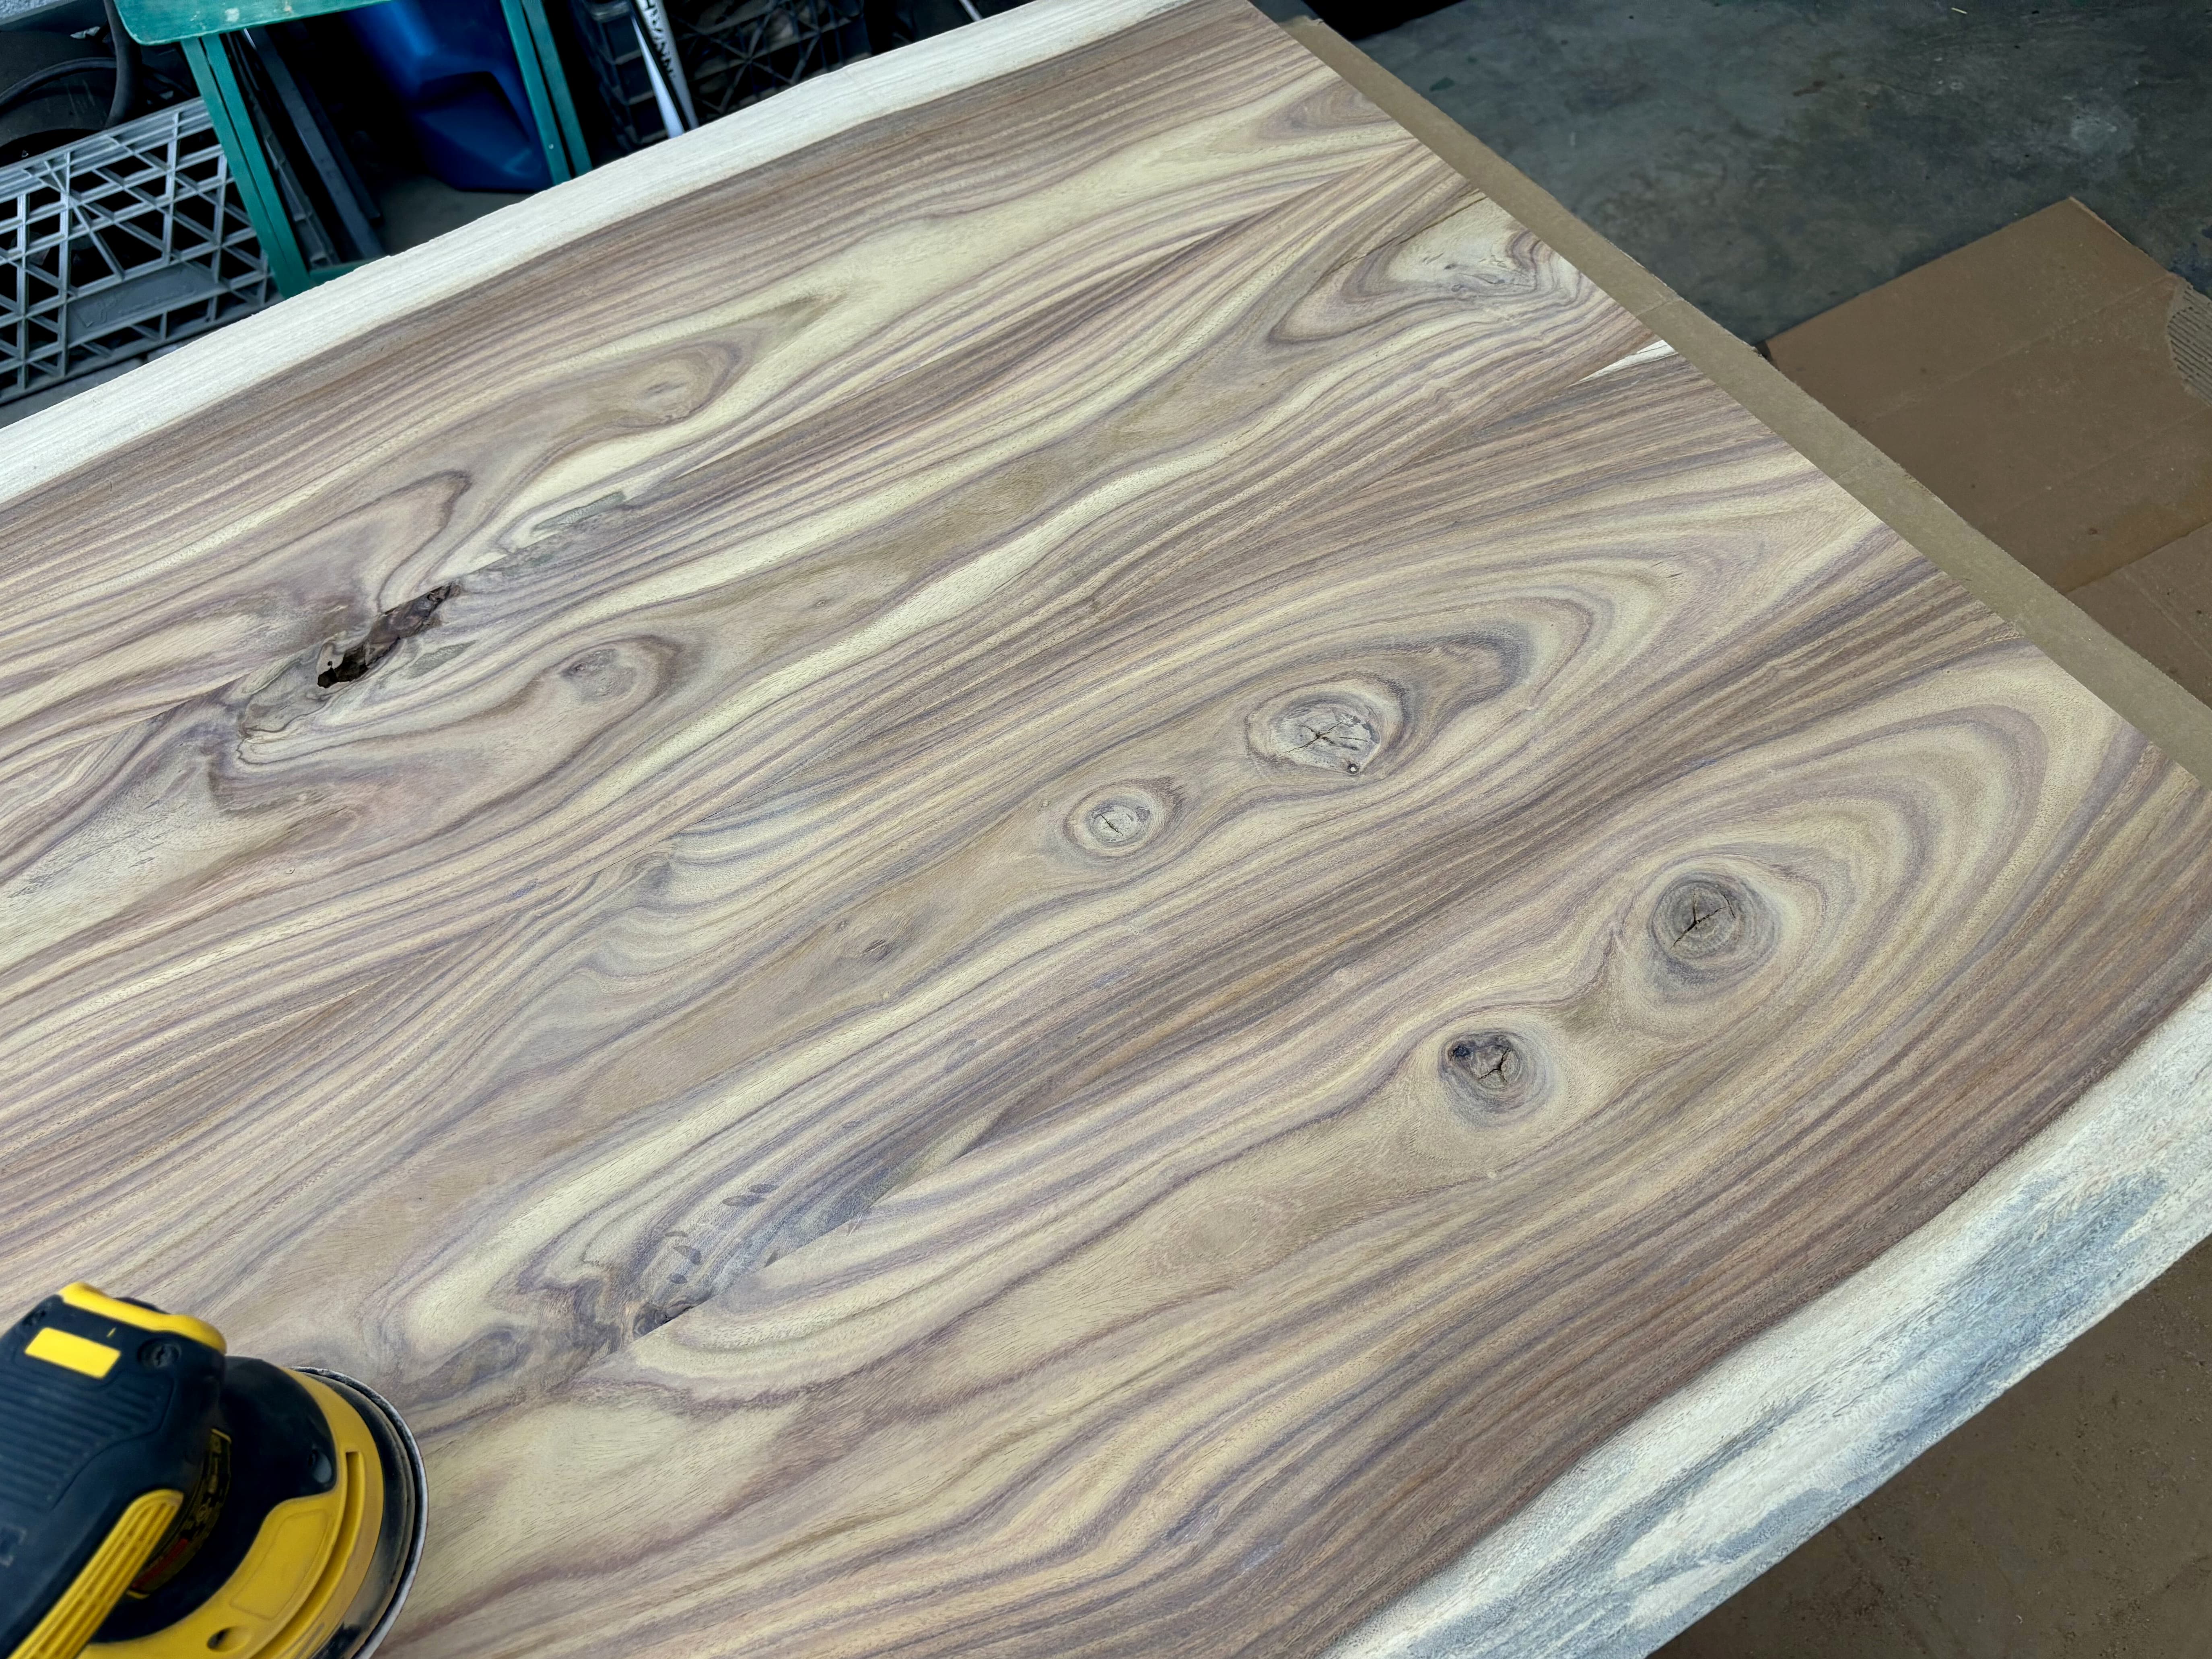
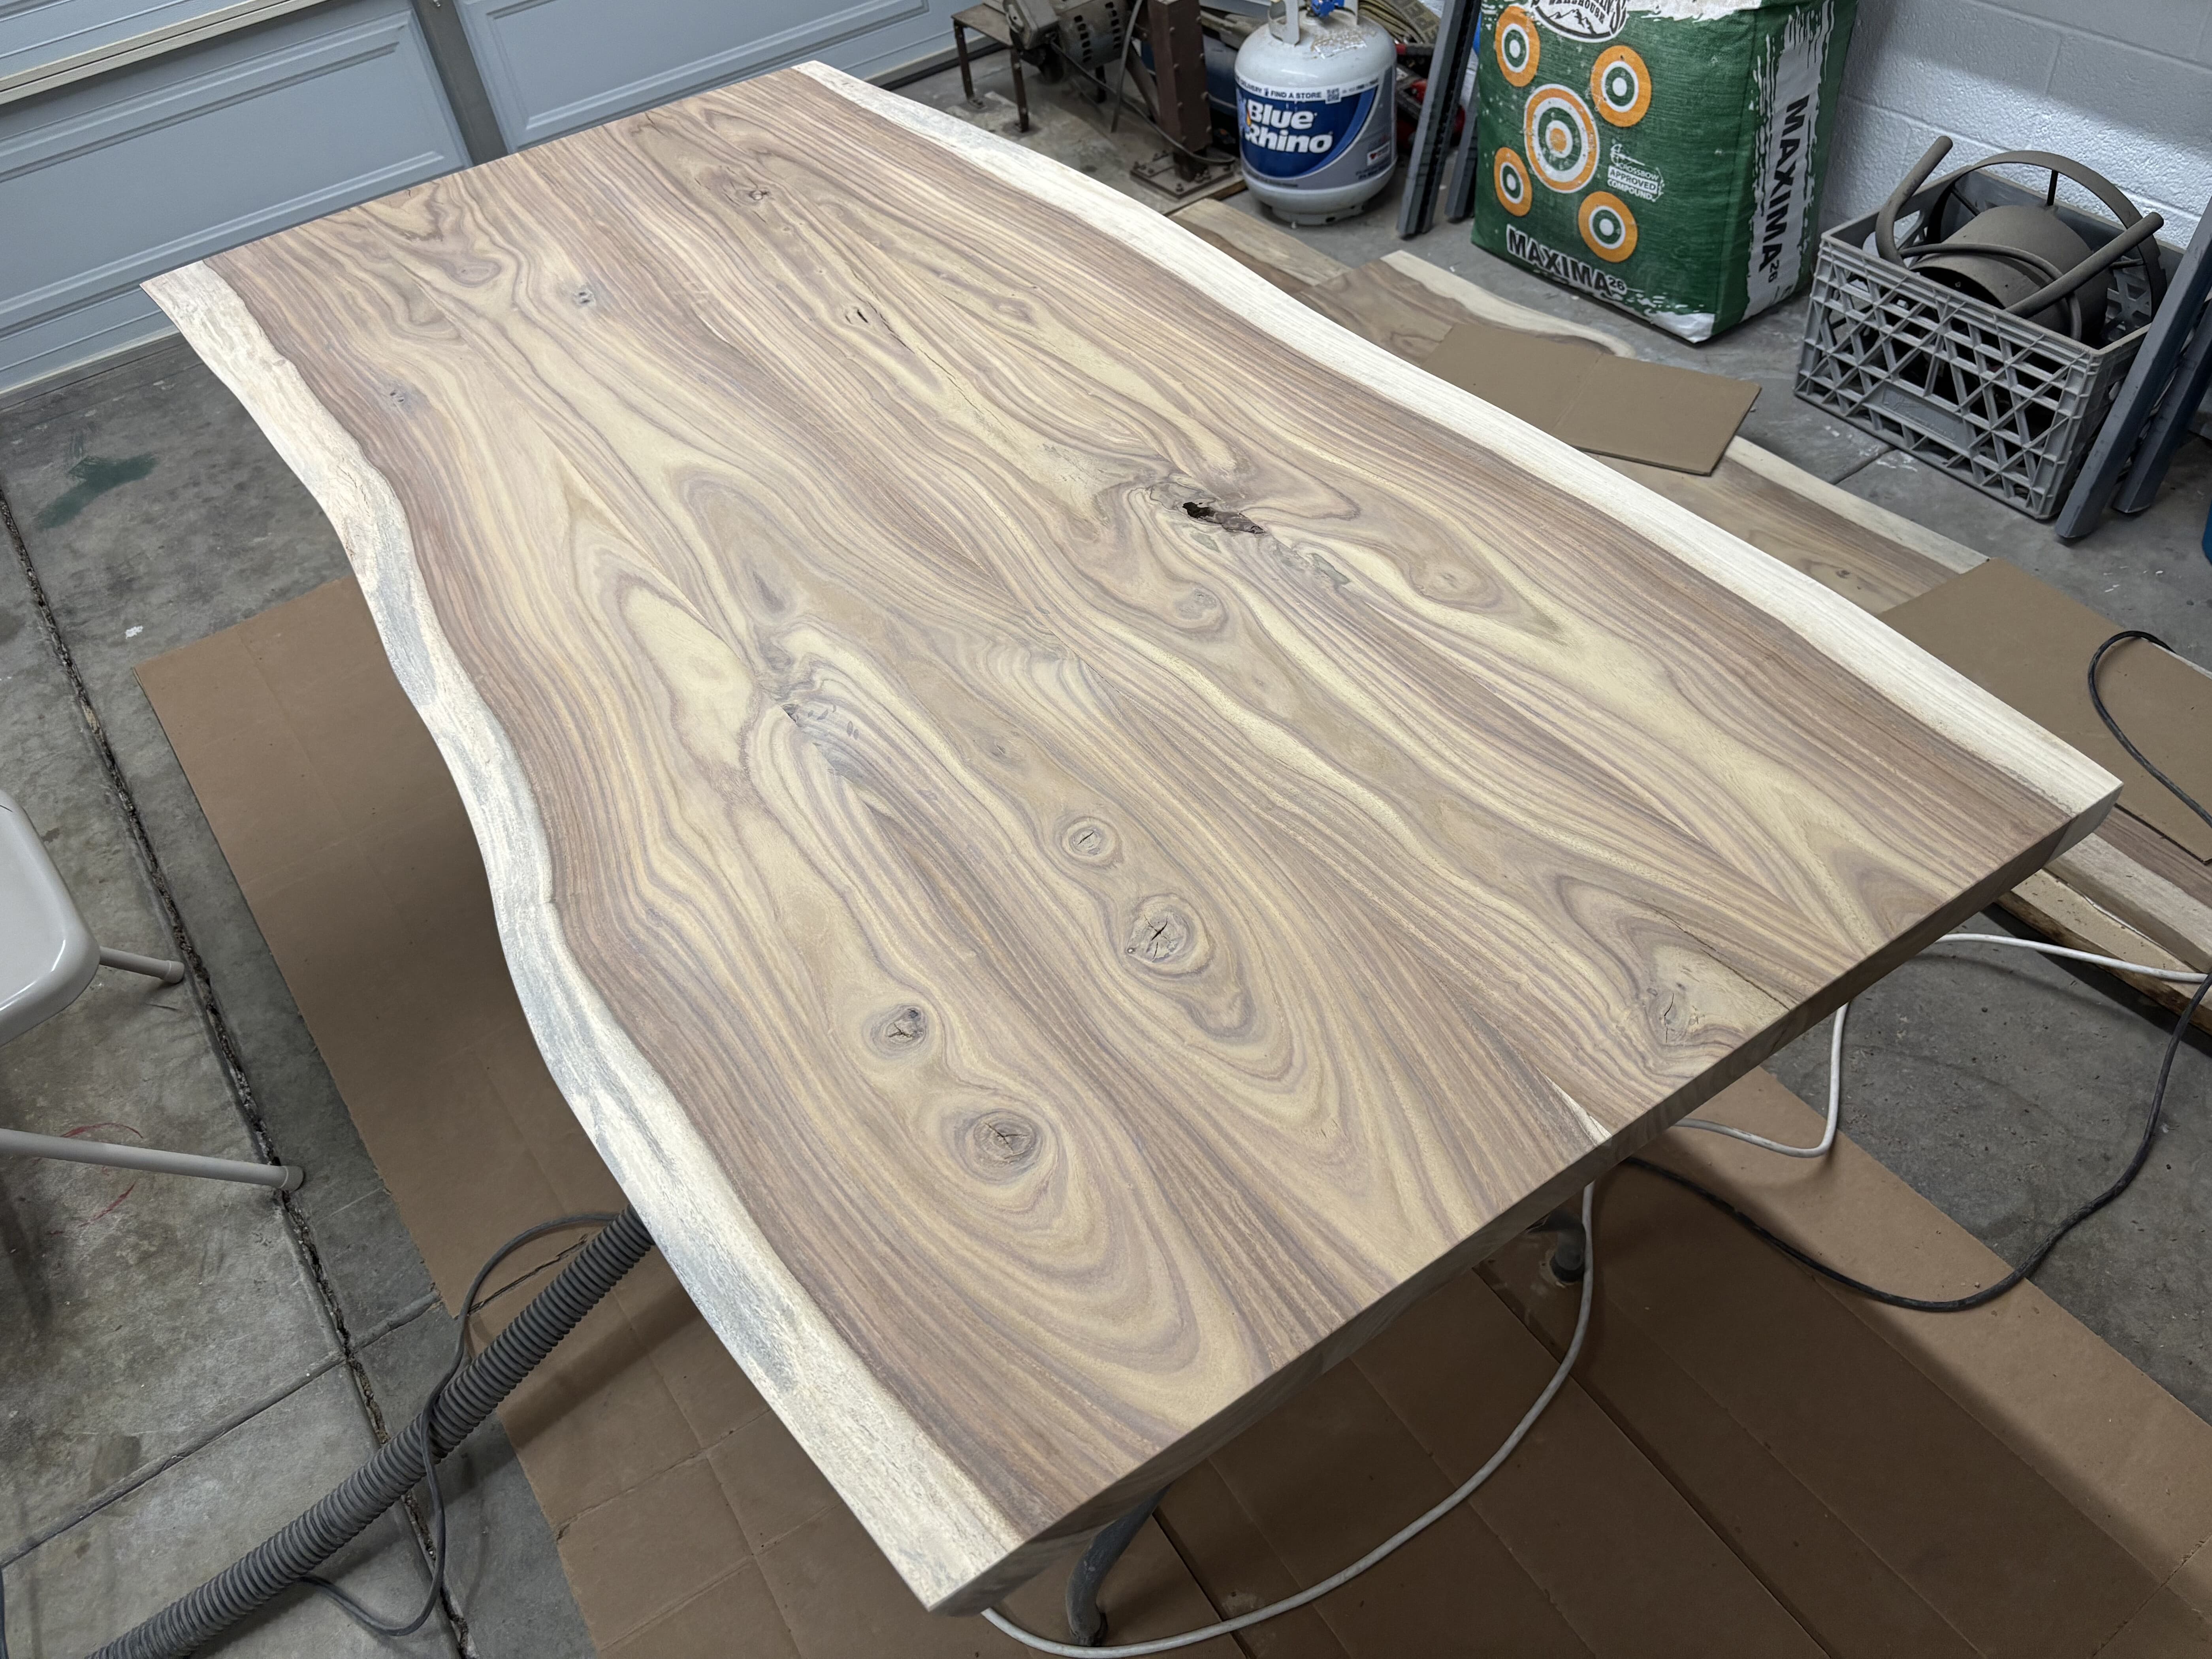
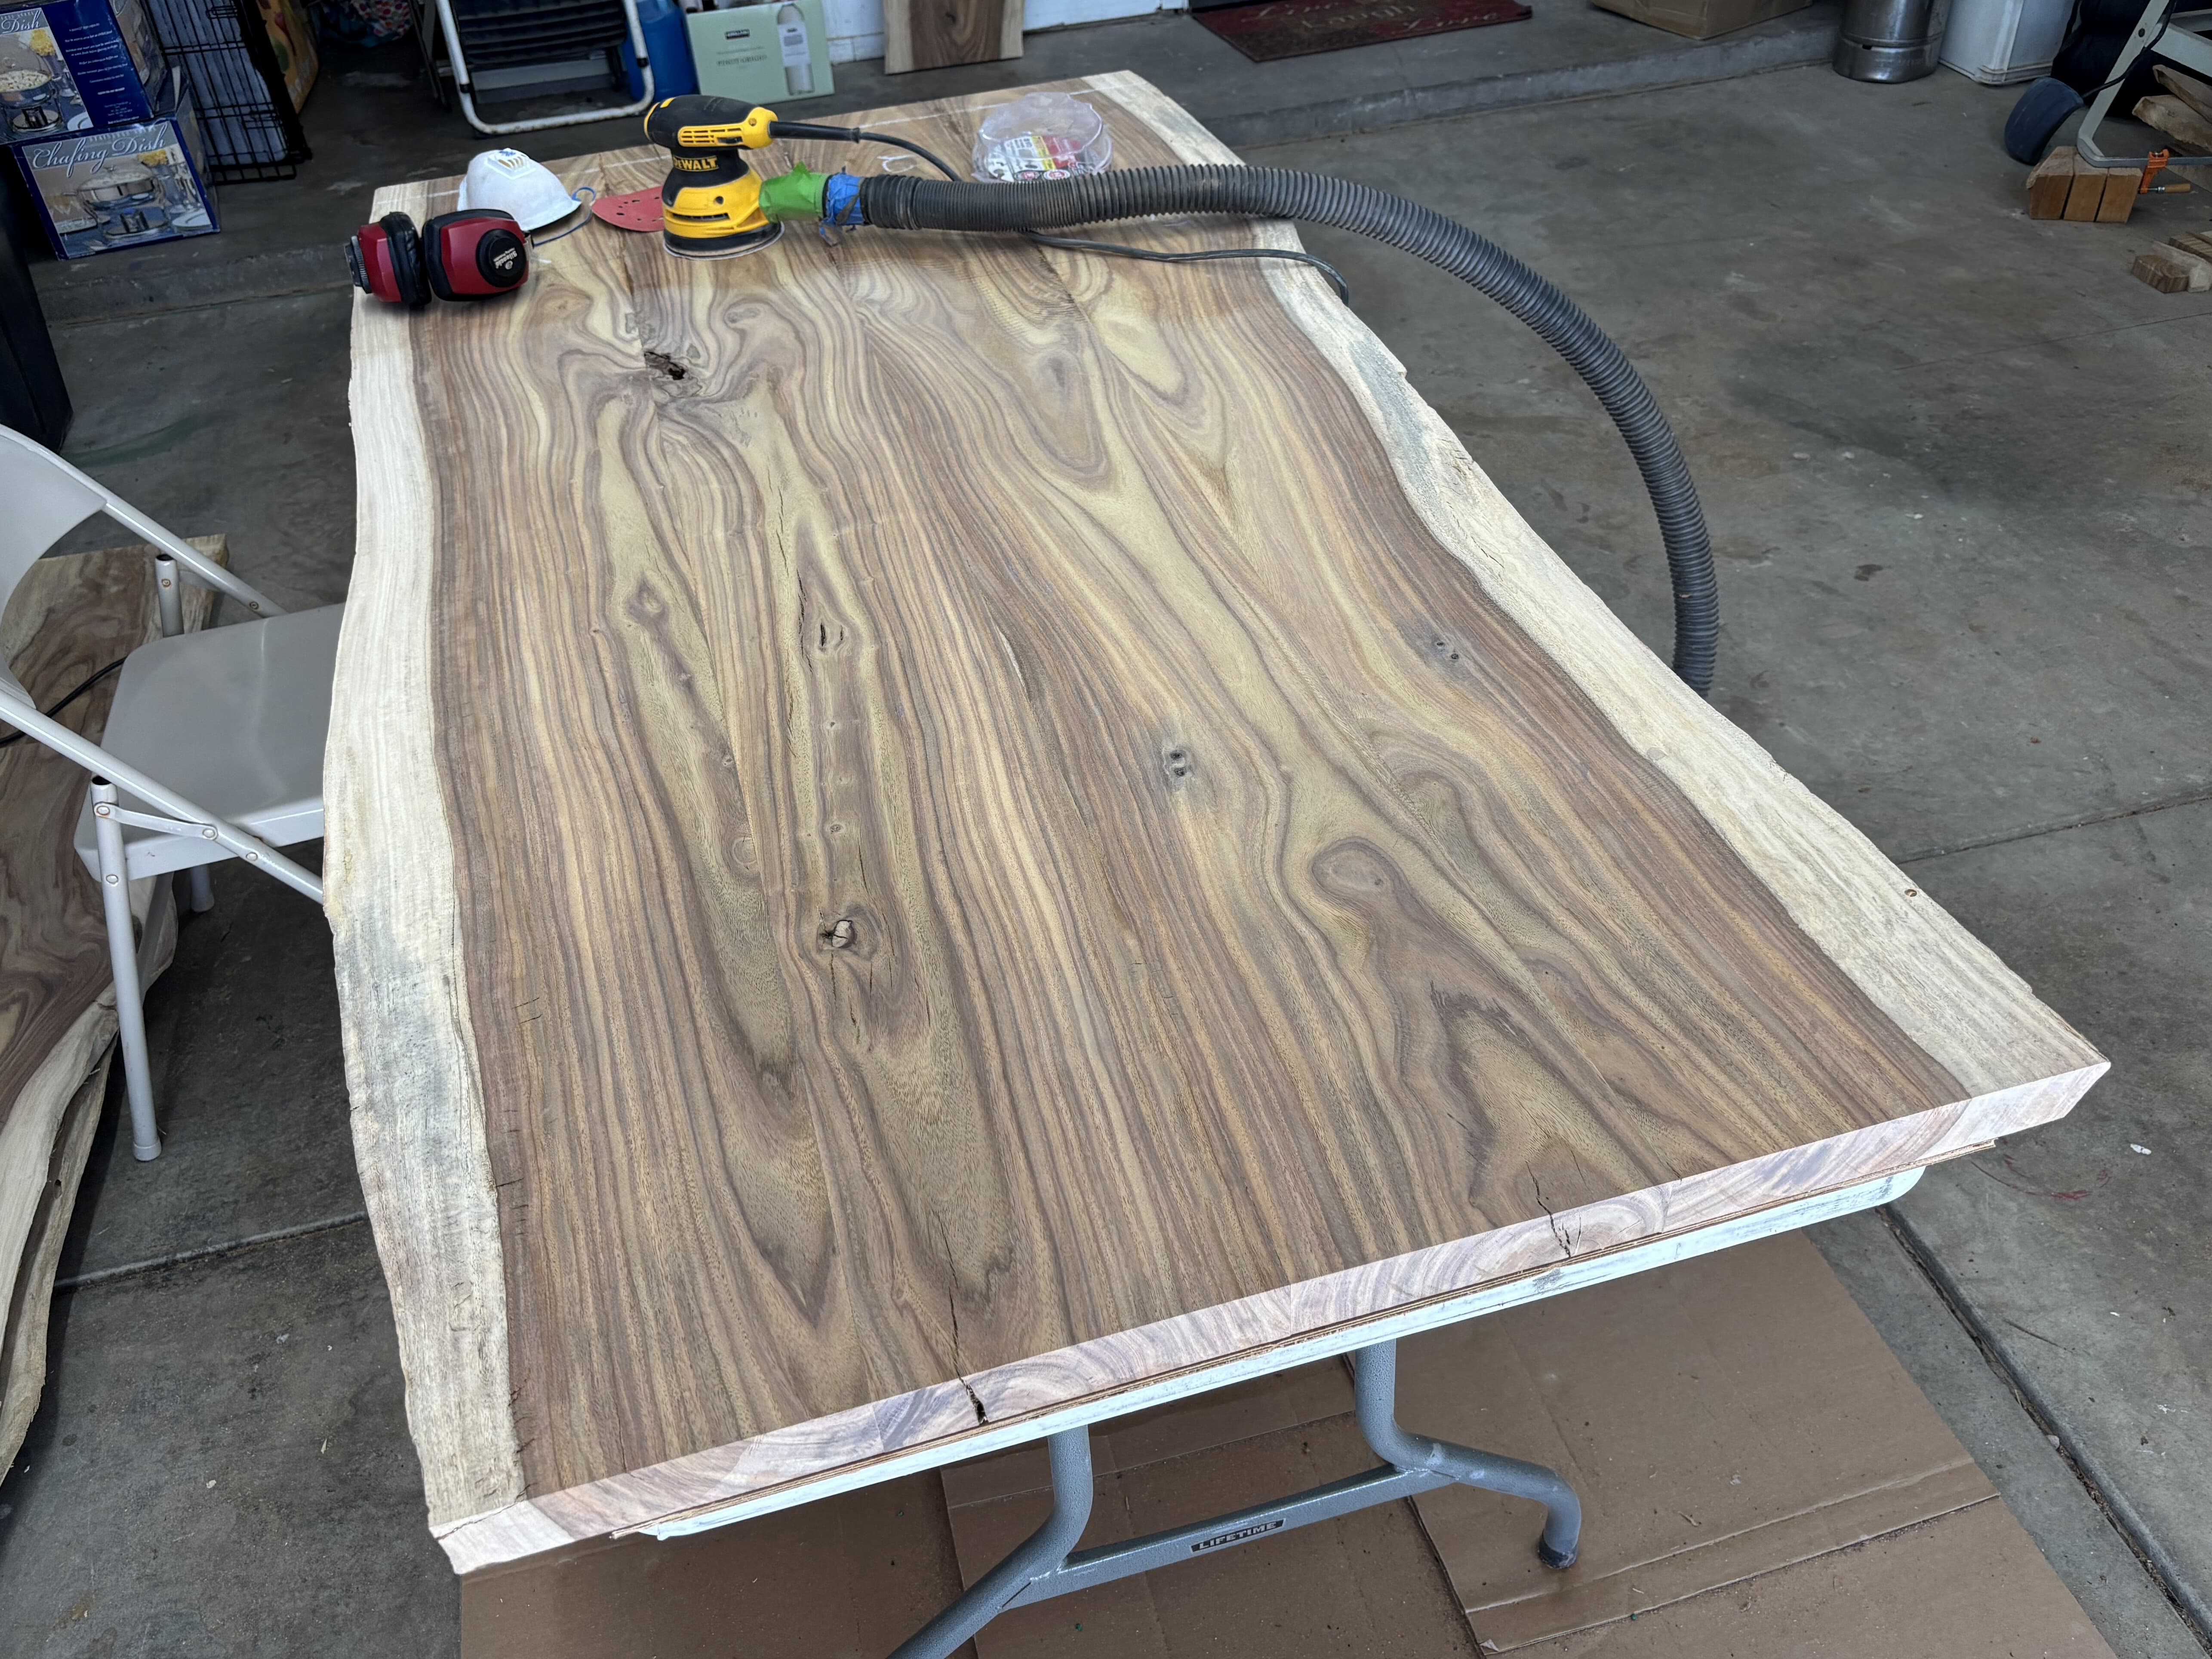
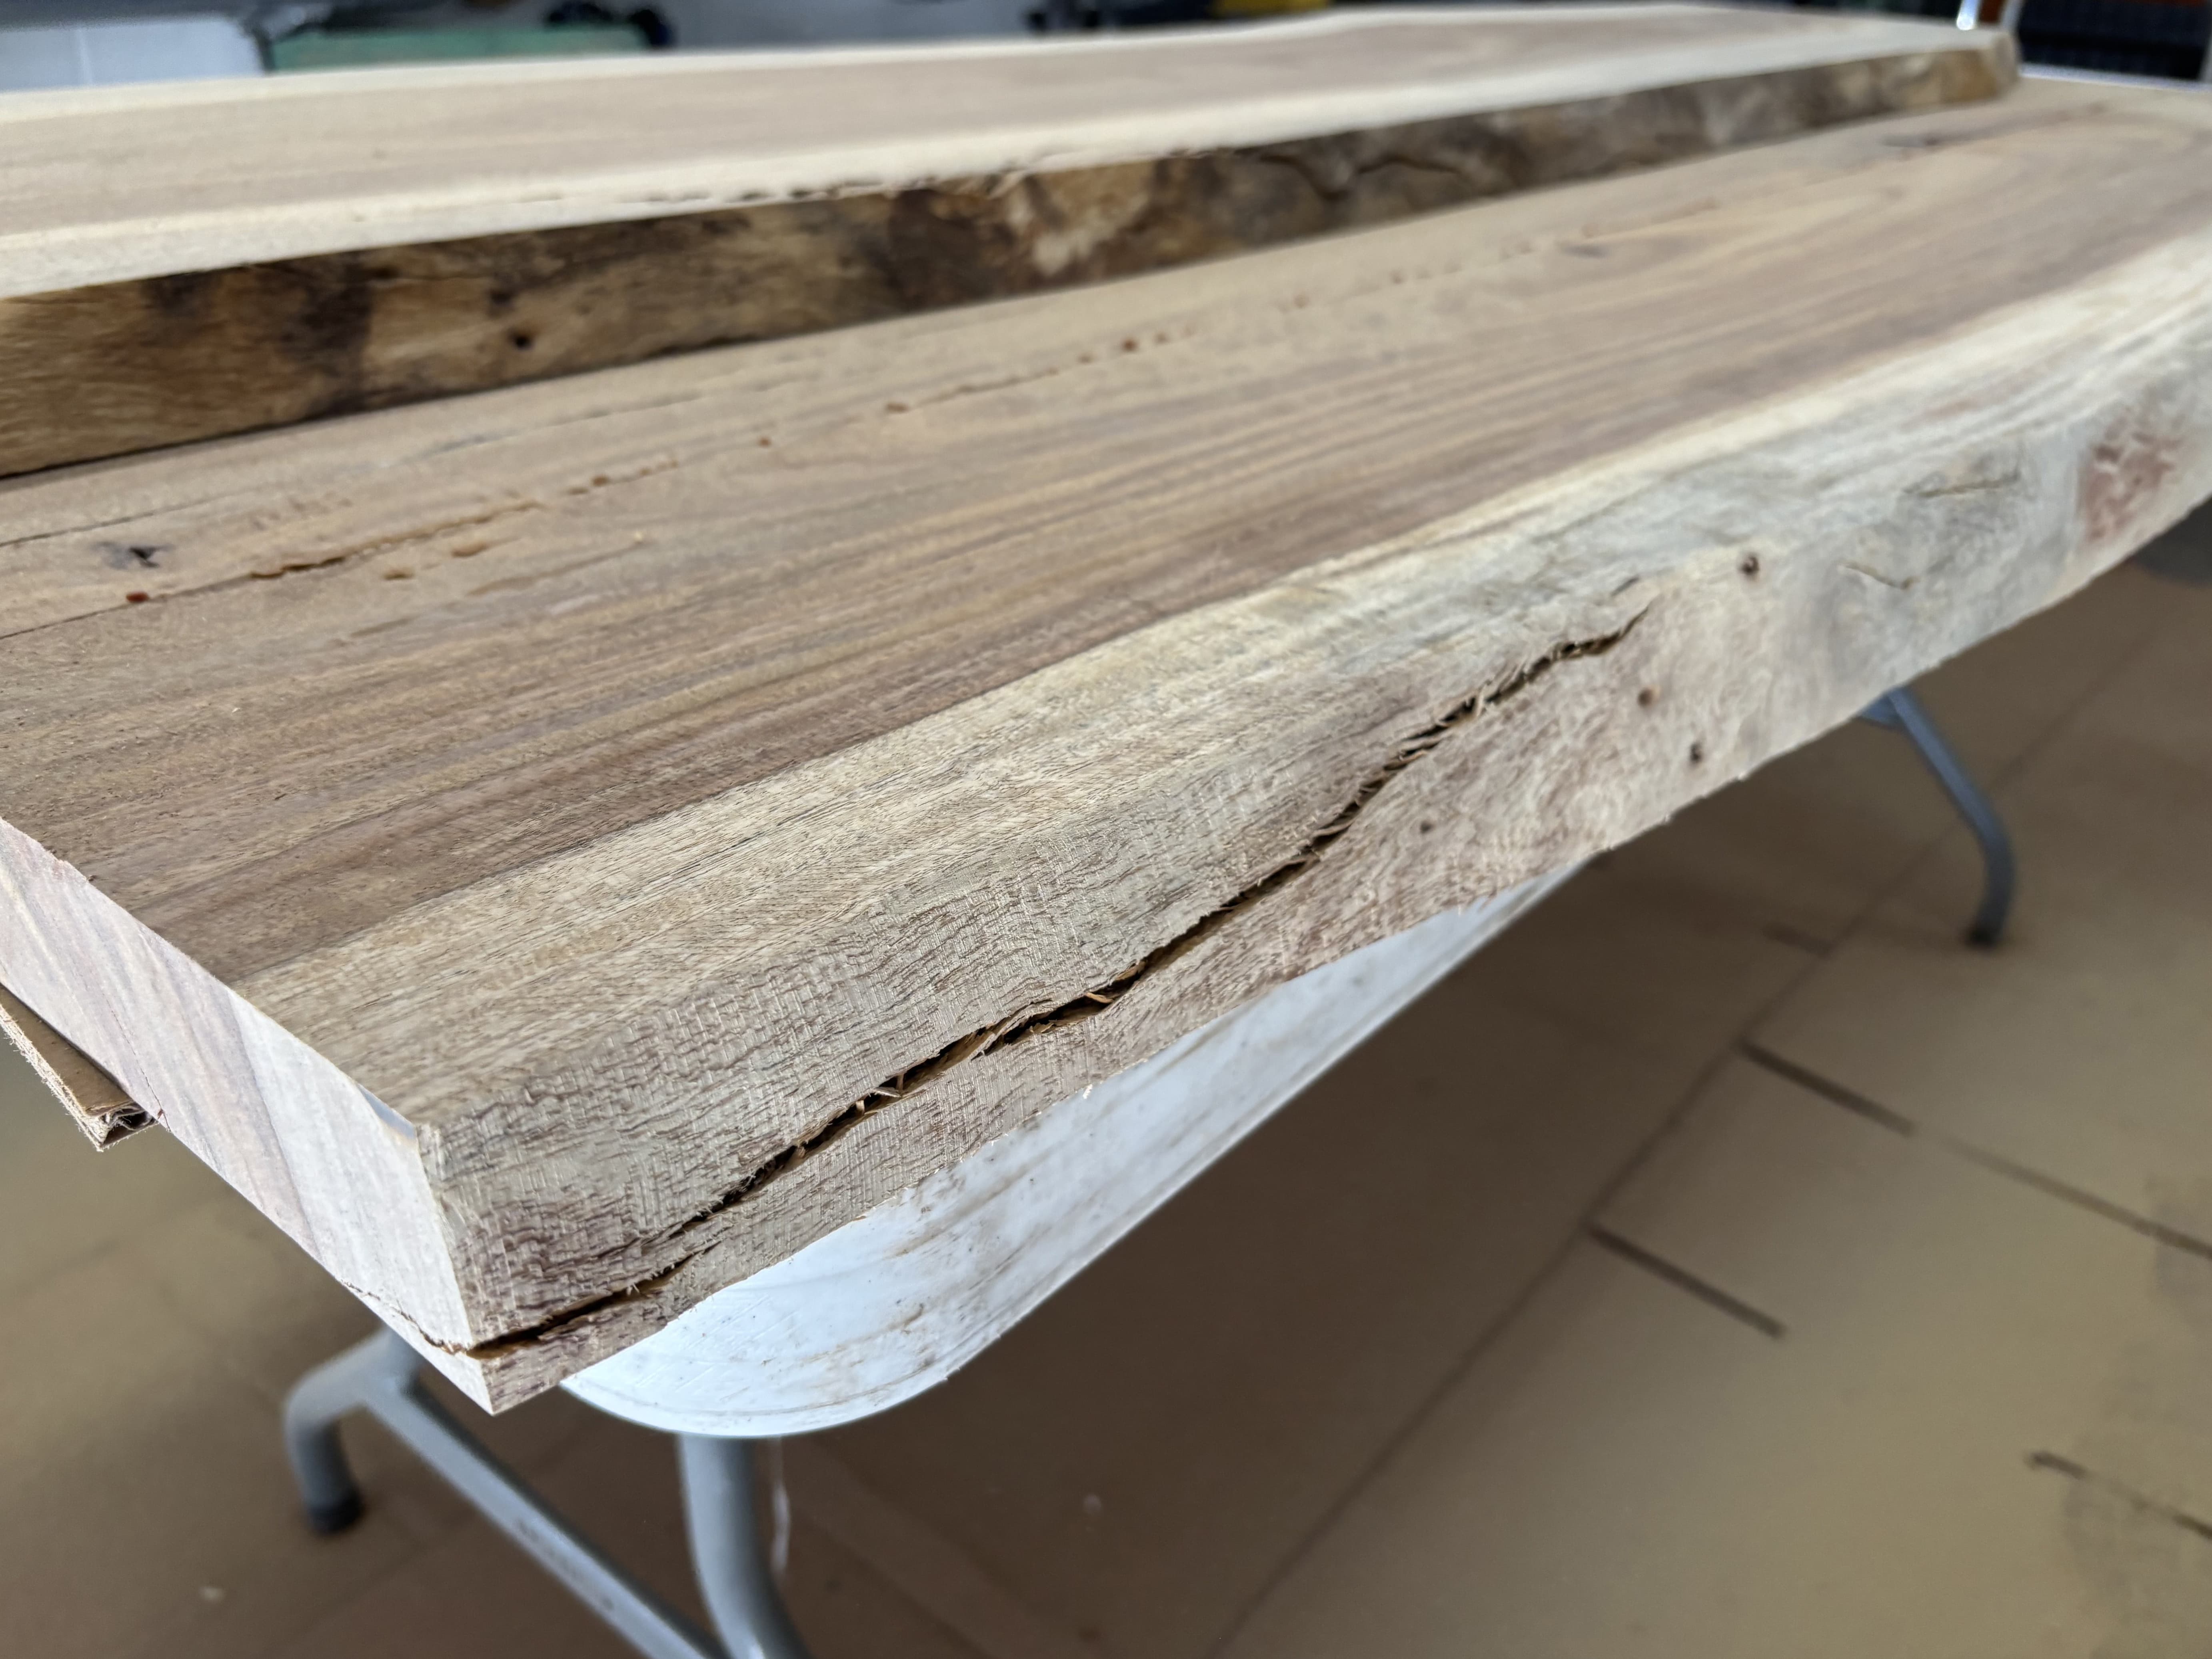
Leveling the glue lines
Here's the honest version: there wasn't much to do. The slabs were CNC-flattened at the mill (Step 2), and gluing up on those true, co-planar edges meant the assembled panel came out flat — no cupping, no warp to chase. All that was left was to bring the glue lines back to level.
A handheld belt sander knocked the hardened squeeze-out and any slight step between boards down flush with the surrounding wood — knock off the worst of the bead lines first with a card scraper or chisel so you're not fighting glue. That was the whole job. If your boards were flattened before glue-up and you glued up clean, you shouldn't need a router sled or any wide-flattening rig here — just level the seams, check the surface with a straightedge, and move on. Flatten both faces, but save the most care for the show face (decided back in Step 3).
⚠ Mistakes & Fixes — Dishing or gouging with the belt sander
A belt sander removes material fast, and dense rosewood is unforgiving — dwell in one spot and you'll dish the softer wood around a glue line or leave a gouge to chase.
Fix: keep the sander flat and always moving, use a fresh belt, and let the tool's weight do the work. You're leveling seams, not reshaping the top — stop the moment they're flush.
🛠 Tips
- Get the slab flat before epoxy — epoxy can't fix an unflat top.
- Good prep pays off here: flattened boards + a clean glue-up = almost nothing to flatten.
- Don't over-sand before epoxy (you'll stop at 80 grit in the next steps).
- Keep the belt sander moving on dense rosewood — dwell in one spot and it gouges.
- Level the glue lines flush, check with a straightedge, and move on.