
Jointing, Dominos & Glue-Up
The structural assembly of the tabletop — preparing mating edges, aligning with Dominos, and gluing up with Titebond III. The joint strength comes from the glue and well-prepared edges; the Dominos just keep everything aligned.
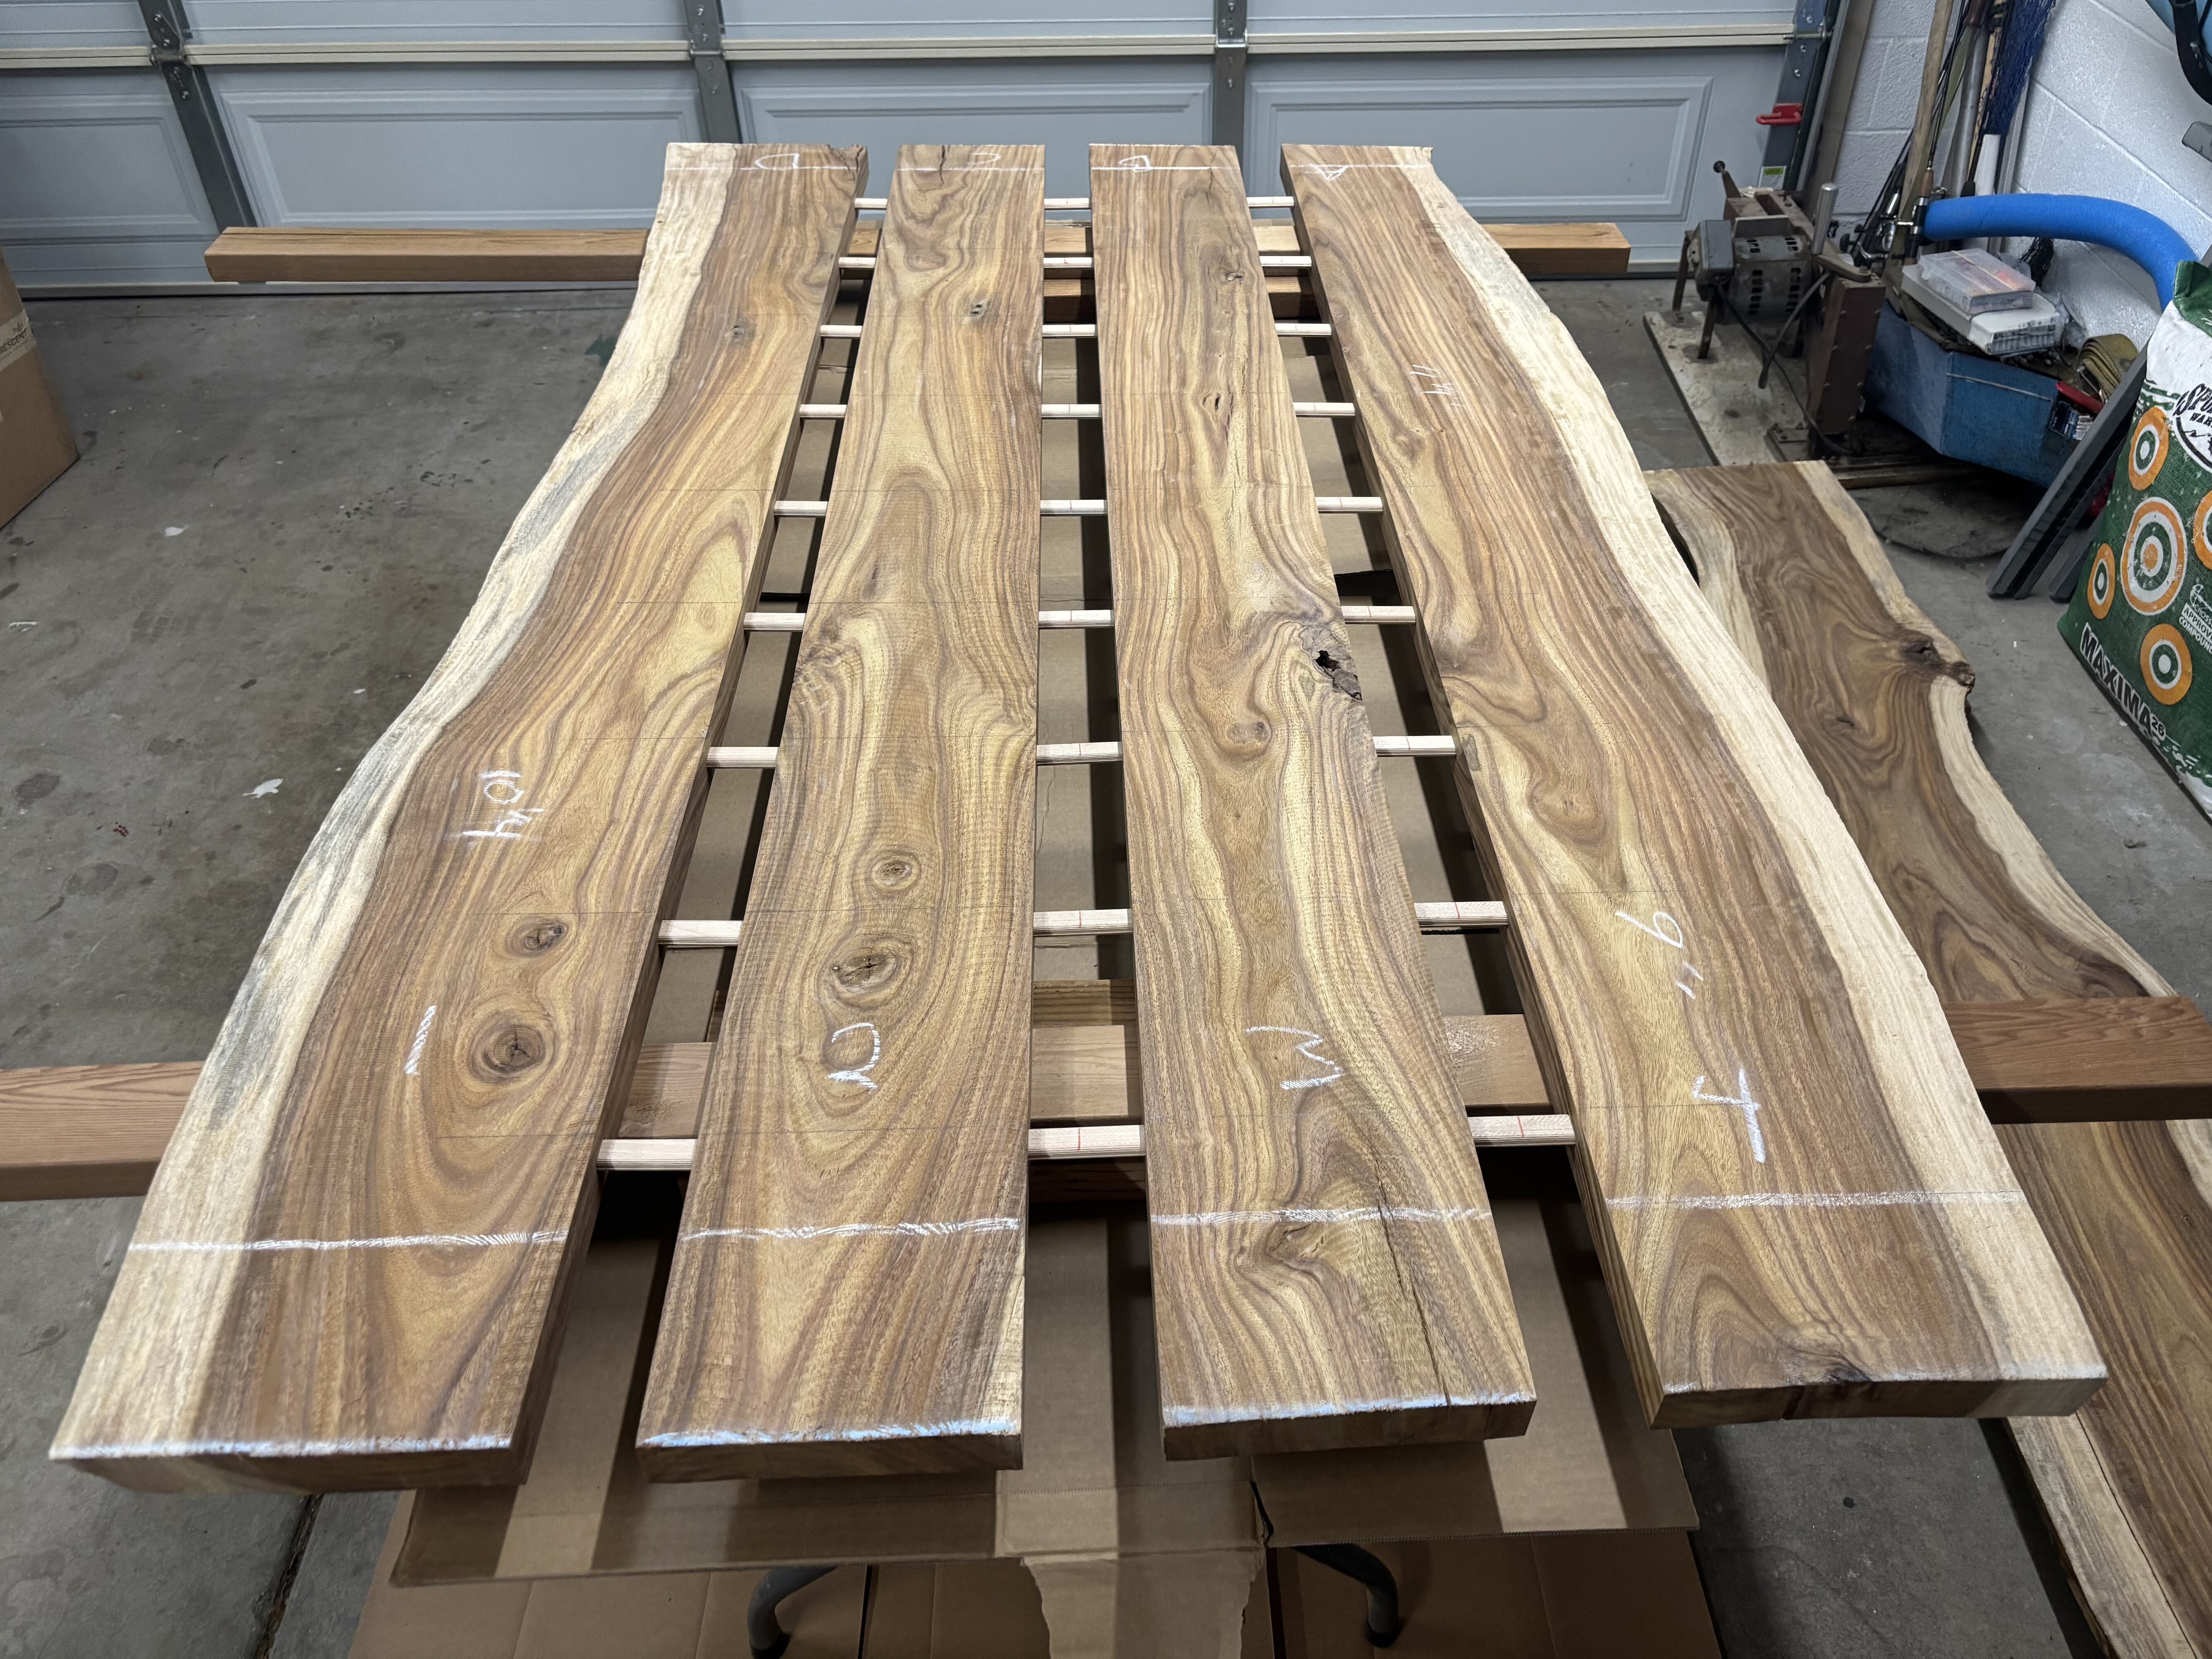
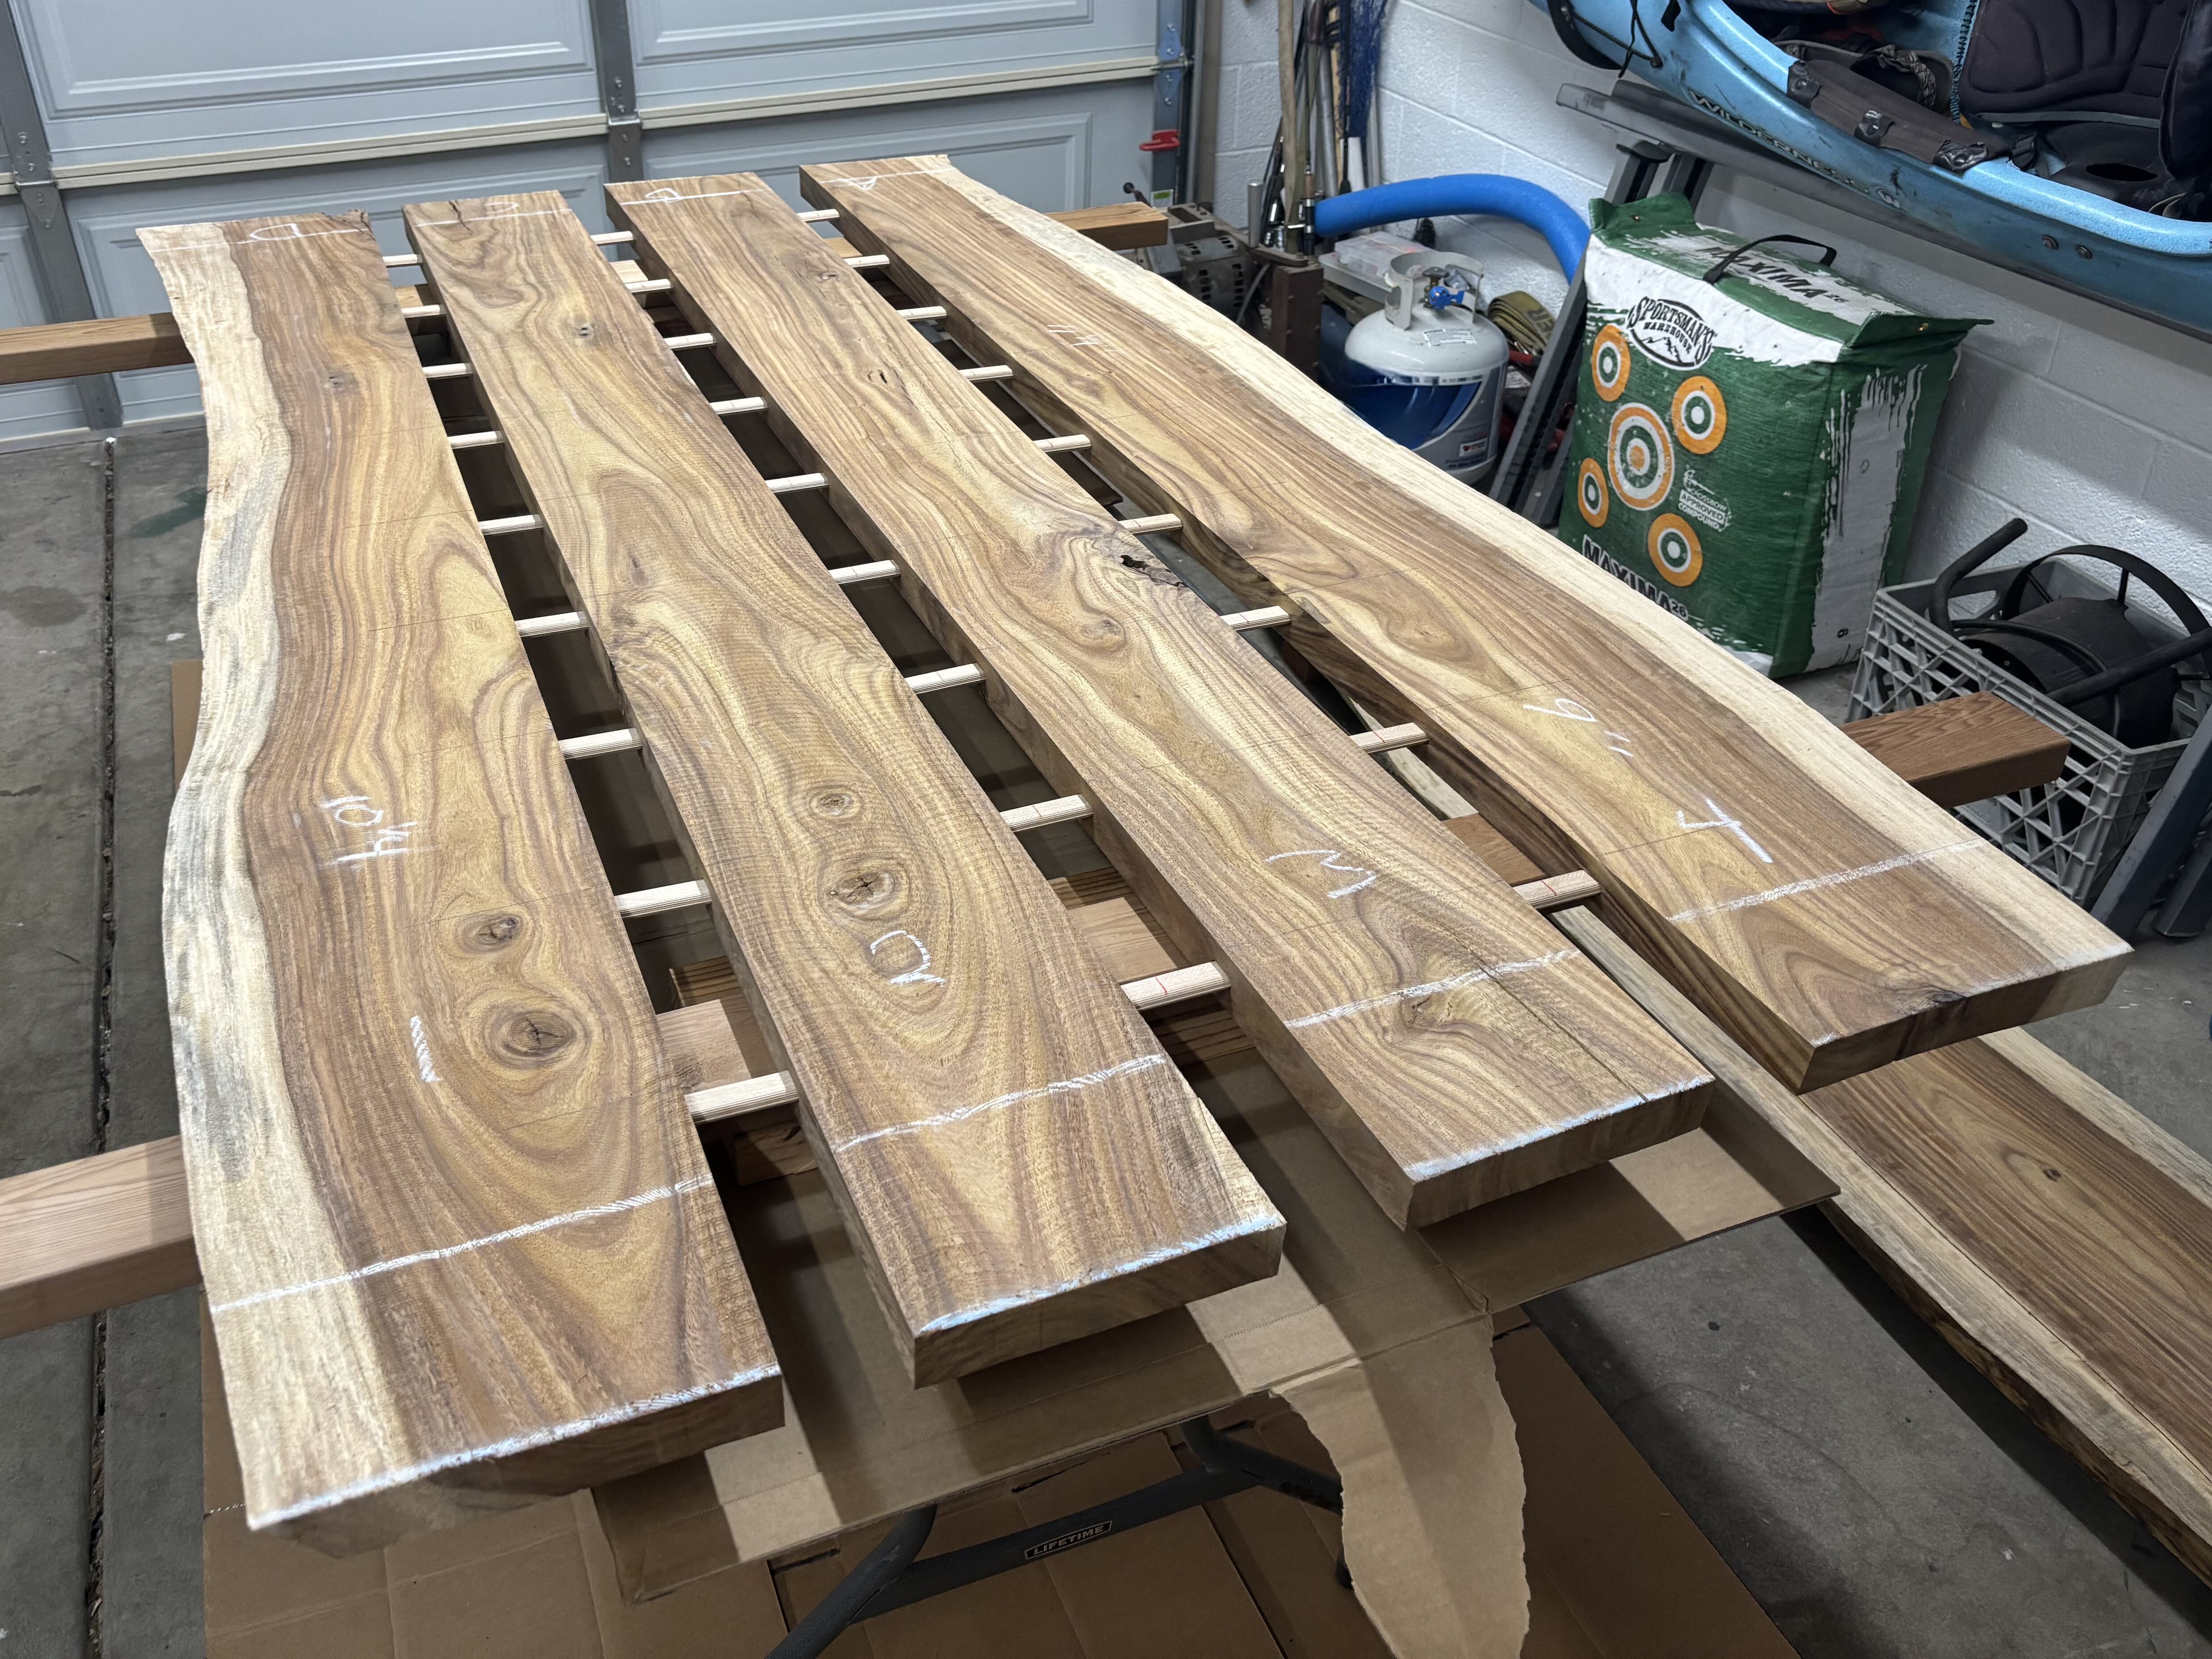
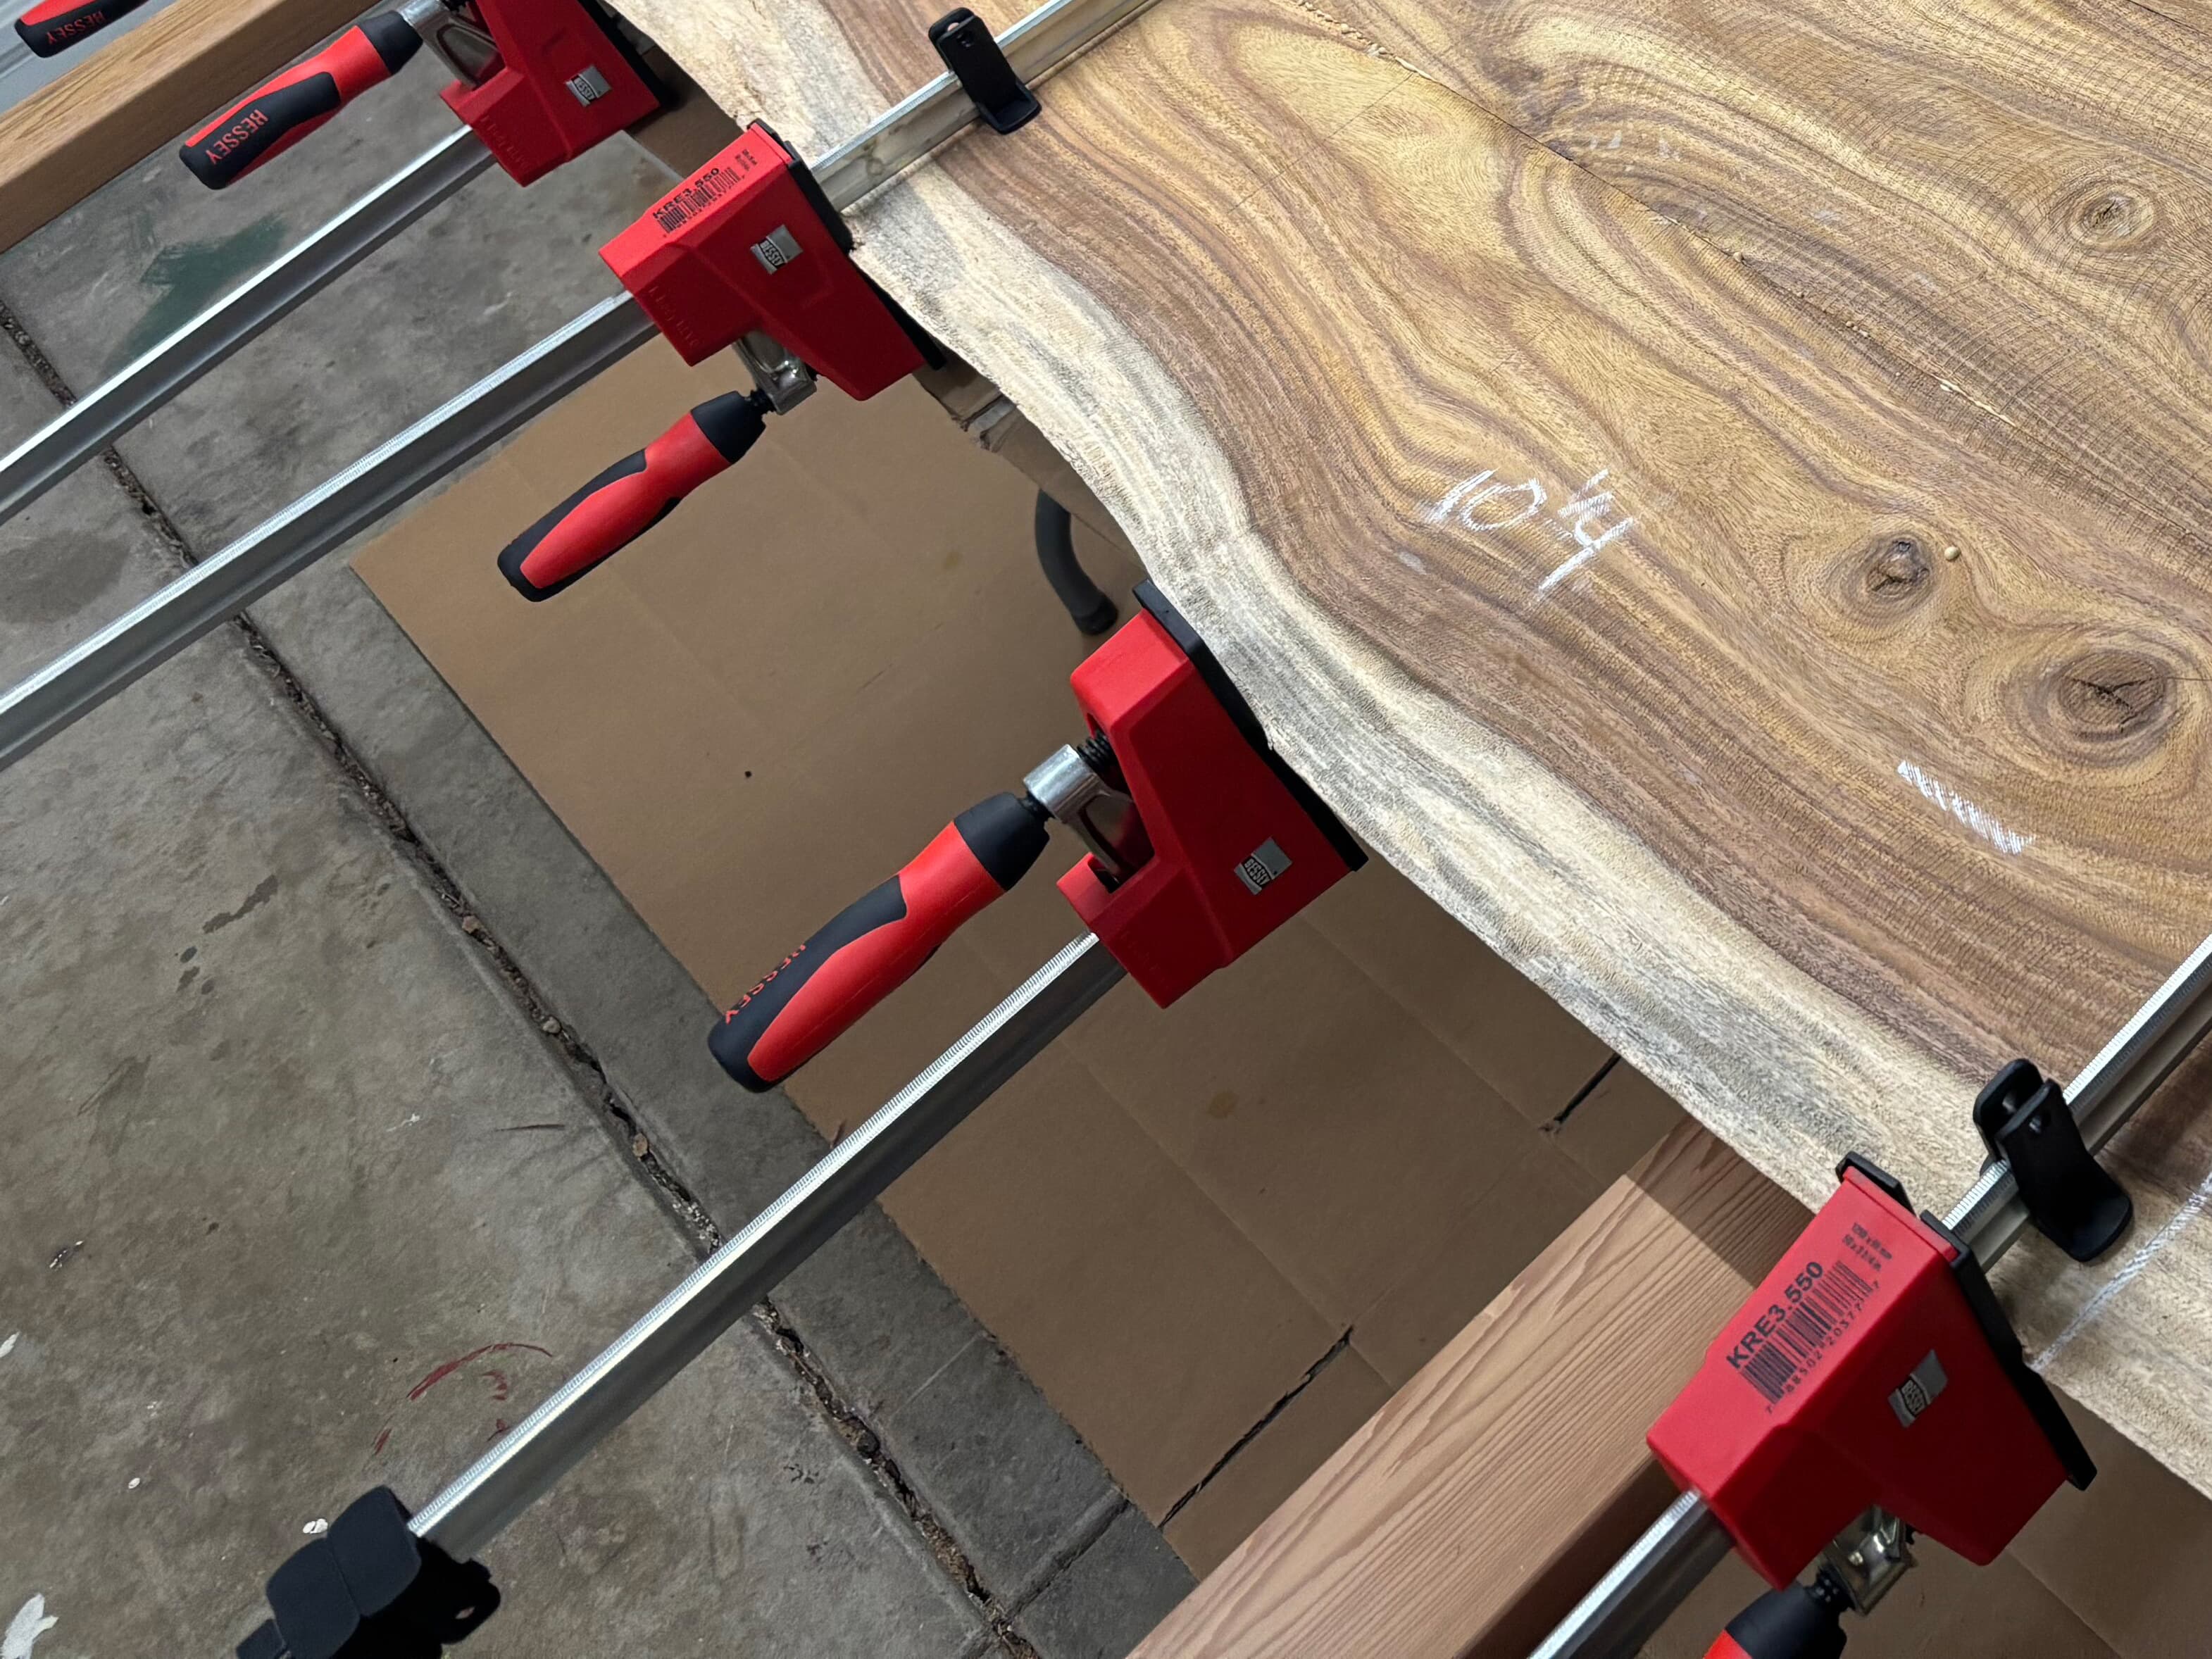
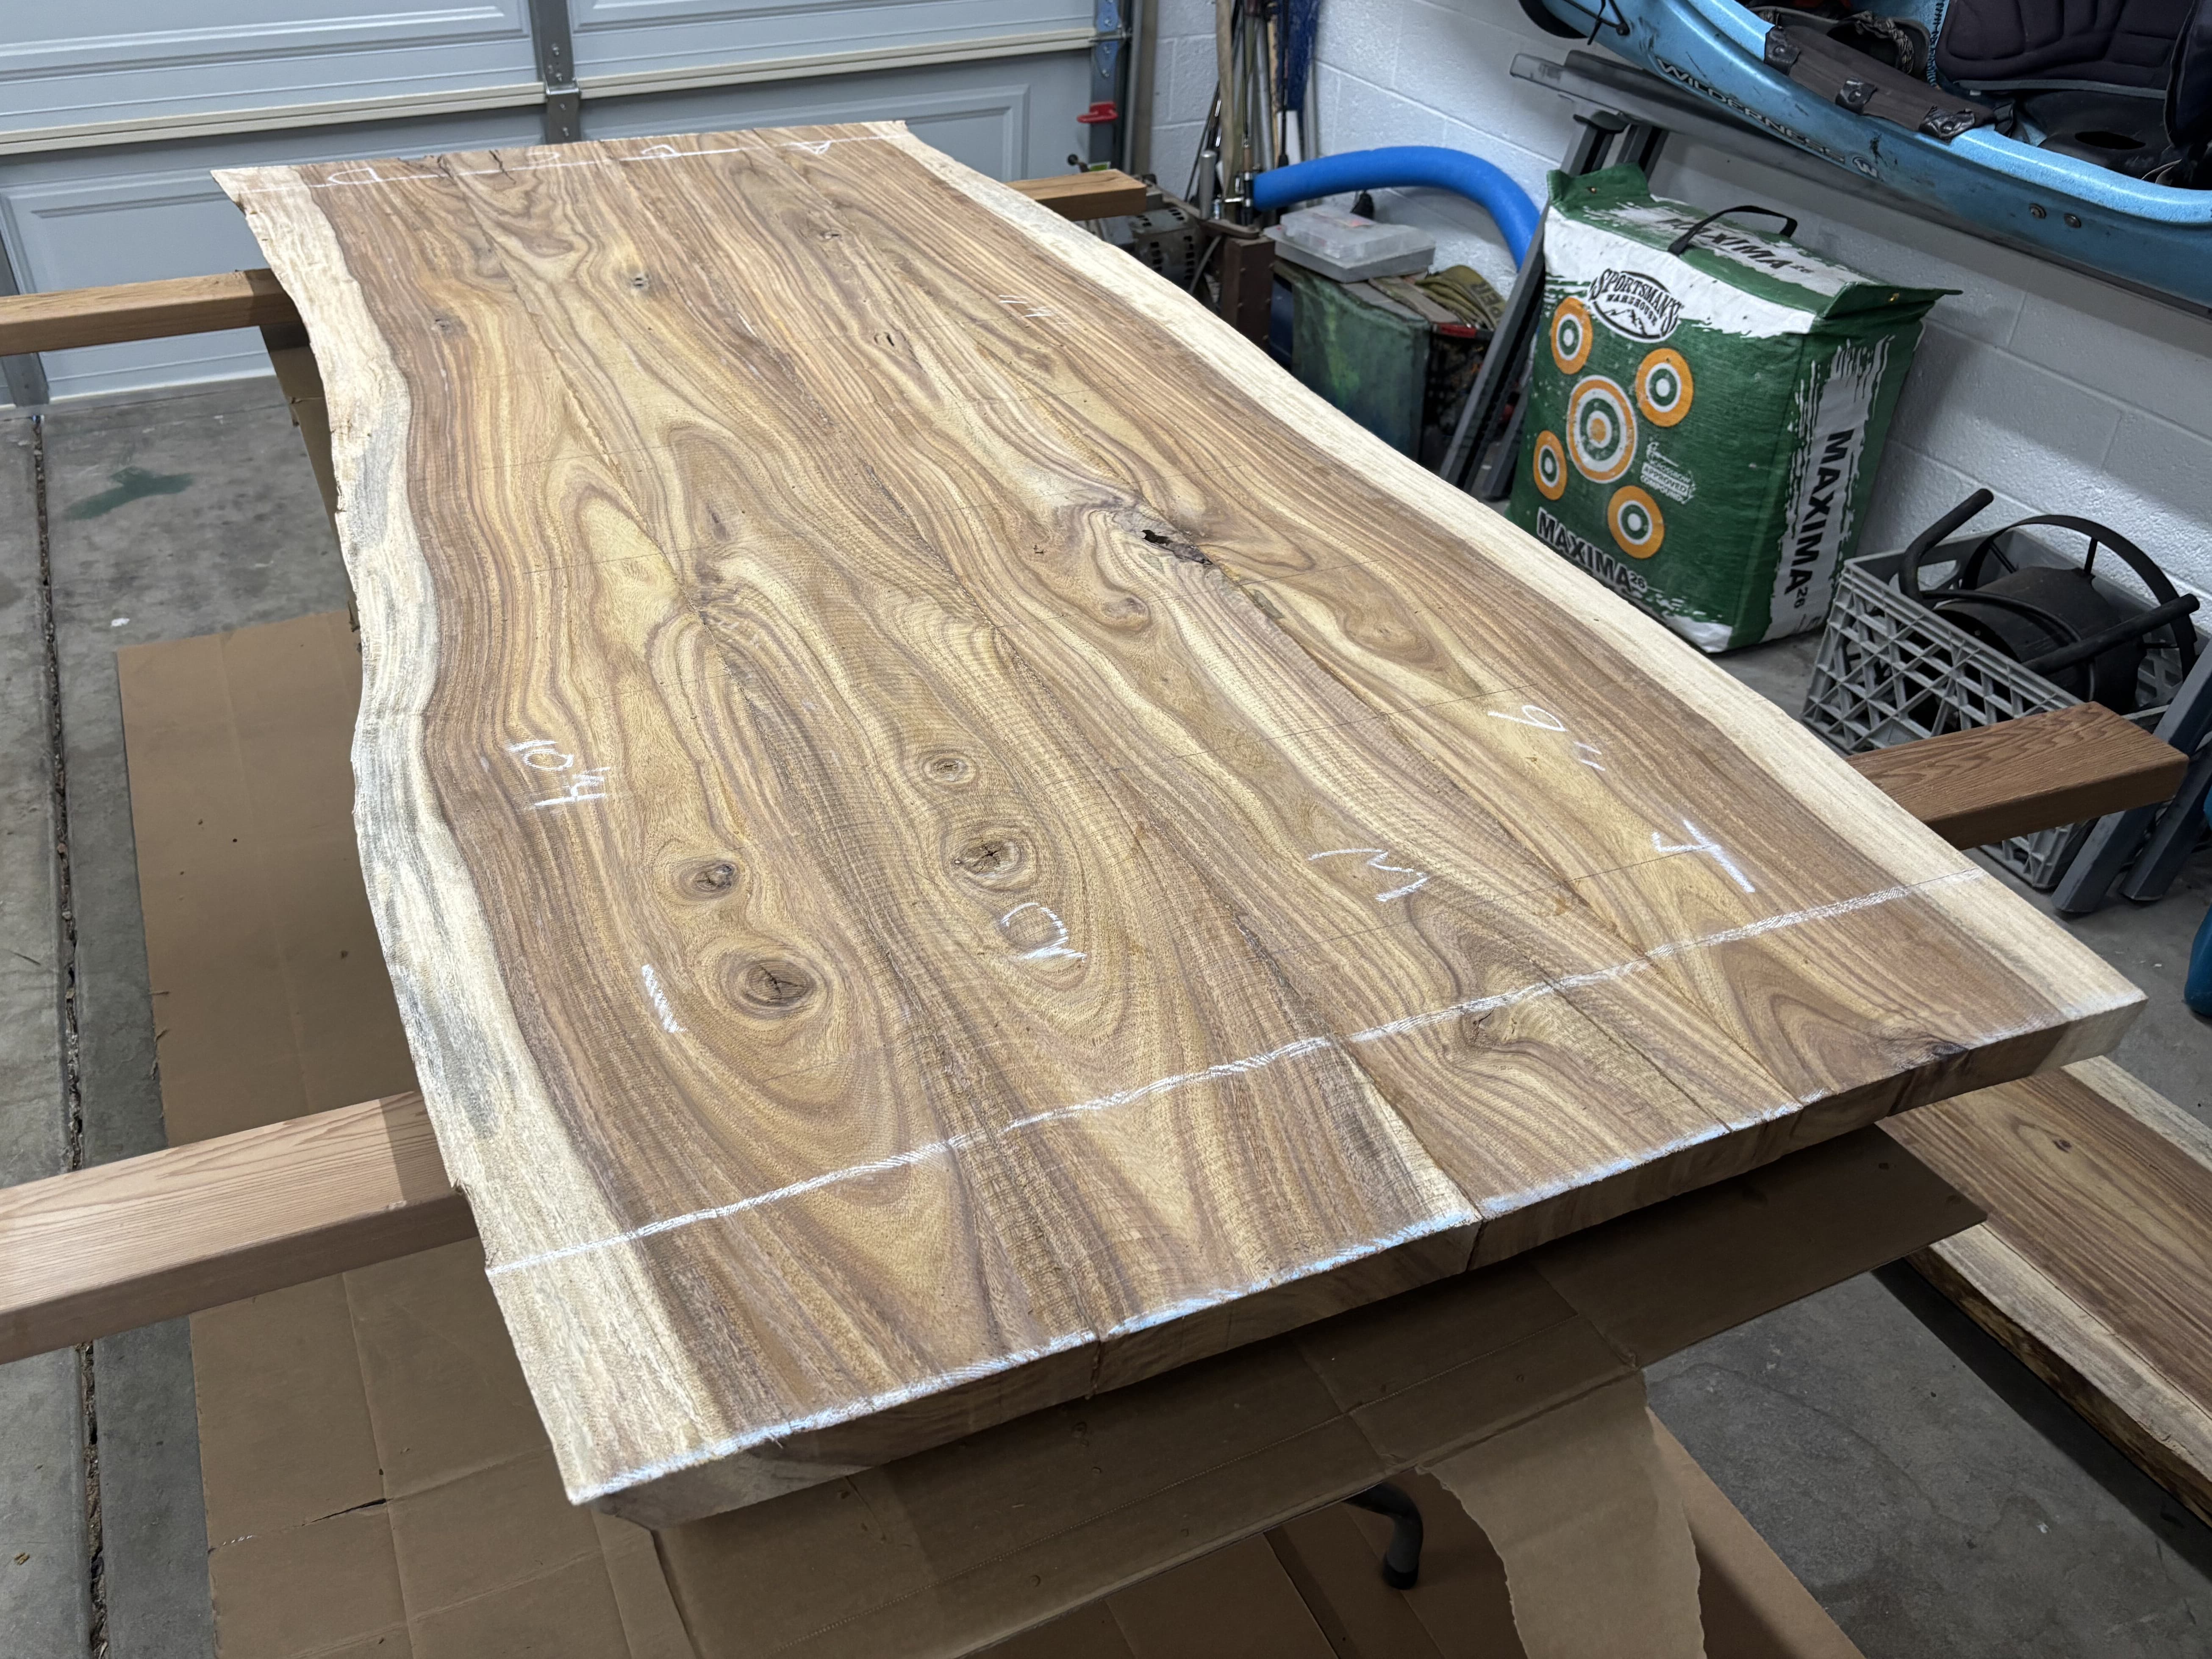
Preparing the mating edges
A strong panel joint is mostly about flat, square, well-mated edges. Only the interior heartwood edges get jointed — the outer live edges stay untouched. The goal is two edges that close with light clamp pressure and no gaps you're forcing shut.
Two home-shop methods get you there without an 8-foot jointer:
- Track saw. Clamp the two boards together and run the saw straight down the seam. The blade cuts both edges at once, so even if it isn't dead-on 90°, the two edges end up perfectly complementary and close tight.
- Hand plane. A long-soled jointer plane knocks down the high spots; check with a square every few passes so you don't drift into a bevel. Then stand the two boards edge-to-edge with a light behind the seam — any glow shows exactly where to take a final whisper of a shaving.
Whichever you use, dry-fit and sight down the joint before any glue is opened.
Dominos — alignment, not strength
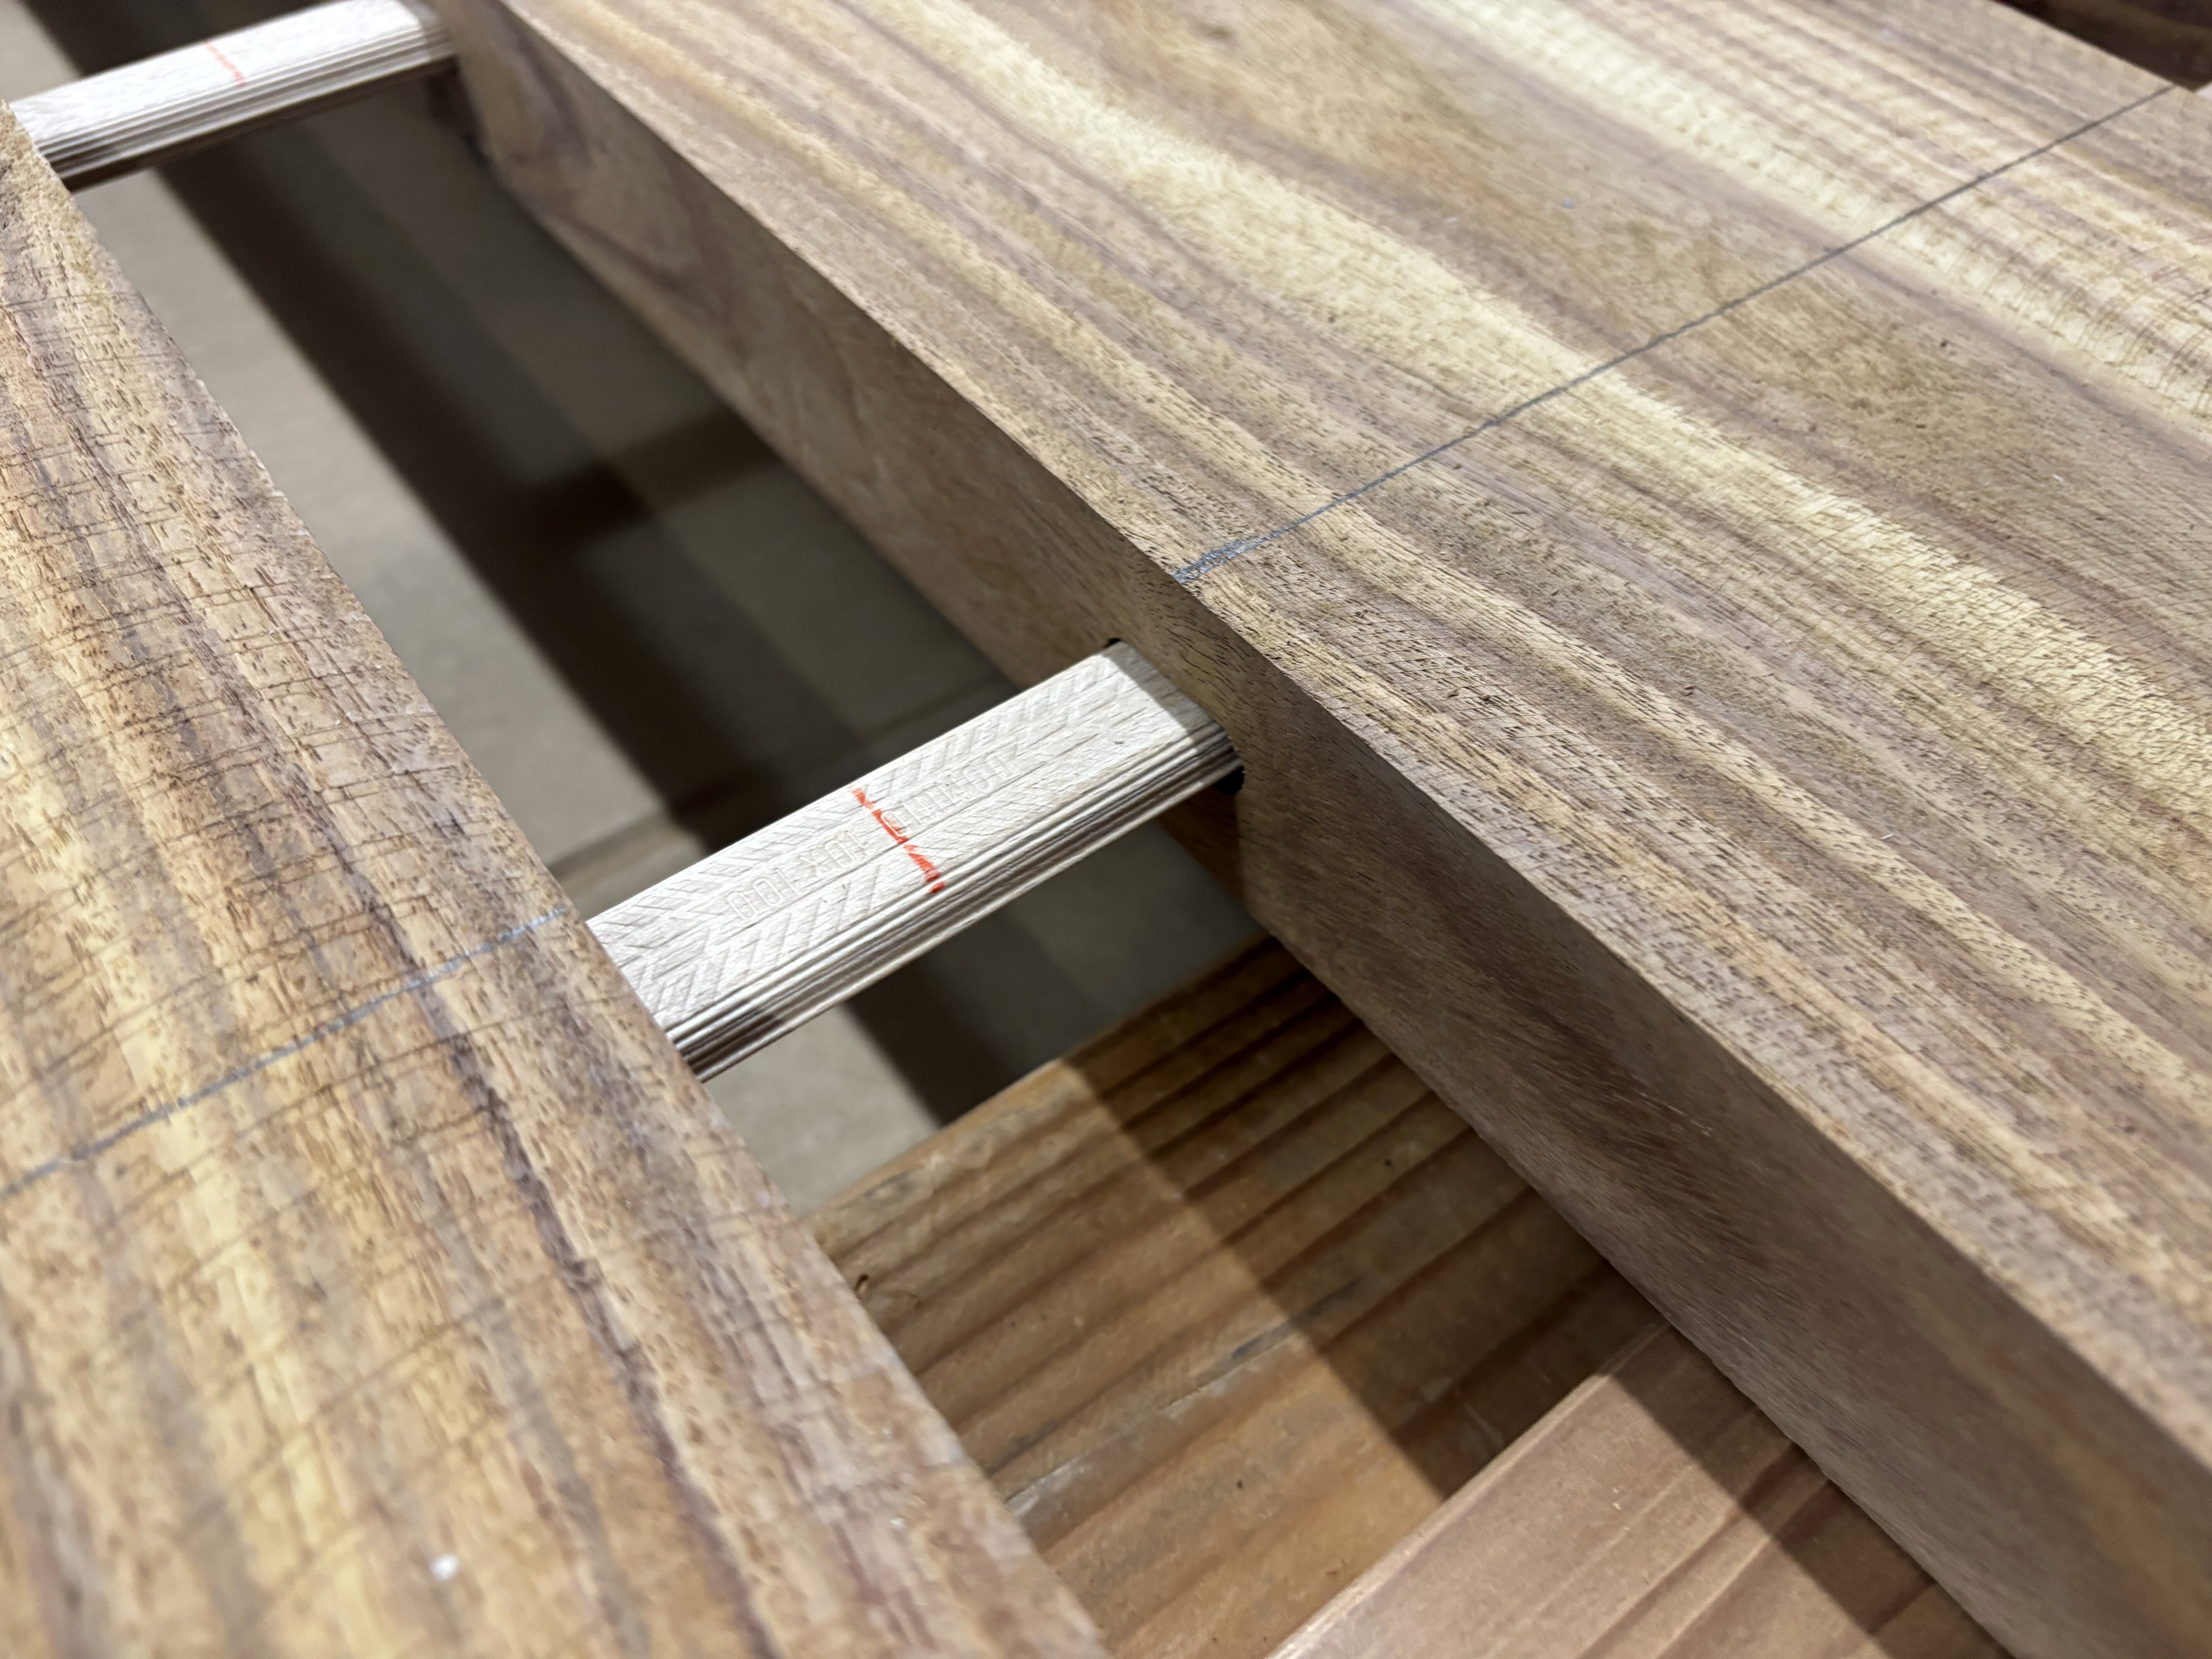
This bears repeating because it's the most misunderstood part of a slab glue-up: the Dominos are for alignment, not strength. The loose tenons register adjacent boards flush during glue-up so there's far less to flatten afterward — but it's the long-grain edge joint, glued with Titebond III, that actually holds the table together. Space the Domino mortises evenly along each joint and dry-fit the whole panel, tenons in, before committing to glue.
Why Titebond III
Titebond III was chosen for its strength, its longer open time (a real help on a big multi-board glue-up), and its water resistance for a dining surface. On this table it did the structural work while the Dominos handled alignment — exactly the split described above.
Glue spread & clamp pressure
- Glue both mating edges for a fully wetted joint, and a light skim in the Domino mortises — don't flood them.
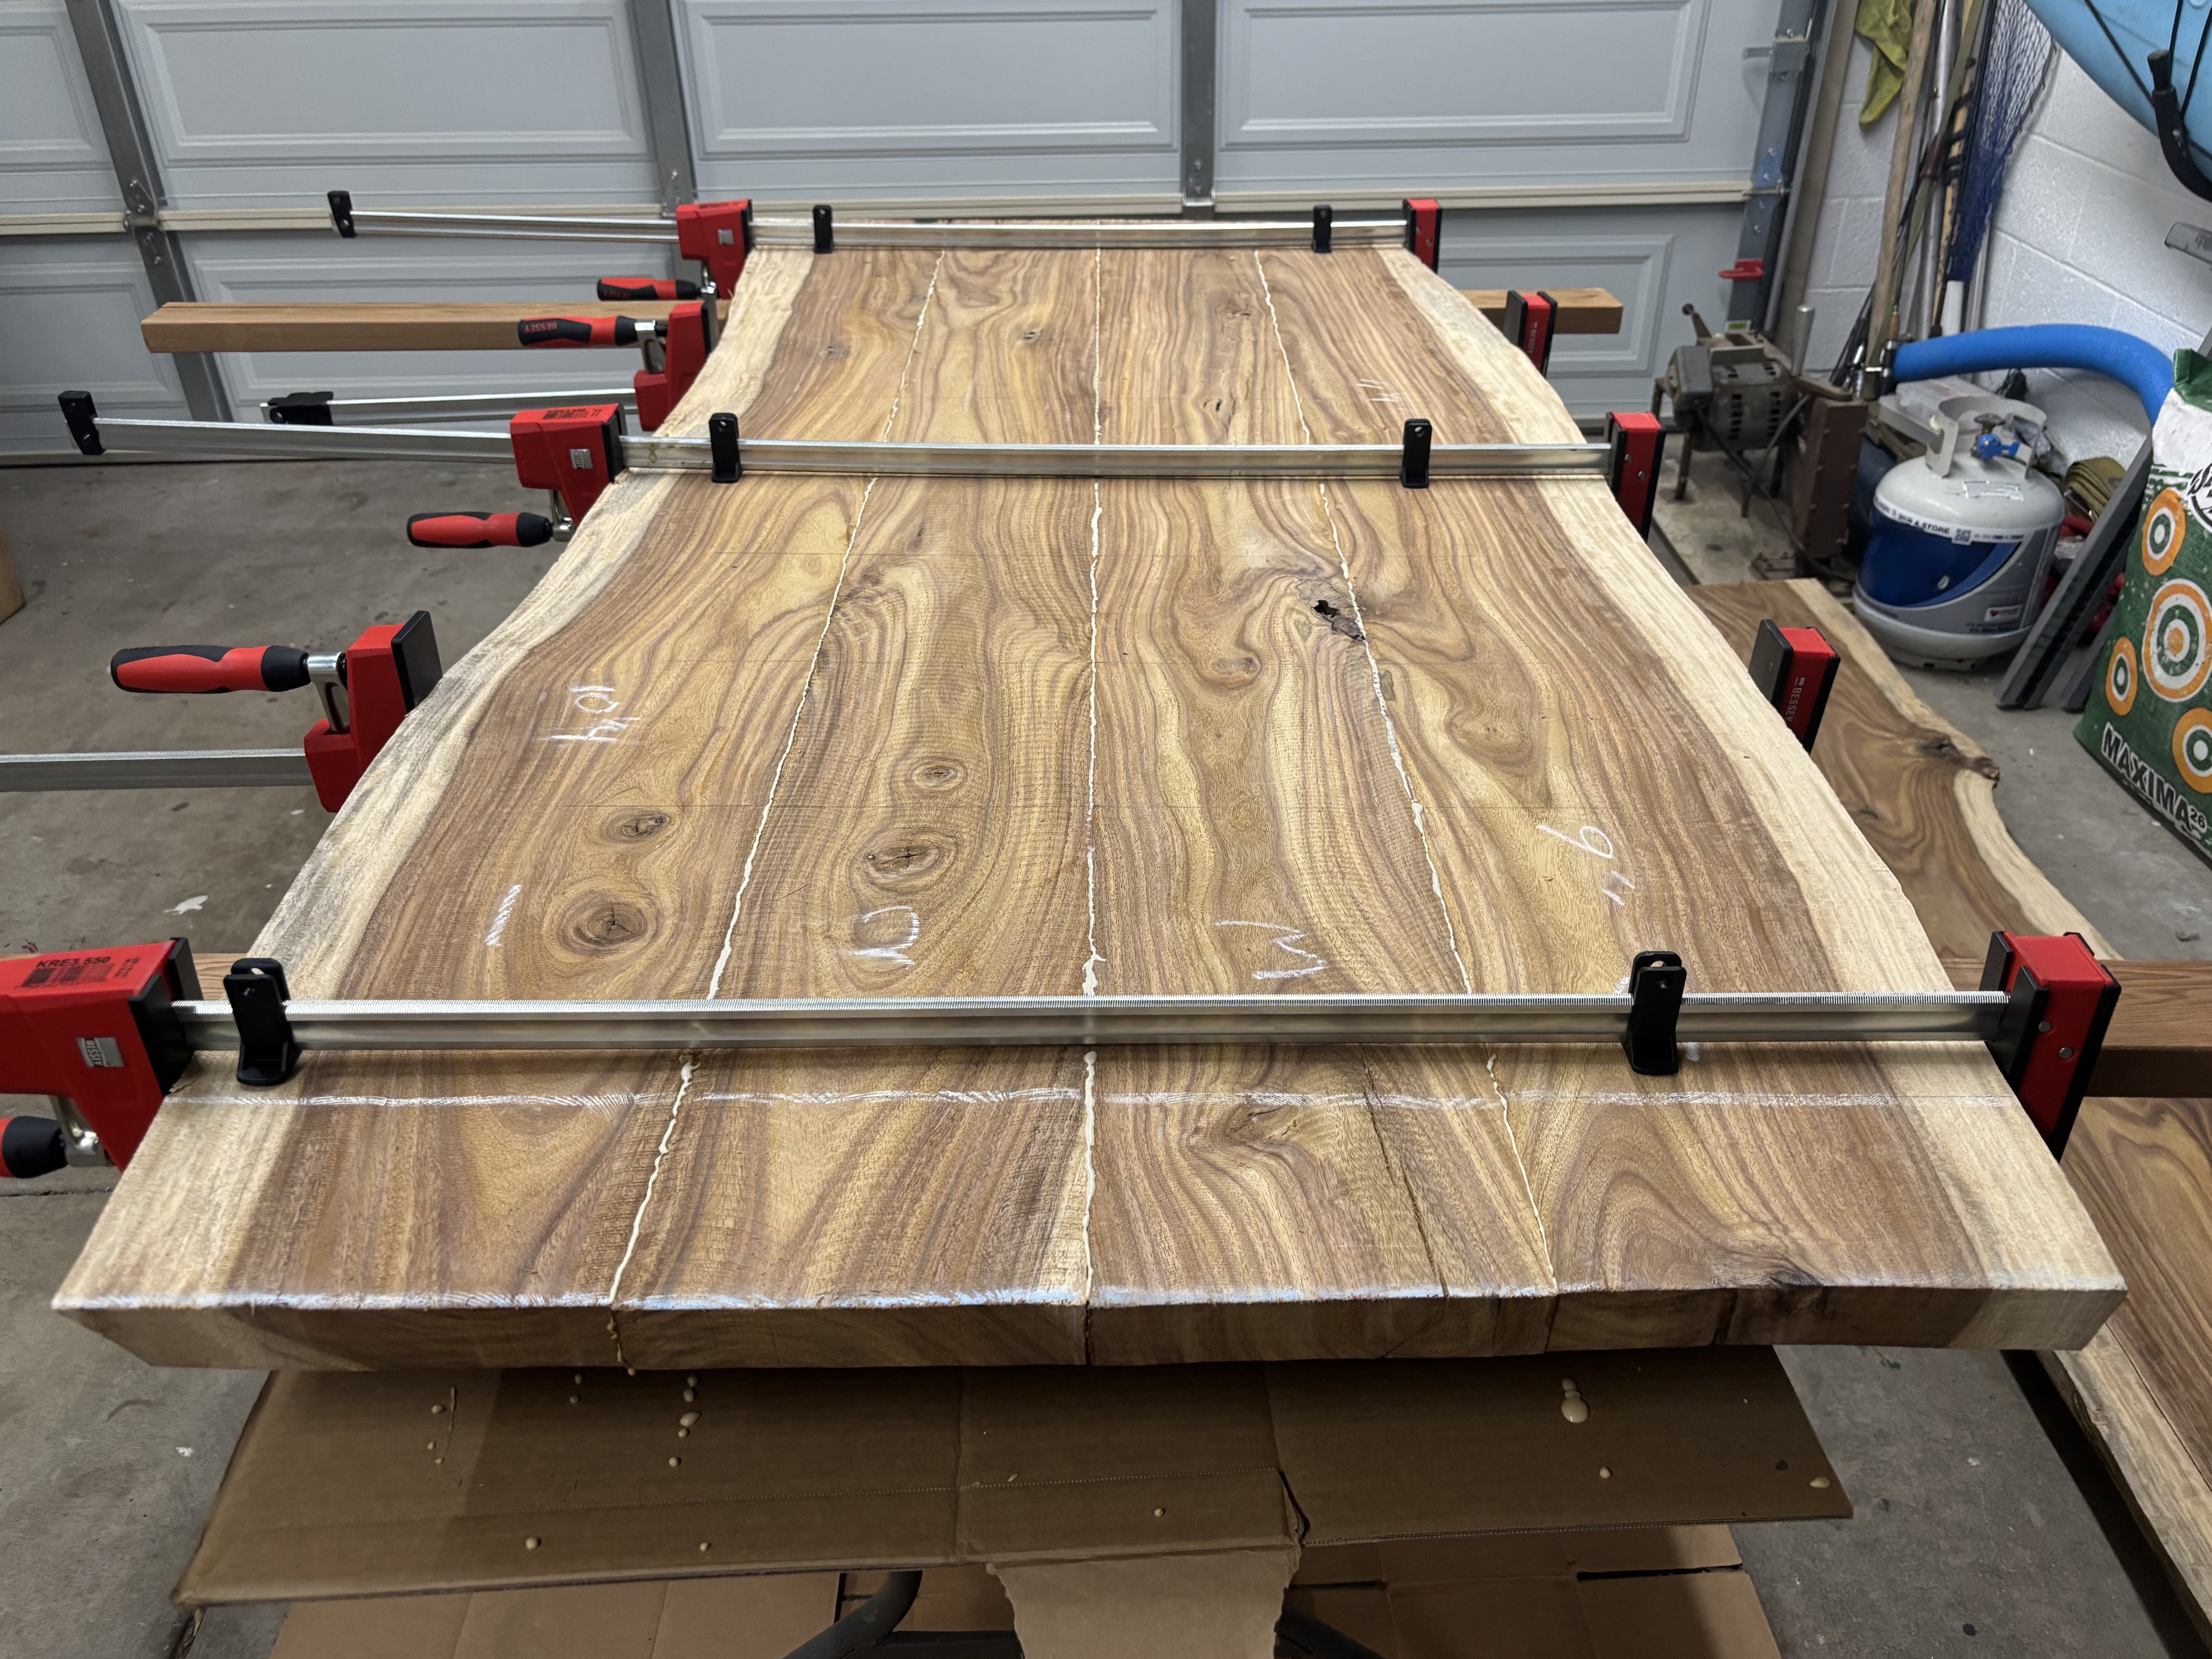
- Use real pressure. The goal is full edge-to-edge contact and a thin, even line of squeeze-out along the whole seam — not a starved joint. Dense rosewood happily takes firm clamping; you're closing the joint, not crushing fibers.
- Space clamps roughly every 6–8" and alternate them top and bottom so the panel pulls flat instead of bowing.
- Seat the panel against cauls or a flat reference so it cures dead flat.
⚓ Lesson — You can't keep clamps off the live edge (and that's OK)
Conventional advice says protect the live edges from clamp jaws. In practice, on a four-board top, that's nearly impossible — clamp cauls have to land somewhere, and some will mark the sapwood edge. Don't panic.
The live edge isn't finished yet. It gets reduced, cleaned, and refined later — during live-edge cleanup and again while shaping and sanding before resin. Any clamp dents in that outer zone are removed in those steps, so a few marks at glue-up cost you nothing. This is the part people worry about most; the answer is simply that the edge you clamp against is not the edge you keep.
Cure time — don't rush it
A practical Titebond III timeline for an edge-glued panel:
- In clamps: 30–60 minutes is the minimum for an unstressed edge joint. Leaving it clamped overnight is even better — that's what this table got.
- Don't stress the panel for a full 24 hours while the glue reaches strength.
- Hold off on heavy flattening and sanding for 24 hours — ideally closer to 72. The wood near the glue line absorbed water and is slightly swollen; level it too soon and that line can sink below the surface once it finishes drying. This table sat about 48 hours before further work — comfortably safe.
⚠ Mistakes & Fixes — Glue squeeze-out
Squeeze-out is normal — it's the sign you used enough glue. The mistake is smearing it around or letting it harden into the grain, where it blocks finish later.
Fix: let the beads skin over to a rubbery state (not fully hard), then peel or scrape them off cleanly. Never wipe wet glue across the wood — it drives glue into the pores and causes blotchy finish.
⚠ Mistakes & Fixes — Glue-ruined clamps
Squeeze-out doesn't just land on the wood — it drips and hardens onto your clamp bars, where it builds up and eventually flakes back onto future projects.
Fix: run a strip of masking tape along the top of each bar before glue-up. When the glue cures, peel the tape and the mess goes with it — your clamps stay clean for the next panel. Cheap insurance.
🛠 Tips
- Dry-fit the whole panel first, including clamps, before any glue is open.
- Joint only the interior edges; leave the live edges for later cleanup.
- Clamp firmly for full contact and even squeeze-out — alternate top and bottom.
- Tape your clamp bars so glue drips peel right off.
- Do not rush the cure — give it 24+ hours before you flatten.