
Rubio Monocoat Finish
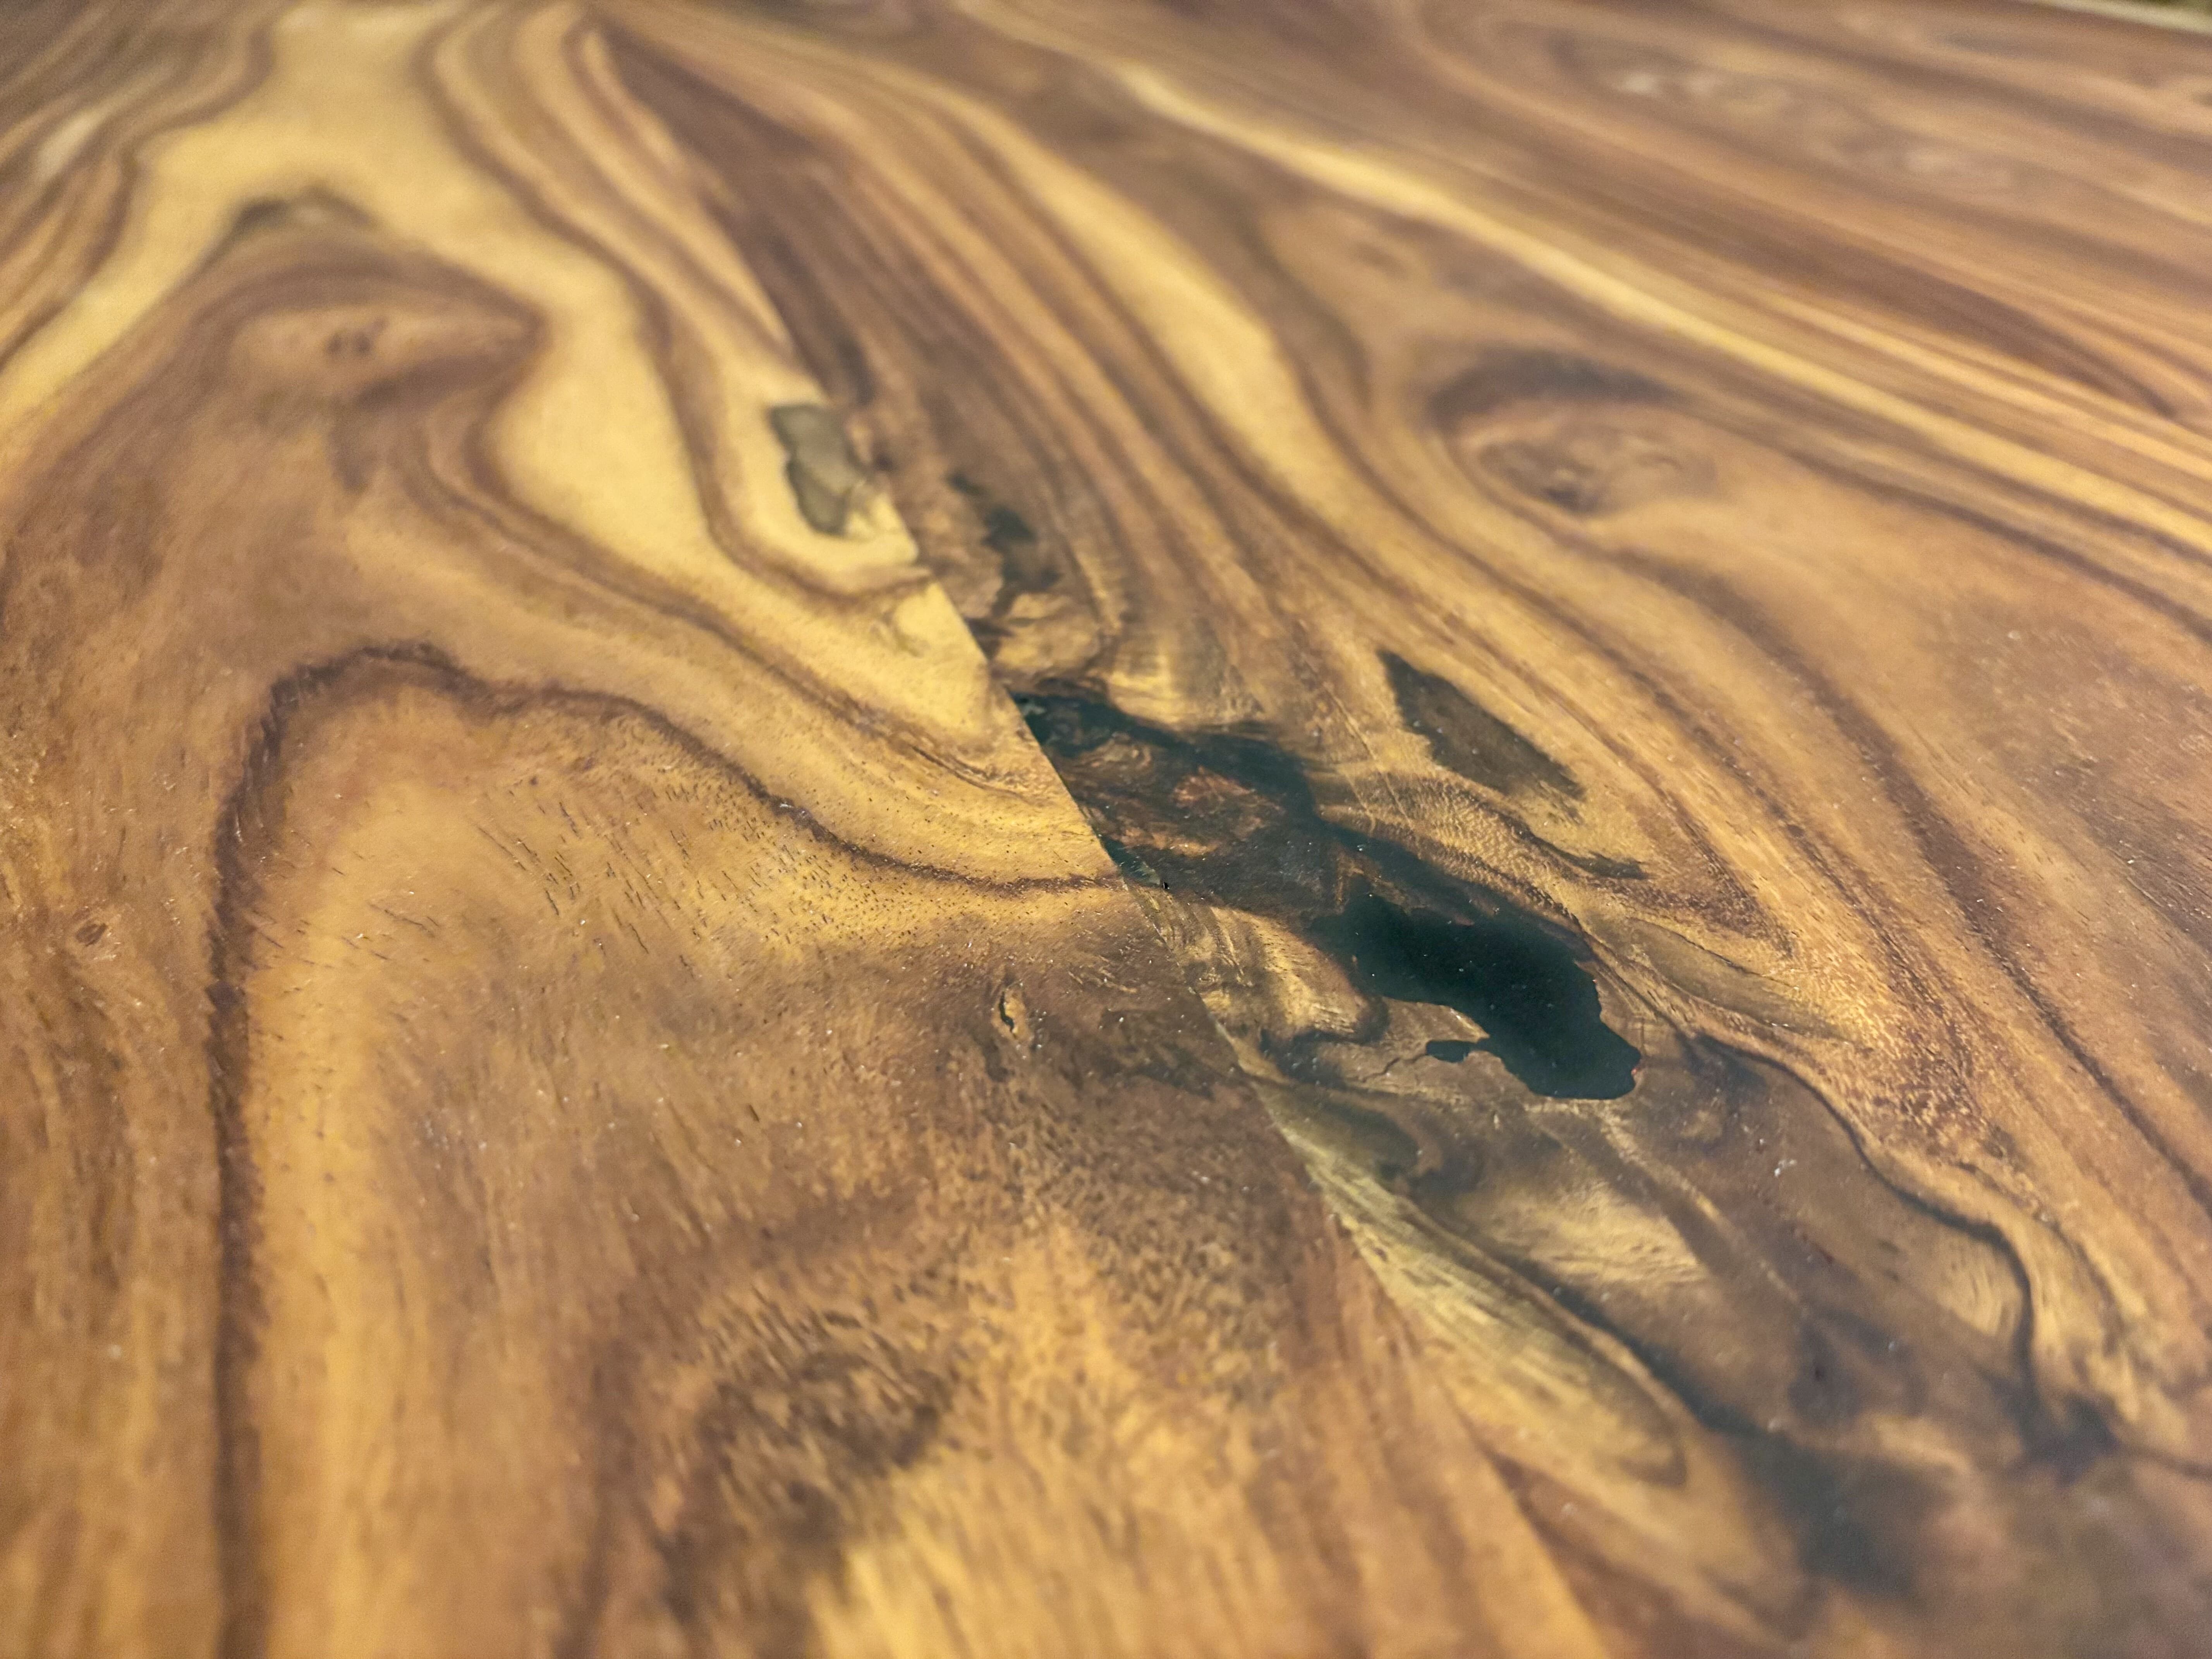
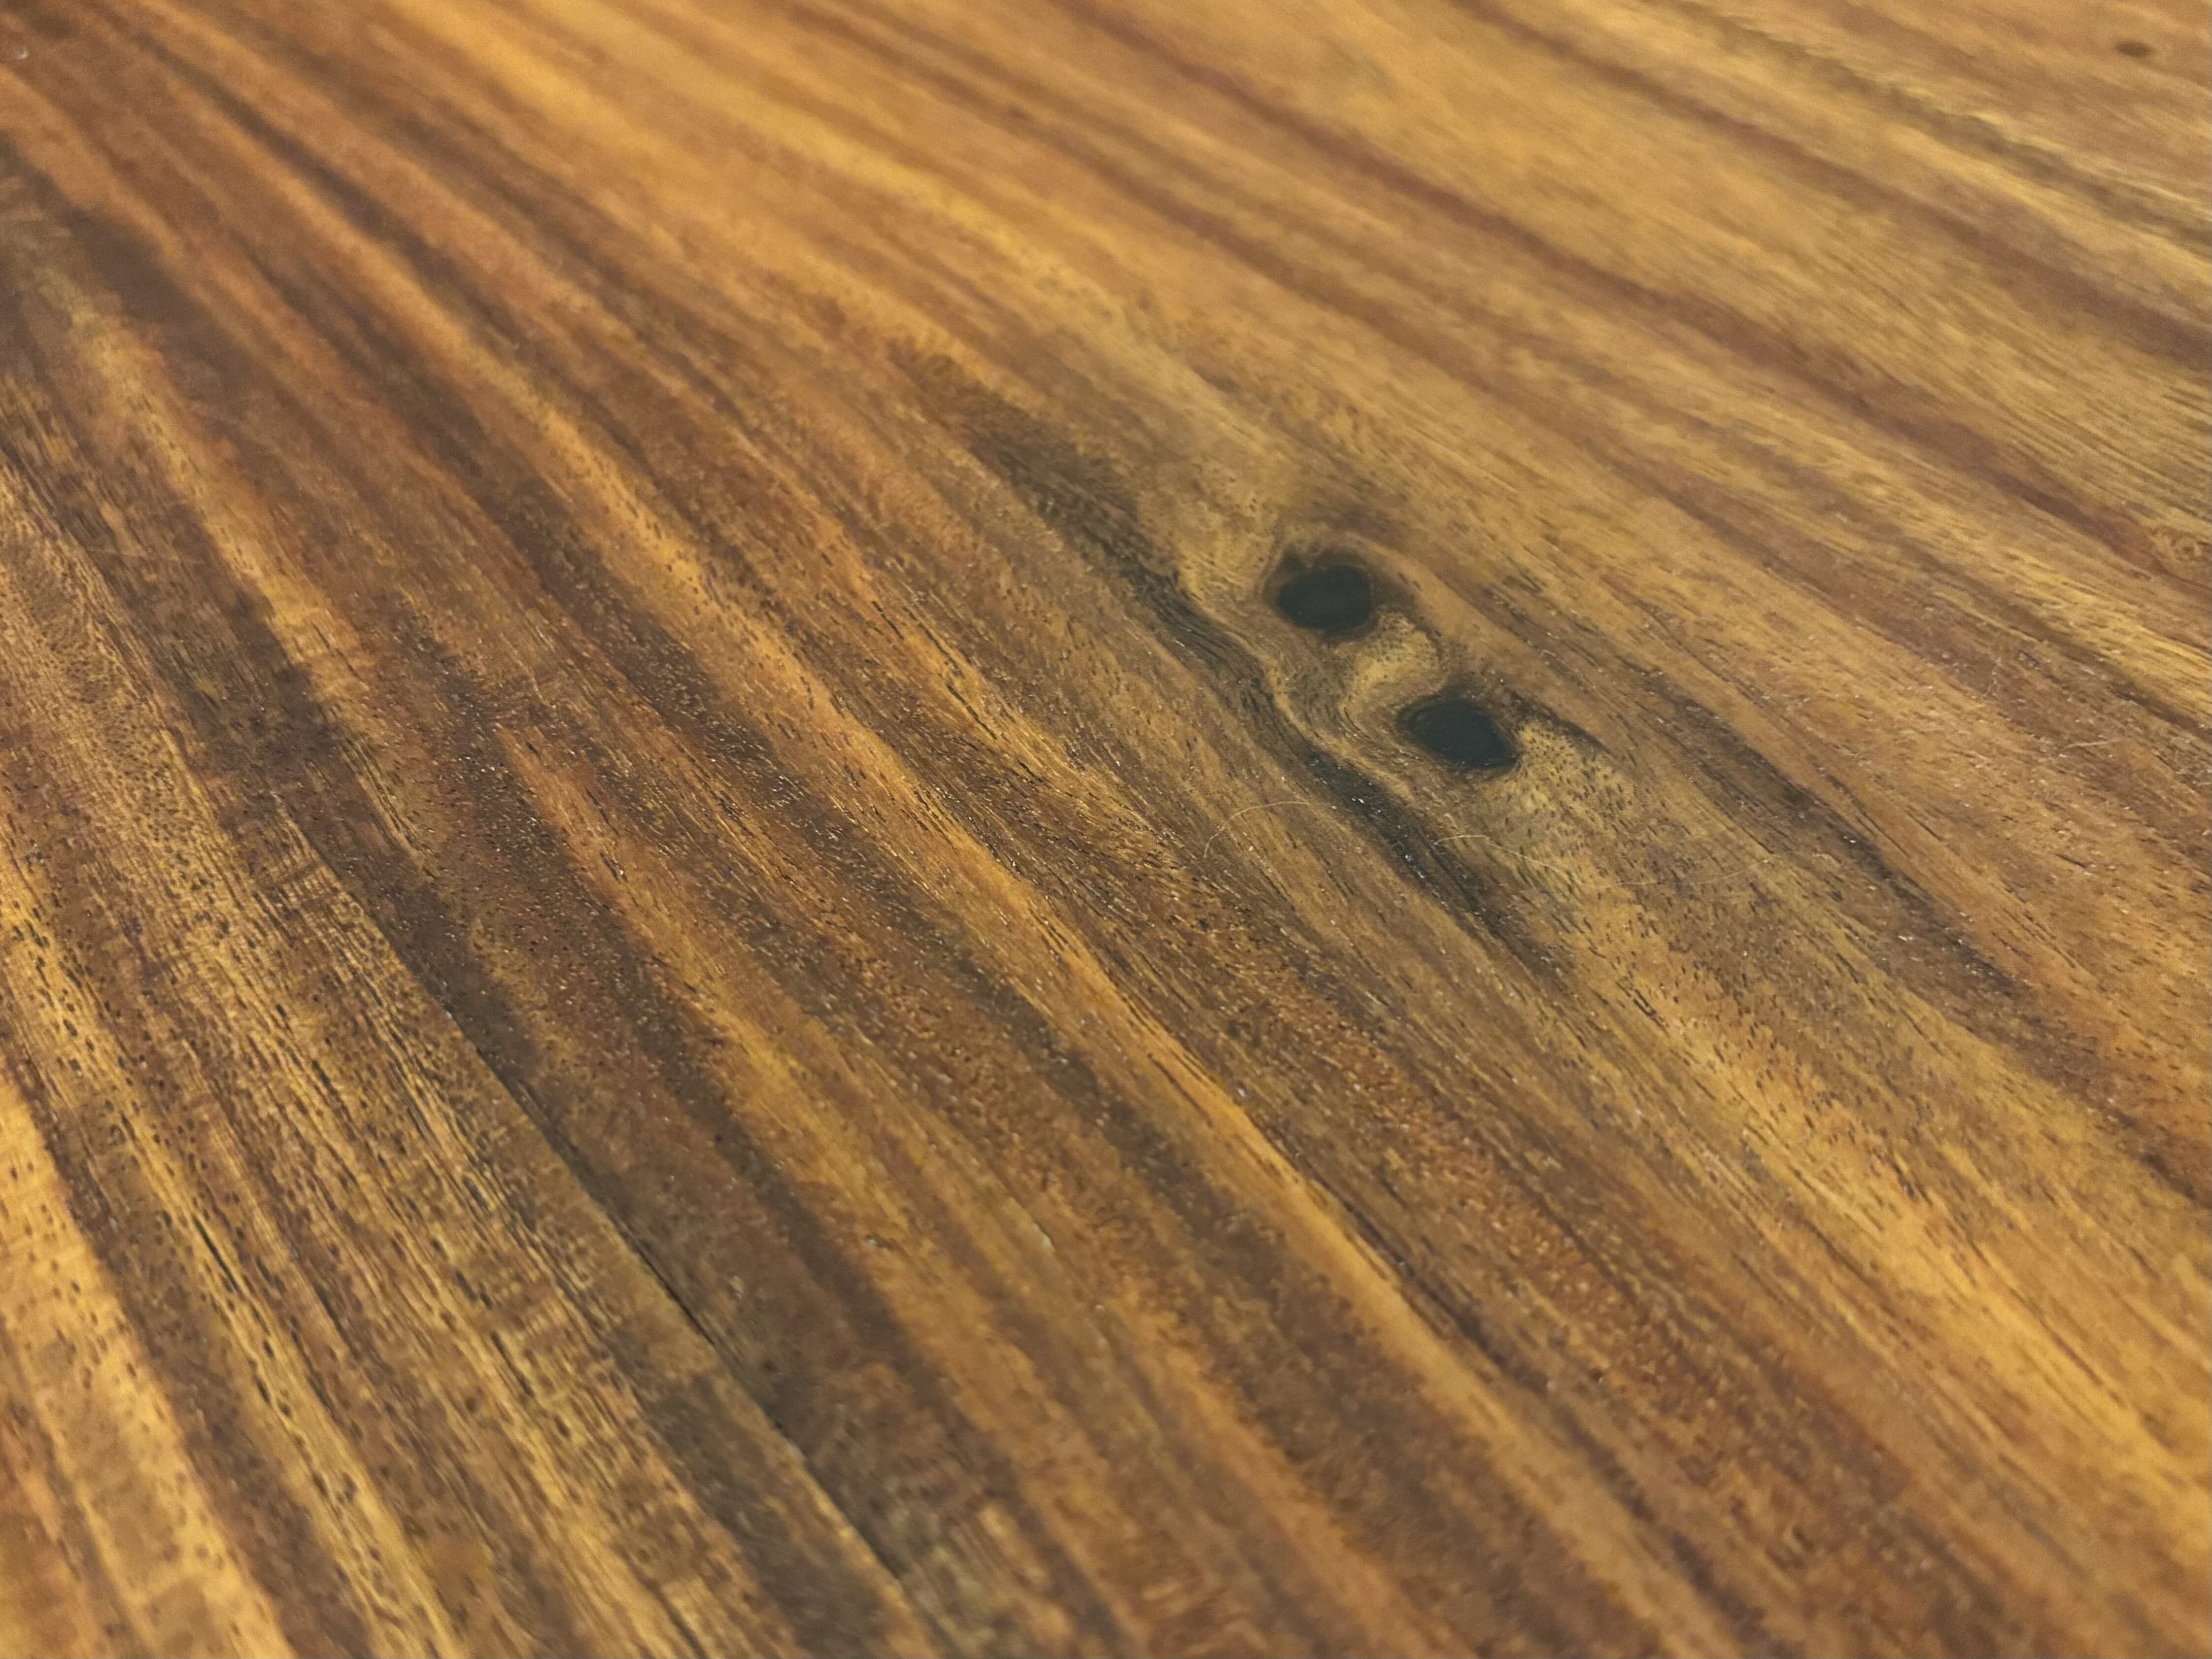
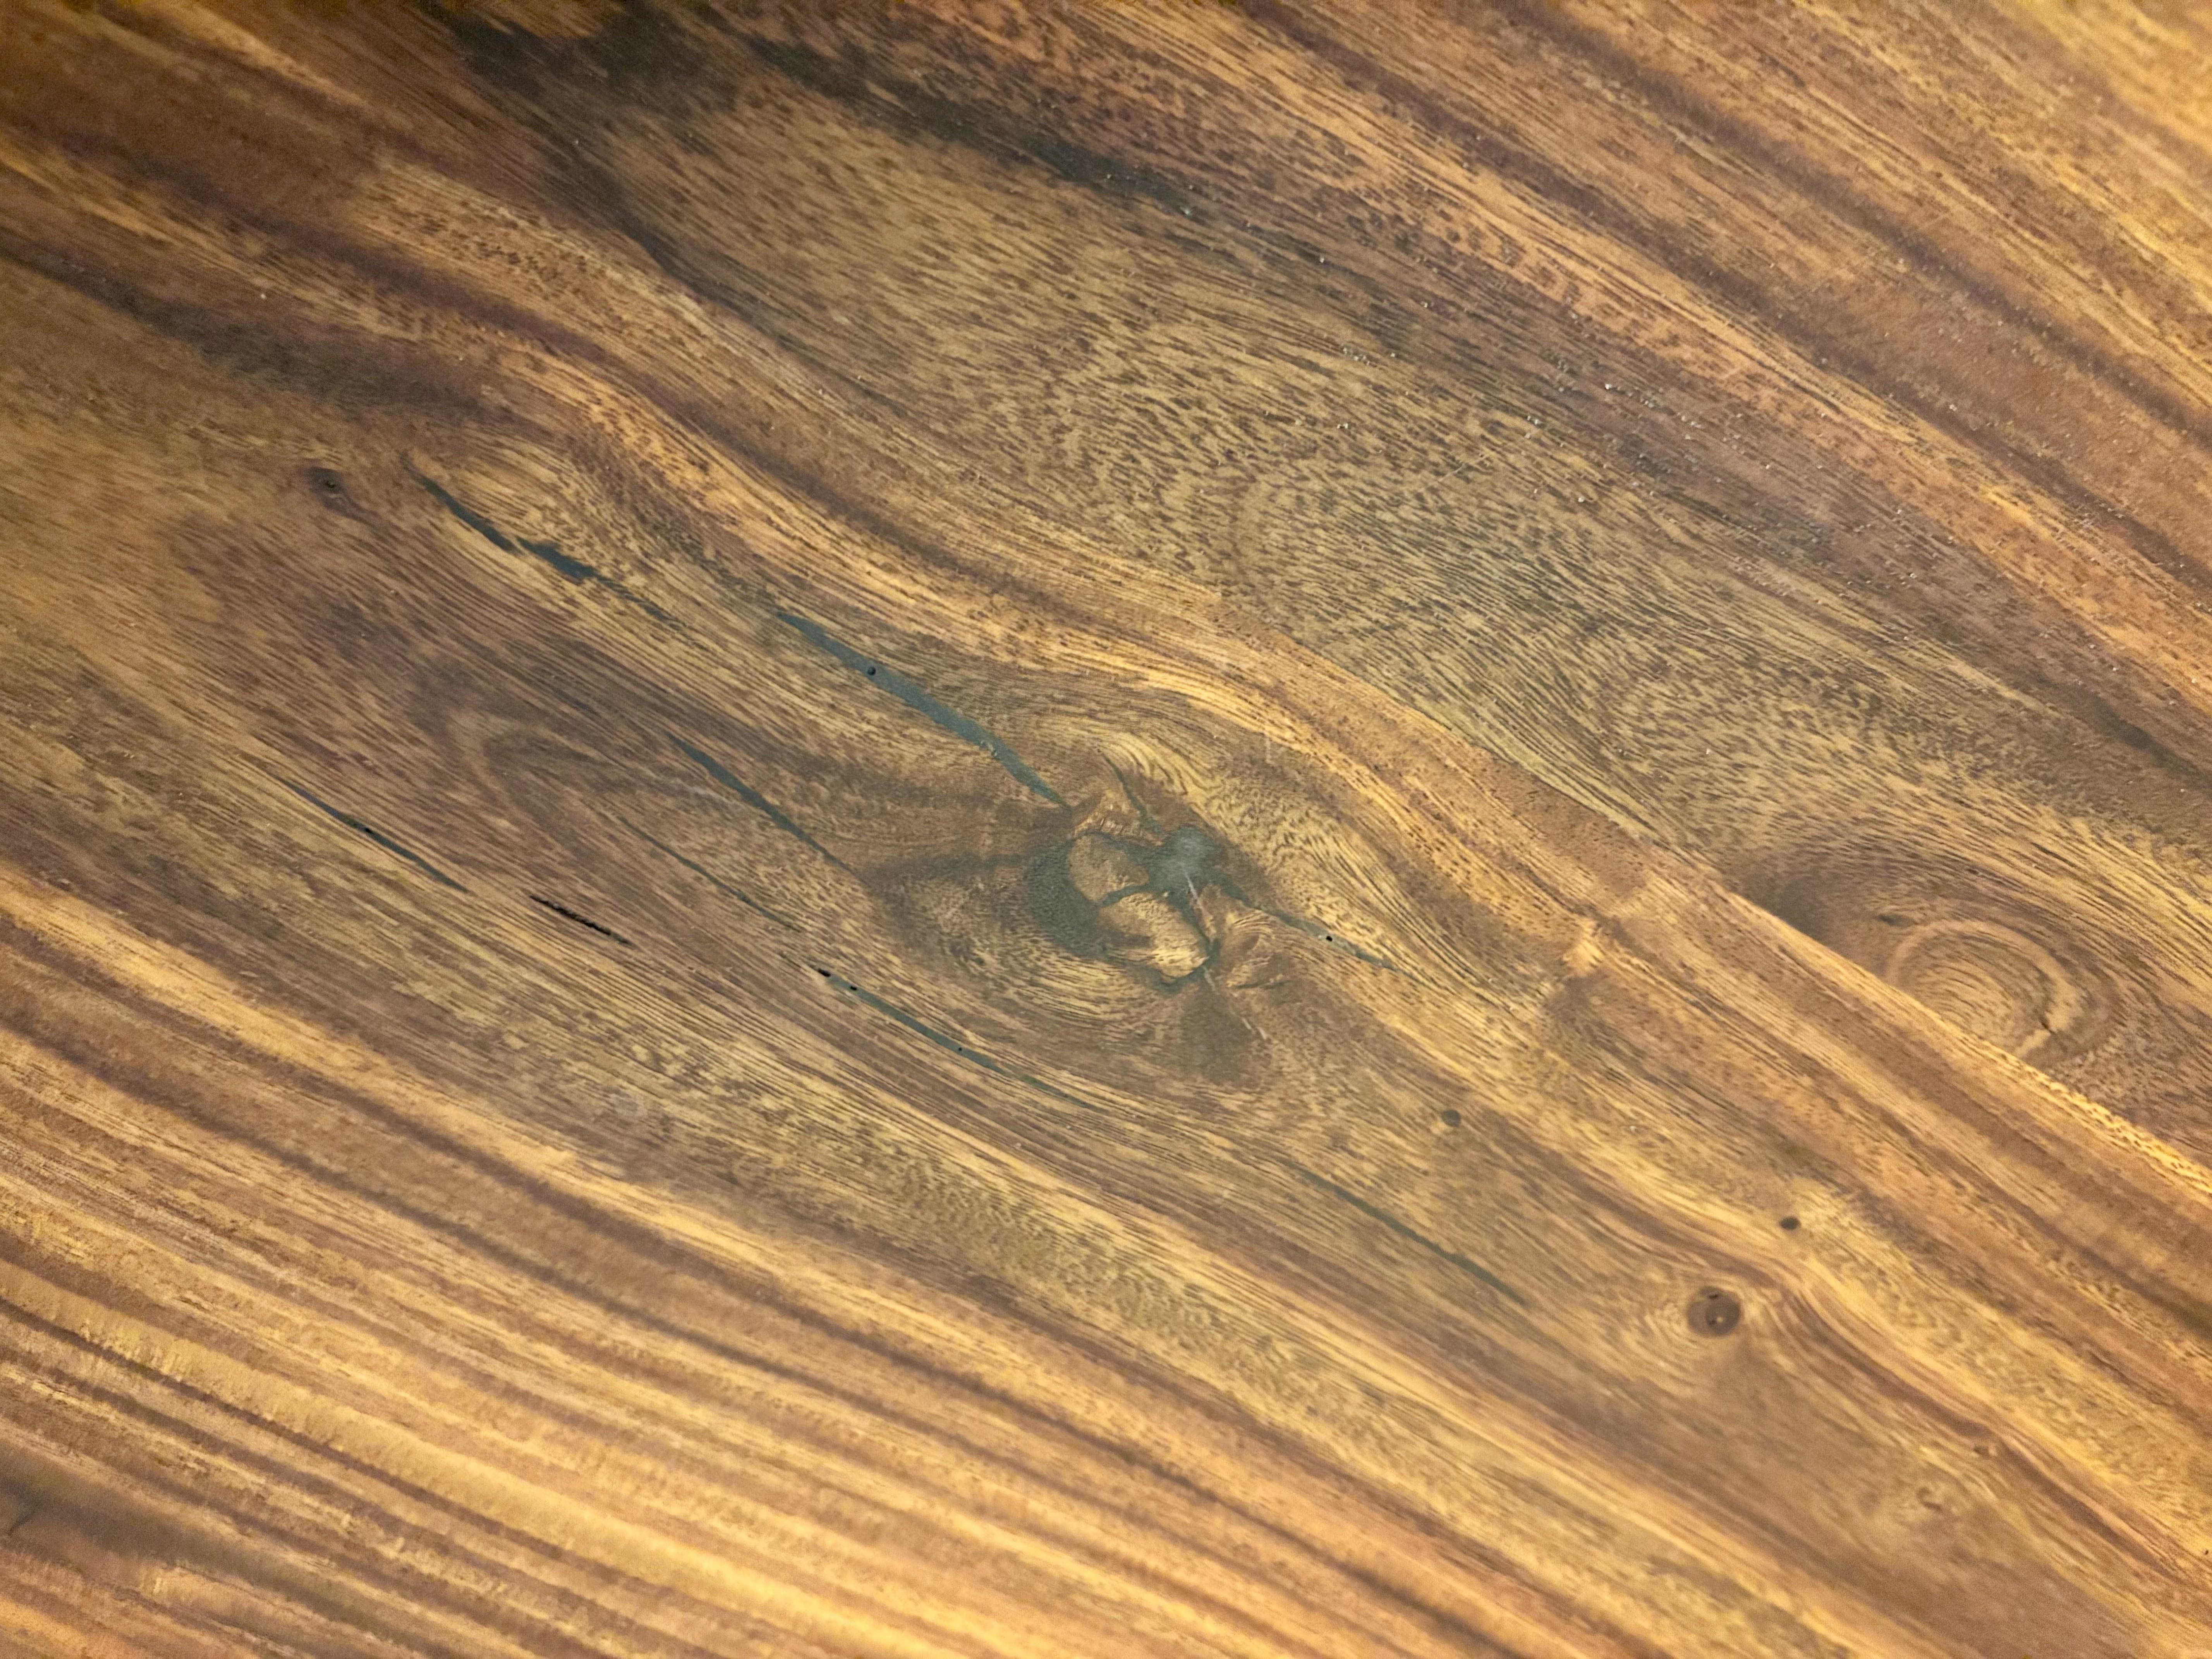
The finish that makes the rosewood sing — a single-coat hardwax oil that bonds to bare wood, enhances grain, and leaves a natural matte feel with no plastic film. Thin coat, full wipe-off, done.
Why Rubio Monocoat
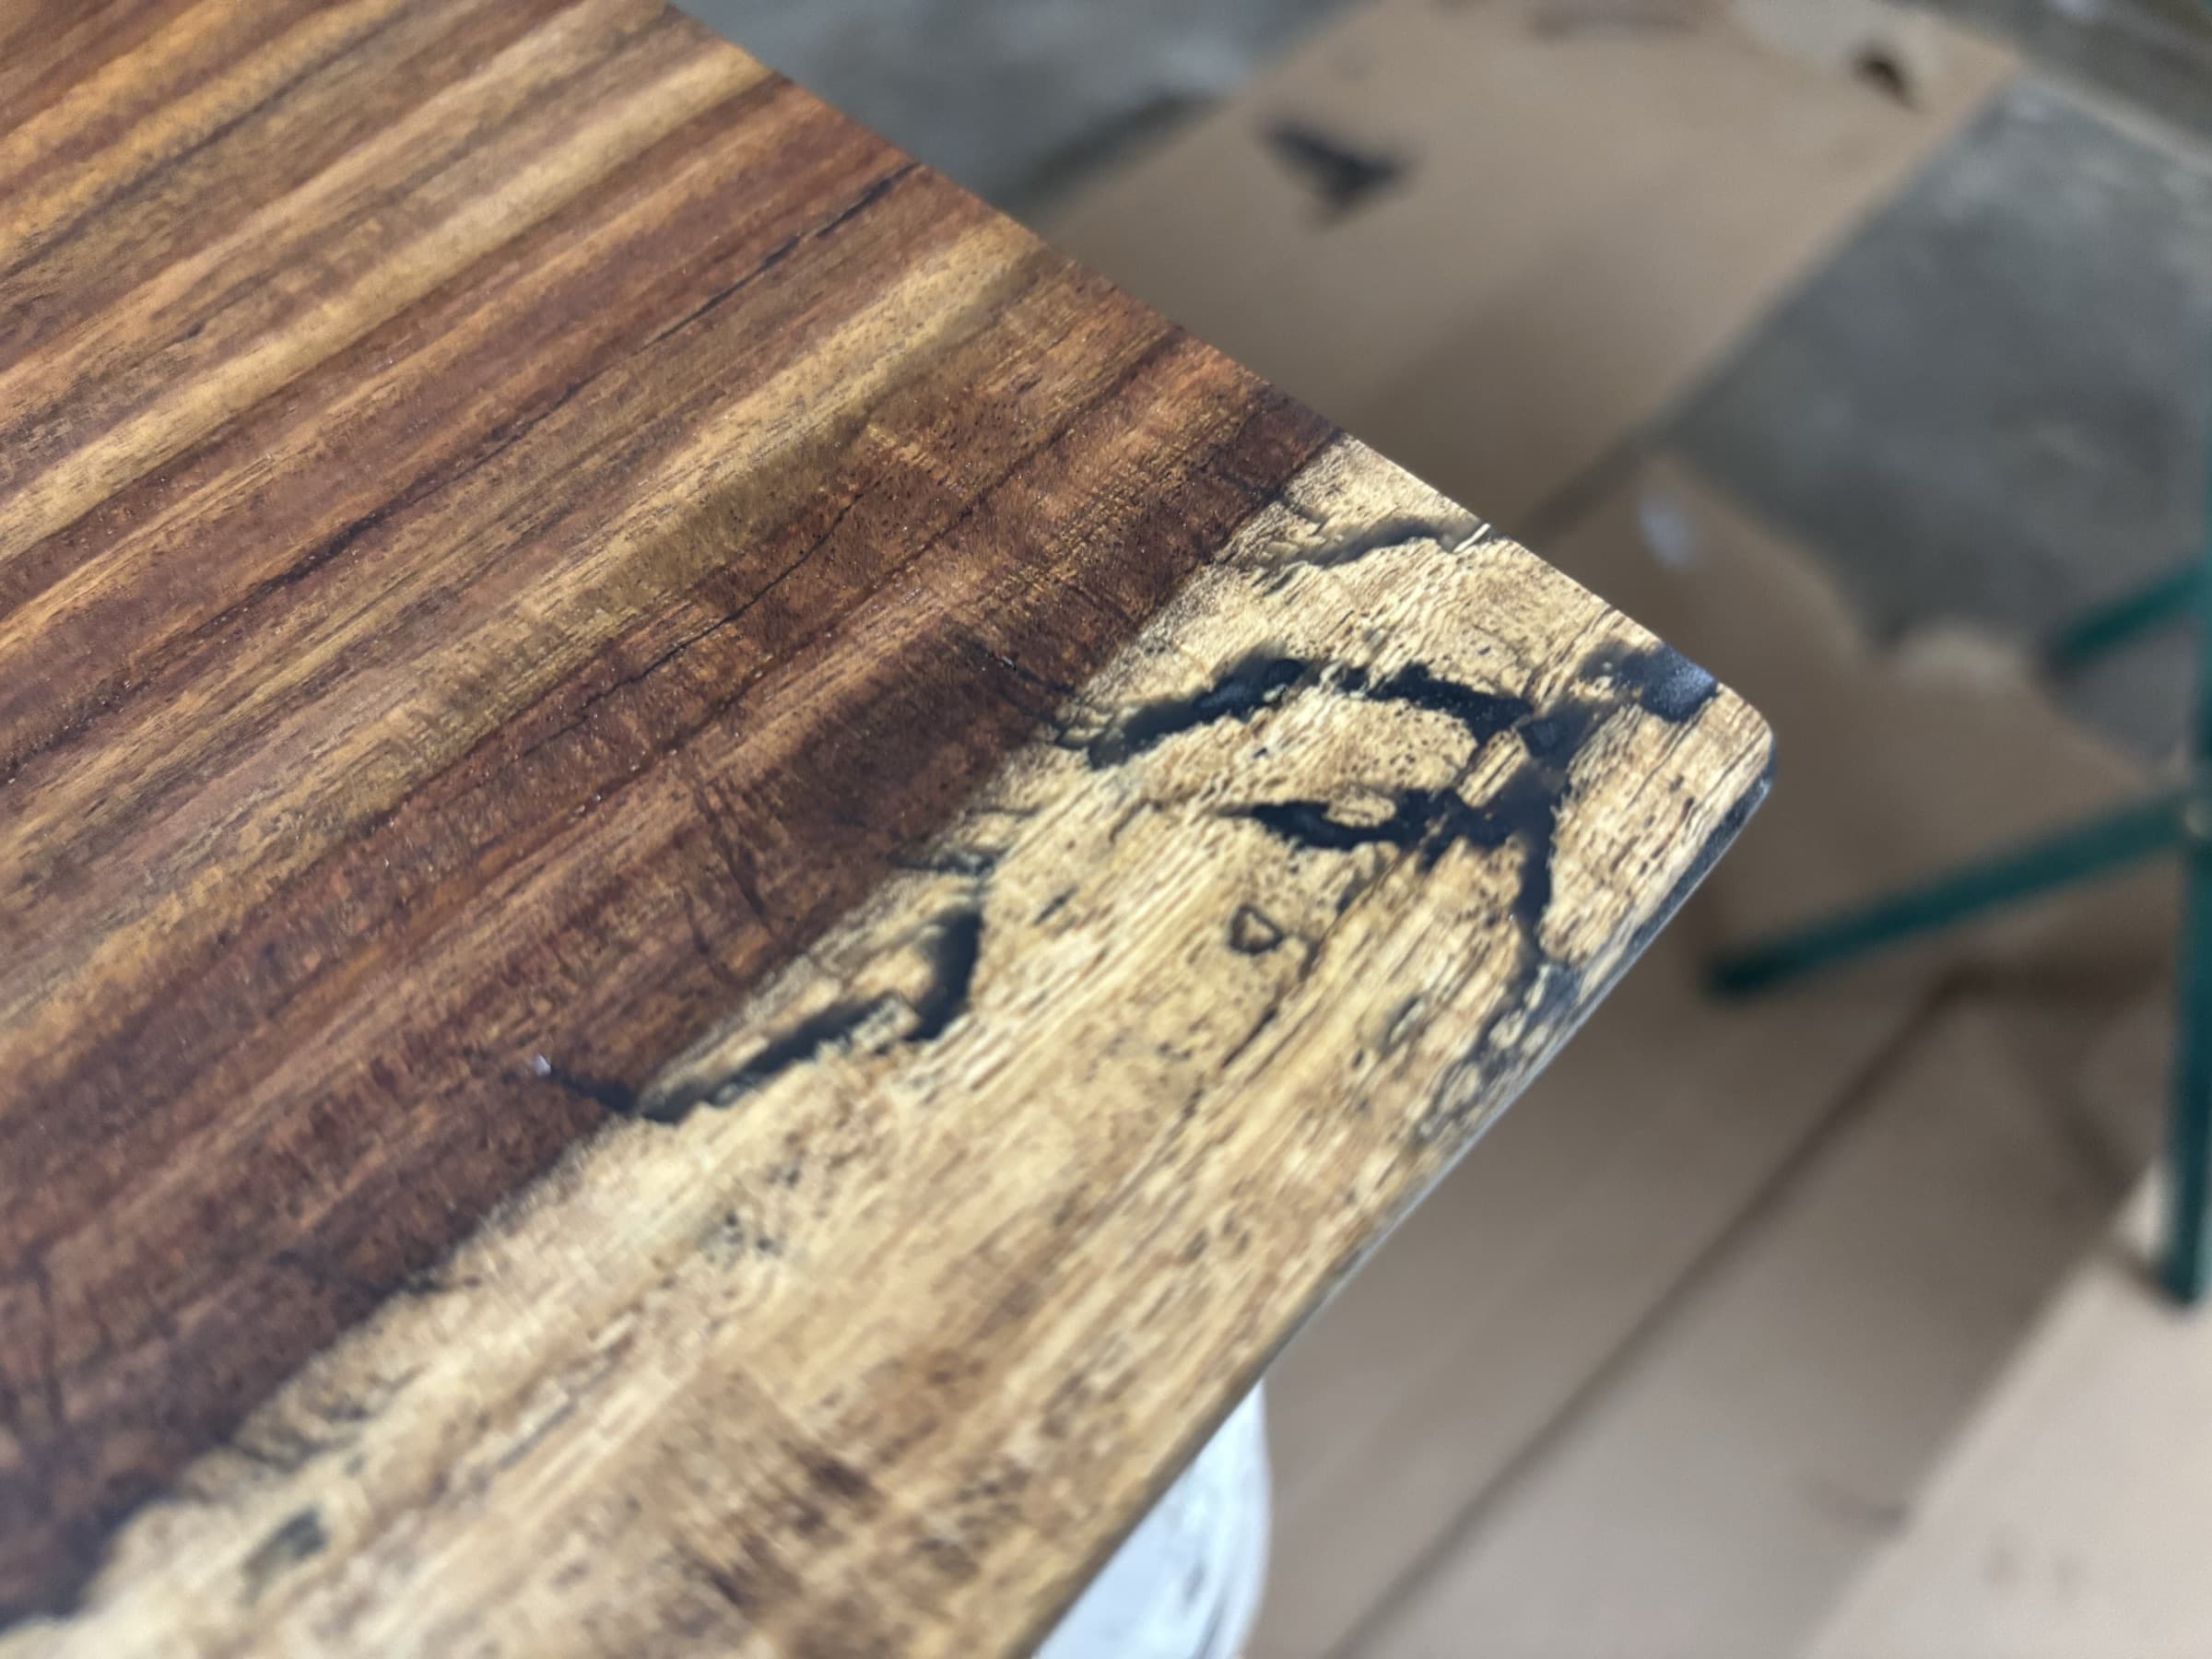
Recommended by the mentor and a natural fit for live-edge heirloom furniture: a matte/satin look that highlights grain without a plastic build, and a philosophy that suits hand-built work better than poly. The product here is Rubio Monocoat Oil Plus 2C — likely a pure/neutral color unless you want added tint.
The feature I value most in daily life is genuine spot-repairability. Because Rubio bonds molecularly to the wood instead of forming a film on top, you fix a worn or scratched area locally: lightly sand just that spot, wipe on a little fresh Rubio, and it blends right back in. There's none of the "sand the whole top back to bare wood and re-coat" that a scratched polyurethane film forces on you — a huge advantage on a table meant to be used and refreshed for decades.
And honestly? I fell completely in love with the result. The feel of the finished surface under your hand, the way it catches the light, the fact that it still reads as wood and not plastic — Rubio is simply beautiful. It's the finish I'll reach for from here on.
Key application rules
- Start clean: 150-grit max, dust removed, wiped with Raw Wood Cleaner and dried 15–30 min (Step 13).
- Mix 3 parts Part A (Oil) to 1 part Part B (Accelerator).
- Mix 30–60 seconds; stir gently, don't shake.
- Only mix what you can use in 15–20 minutes — it cures in the cup.
- Apply thin with a white pad or rag, working with the grain.
- Let it dwell 3–5 minutes (up to ~10 if the wood is thirsty).
- Wipe off all excess until dry to the touch — no shiny wet spots. This is the step that makes or breaks the finish.
- Then let it cure (see the timeline below).
Underside / sides first, top last
Finish the underside and sides first, then flip and do the top. This prevents drips and overlap marks on the show surface and makes handling easier. Treat the live edges as part of the side on the first pass; when you do the top later, feather across the top-to-edge transition and don't leave heavy buildup on the edges.
Do not apply Rubio to powder-coated steel — keep it off the C-channels and the metal base.
Cure & handling timeline
- Dry to touch: a few hours.
- Flip / light handling: generally 12–24 hours.
- Light use: after 24–36 hours.
- Full cure: 5–7 days.
⚠ Never — Pledge, wax, or silicone on Rubio
Silicone contamination (from Pledge and similar sprays) permanently prevents future Rubio bonding, causes blotchy sheen, and can force sanding all the way back to raw wood.
Fix / prevention: never use Pledge, wax, or silicone cleaners on this finish — ever. Safe care is a damp microfiber cloth or Rubio Surface Care Spray (see Step 16).
⚠ Safety — Oily rags can self-combust
Rags soaked in curing oil generate heat as they cure and can spontaneously ignite in a pile.
Fix: lay used rags flat to dry outdoors or submerge them in water in a sealed metal container before disposal. Wear powder-free nitrile gloves (3–6 mil) during application.
🛠 Tips
- No shiny wet spots — if it's glossy, you left too much on.
- Use nitrile gloves.
- Dispose of oily rags safely.
- Do not use Pledge, wax, or silicone cleaners.